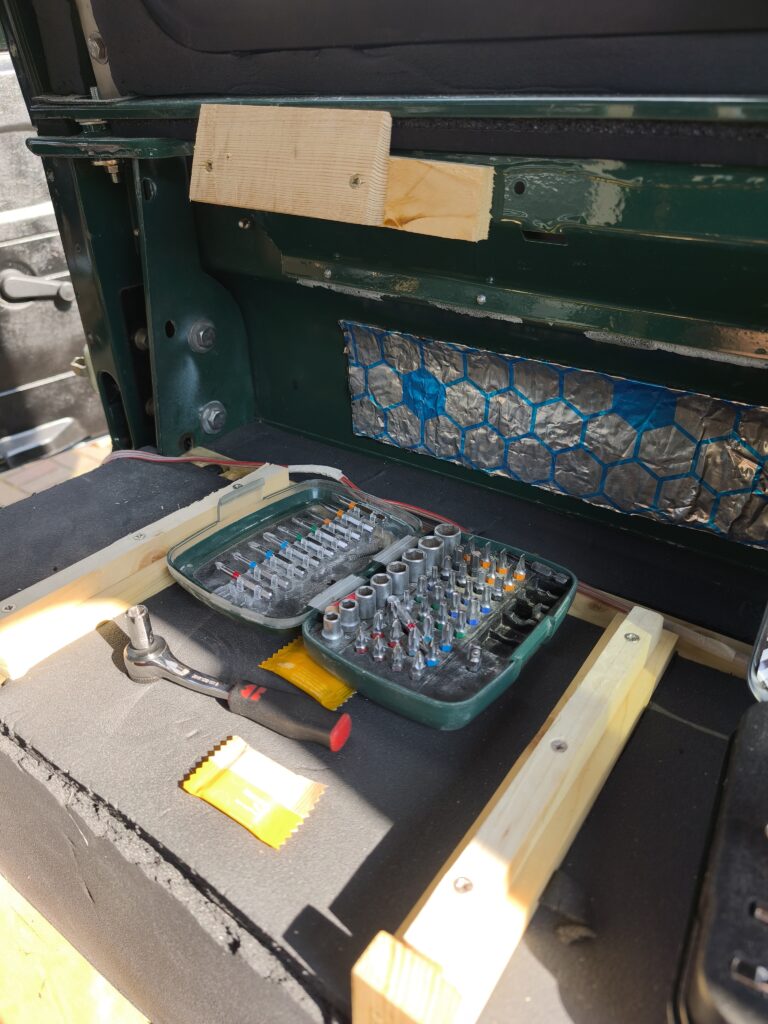
Substructure for the Camper Build: The Wooden Framework
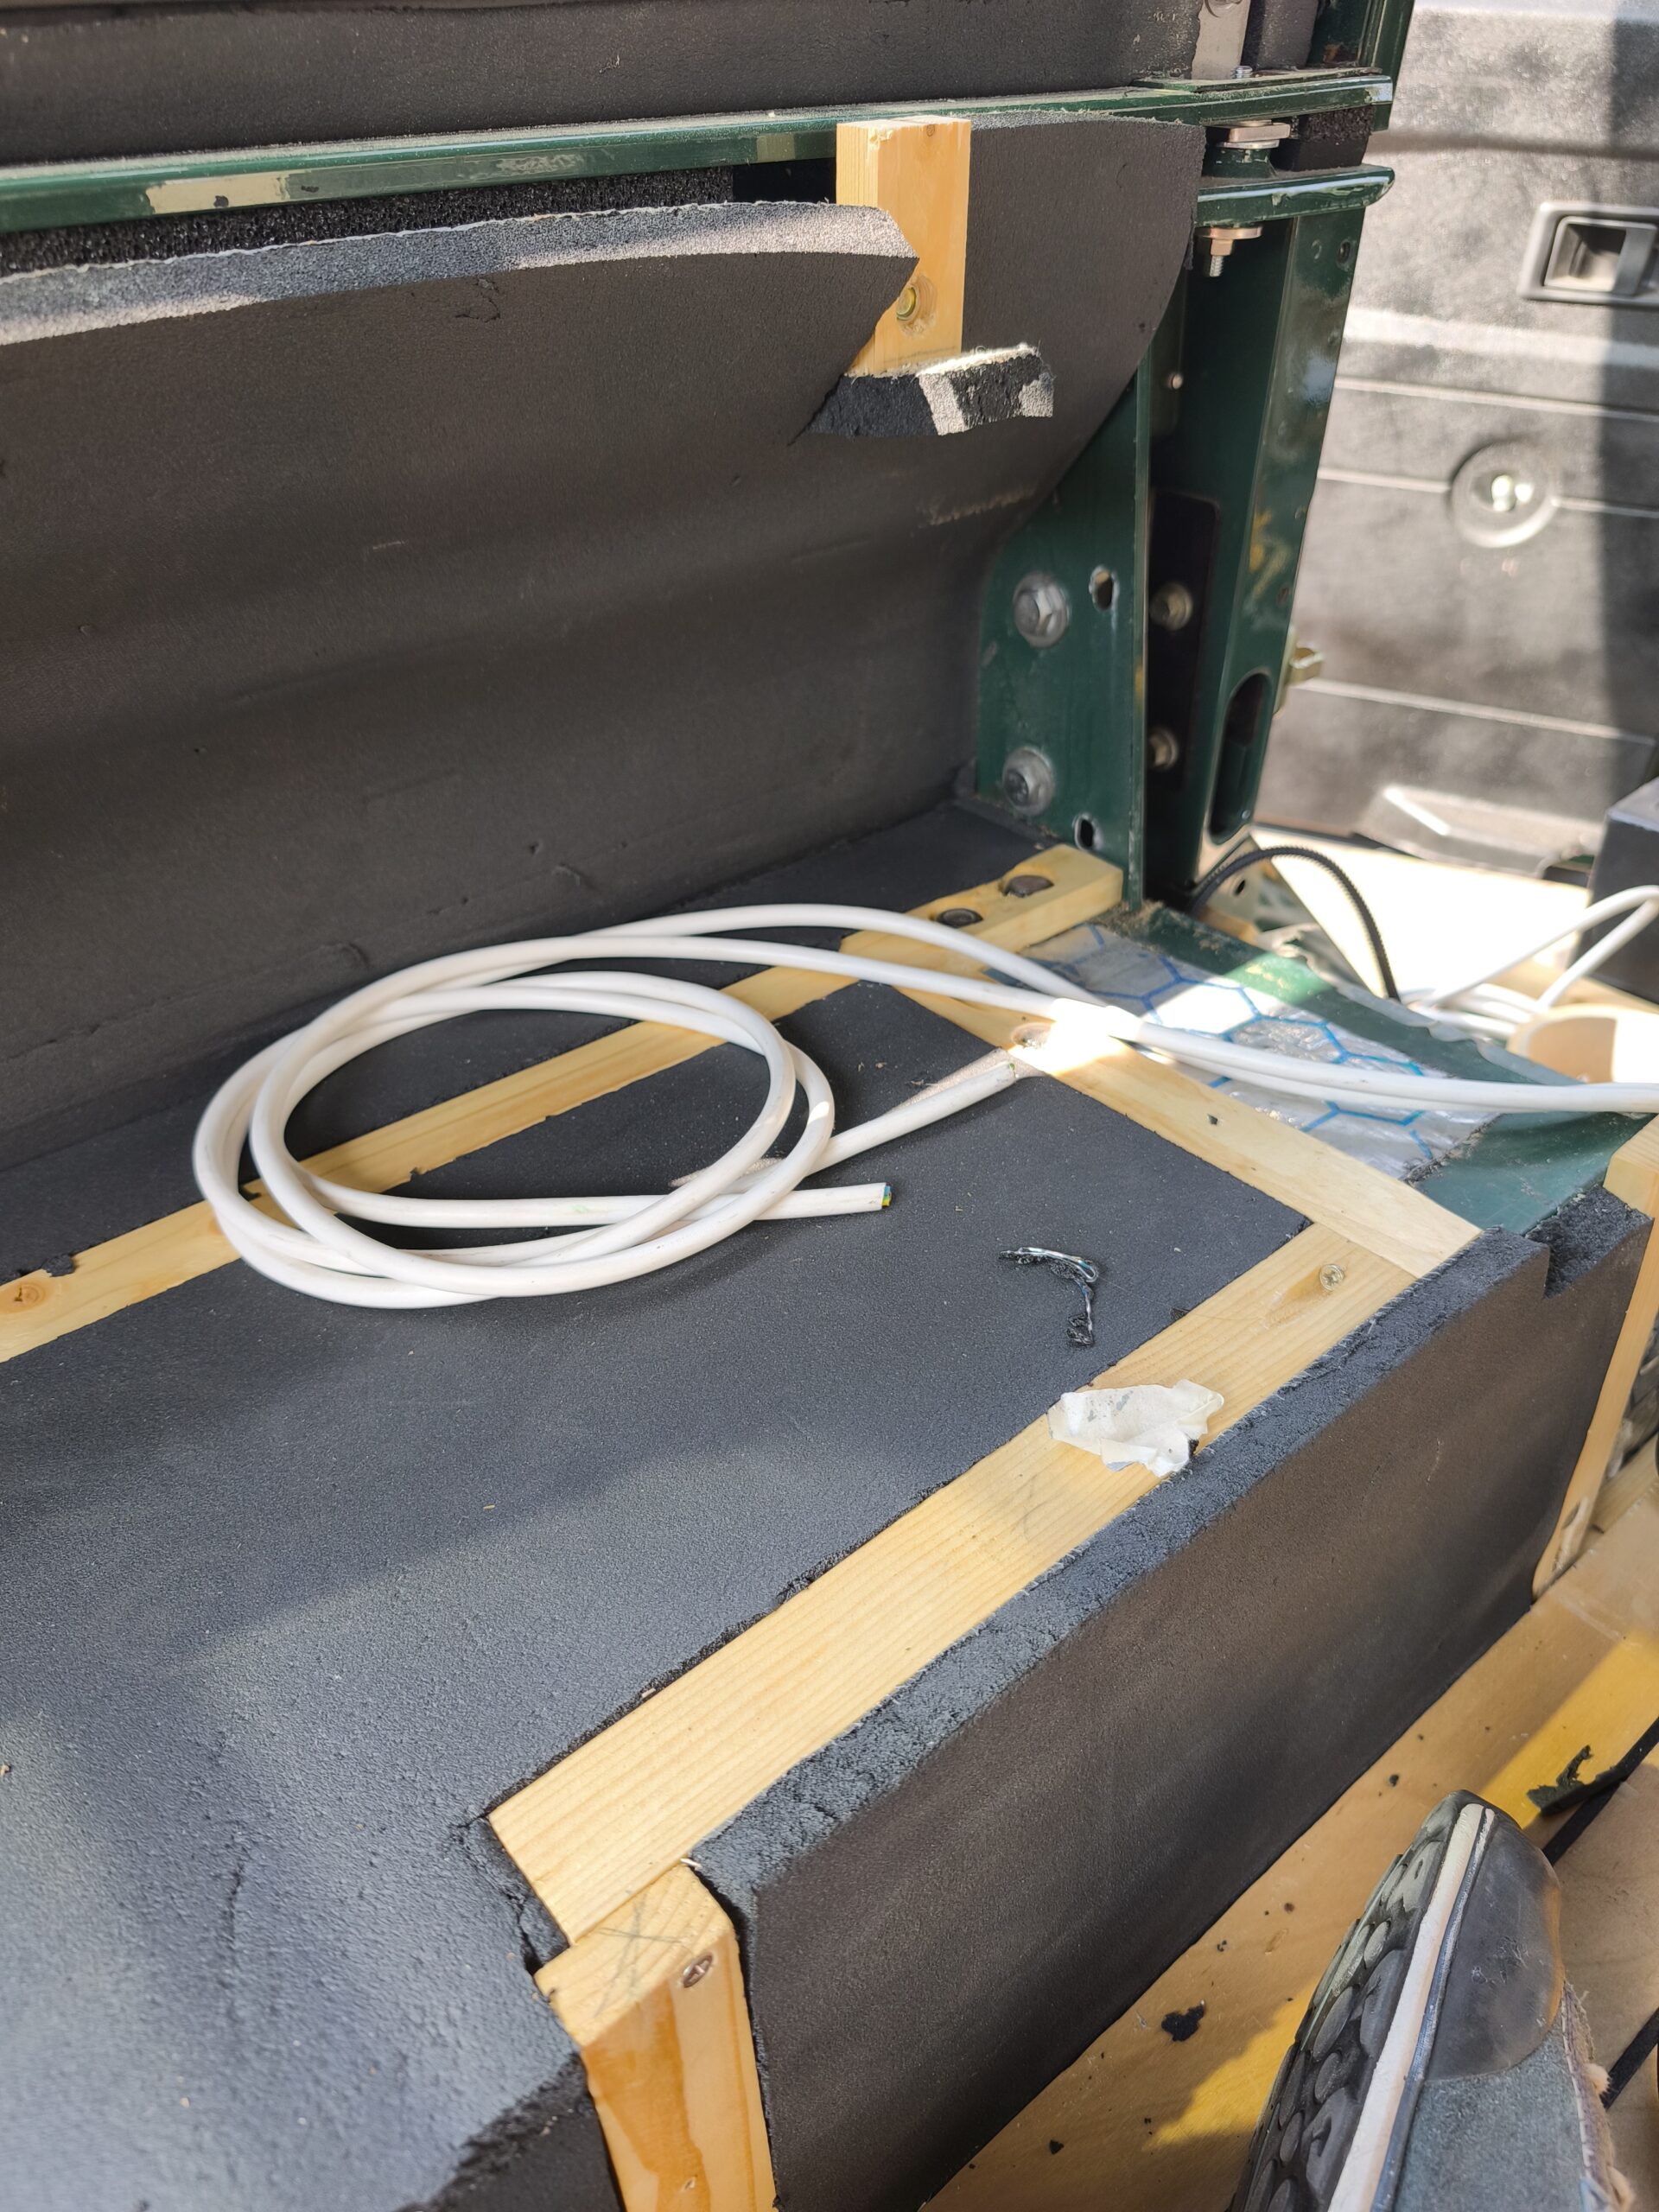
Before a single nice furniture panel goes into the car, you need something unglamorous that everything else will eventually hang from: the substructure. In our case, that means the wooden framework plus the fixing points and rails that the actual build panels sit on. You barely see it once everything’s in — but if it’s not right, the whole build wobbles.
What We Mean by Substructure
It comes down to two things: the load-bearing wooden framework, and the connection to the vehicle. In other words, the platform on which the bed, kitchen, and storage are built, and the points at which that platform is fixed — firmly, but releasably — to the bodywork.
Material
We work almost exclusively with 12 mm plywood. That’s the compromise we live with throughout the entire build: solid enough for our purposes, but significantly lighter than the 15 or 18 mm that many builders use. In a Defender, every kilogram of payload counts — more on that in the interior build post. To be able to bolt panels to this framework, we treated ordinary timber battens with wood stain, cut them to length, and screwed them together as a frame structure. (→ Interior Build)
Fixing: Use Existing Holes Where Possible
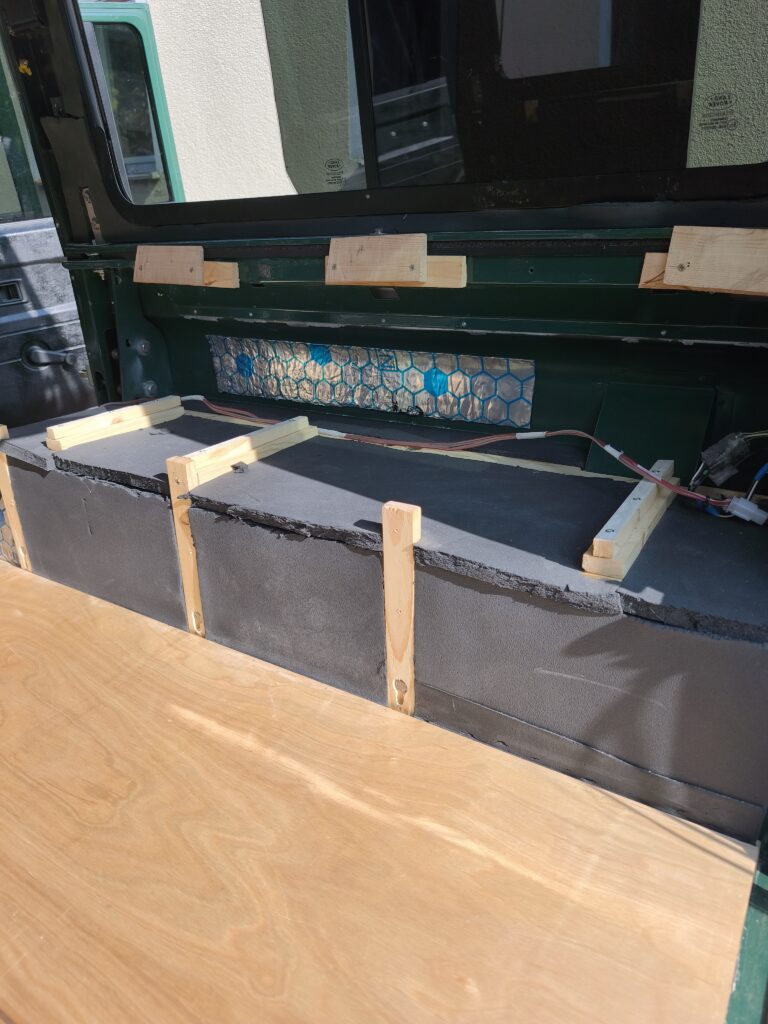
The Defender is full of fixing points if you know where to look. Our timber battens run in fairly irregular directions as a result — we wanted to make use of pre-drilled fixing points wherever we could. We used a mix of existing and newly drilled holes:
- In the wheel arch and the floor panel, there were already holes from the removed rear bench seats — we reused those.
- On the sides, the existing holes from the original interior trim could be put to use.
- At the roof, an aluminium angle bracket was added to give the upper panels something to anchor to.
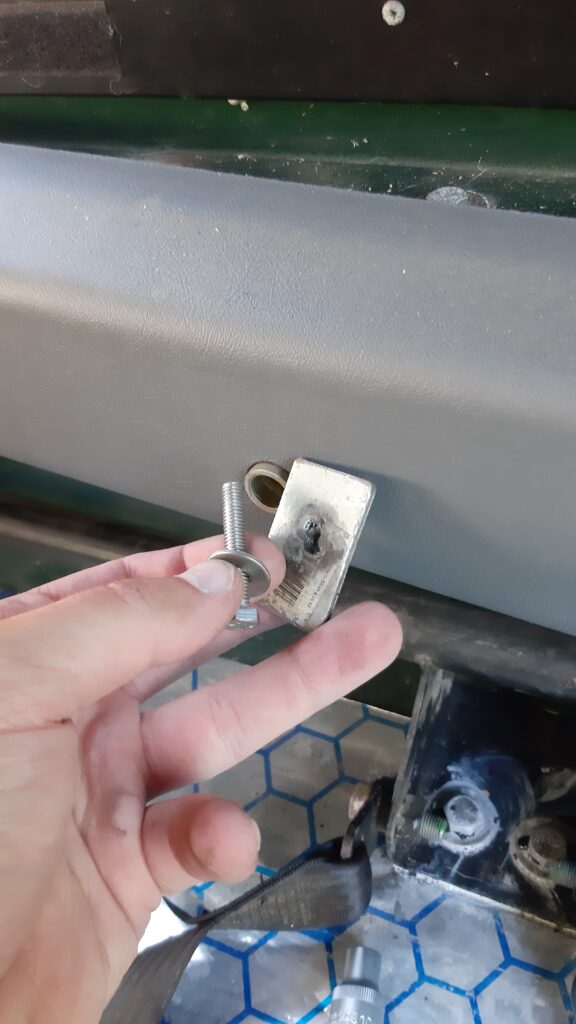
Where nothing suitable existed, we drilled new holes — but keeping the number of additional holes in the metalwork to a minimum. Every new hole is a potential rust spot, and Eddie already had more than enough of those. (→ Step plates, → Rear crossmember). All new holes were therefore treated with Owatrol and fitted with rivet nuts, so the timber battens can simply be bolted in and removed again without any backing nuts.

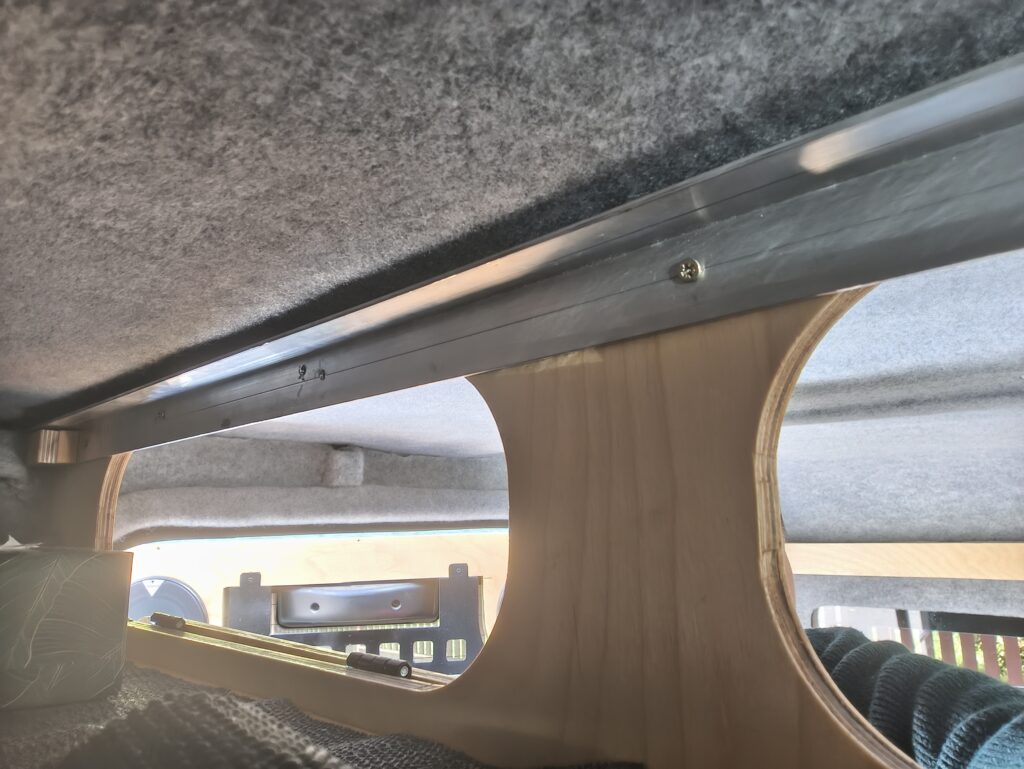
Why Solid and Demountable at the Same Time
Our guiding principle was: solid while driving, but always removable and improvable. A camper build is never truly “finished” — you learn on the road what’s missing. That’s why everything is screwed rather than glued or welded — if we want to change something in two years’ time, we undo screws rather than destroying material, and add more features as we go.
The Pitfall: Condensation
The most important point that’s easy to overlook: moisture. Condensation forms between cold metal and wood, and wood that sits permanently damp against metal works against you. Pay attention to the insulation layer underneath, avoid spots where condensation can collect without drying out, and treat the timber at critical edges. Better to think about this now than to be pulling out mouldy plywood in two years’ time. Thin Armaflex tape at 3 mm thickness also works well as a separating layer.
Conclusion
The substructure is the unsung hero of the build. In our sequence, it comes after the sound deadening (→ Sound Deadening) and is the foundation for everything that follows: the interior build itself.