
Replacing the Fuel Pump on a Defender TD5: No More Counting Kilometres to the Petrol Station
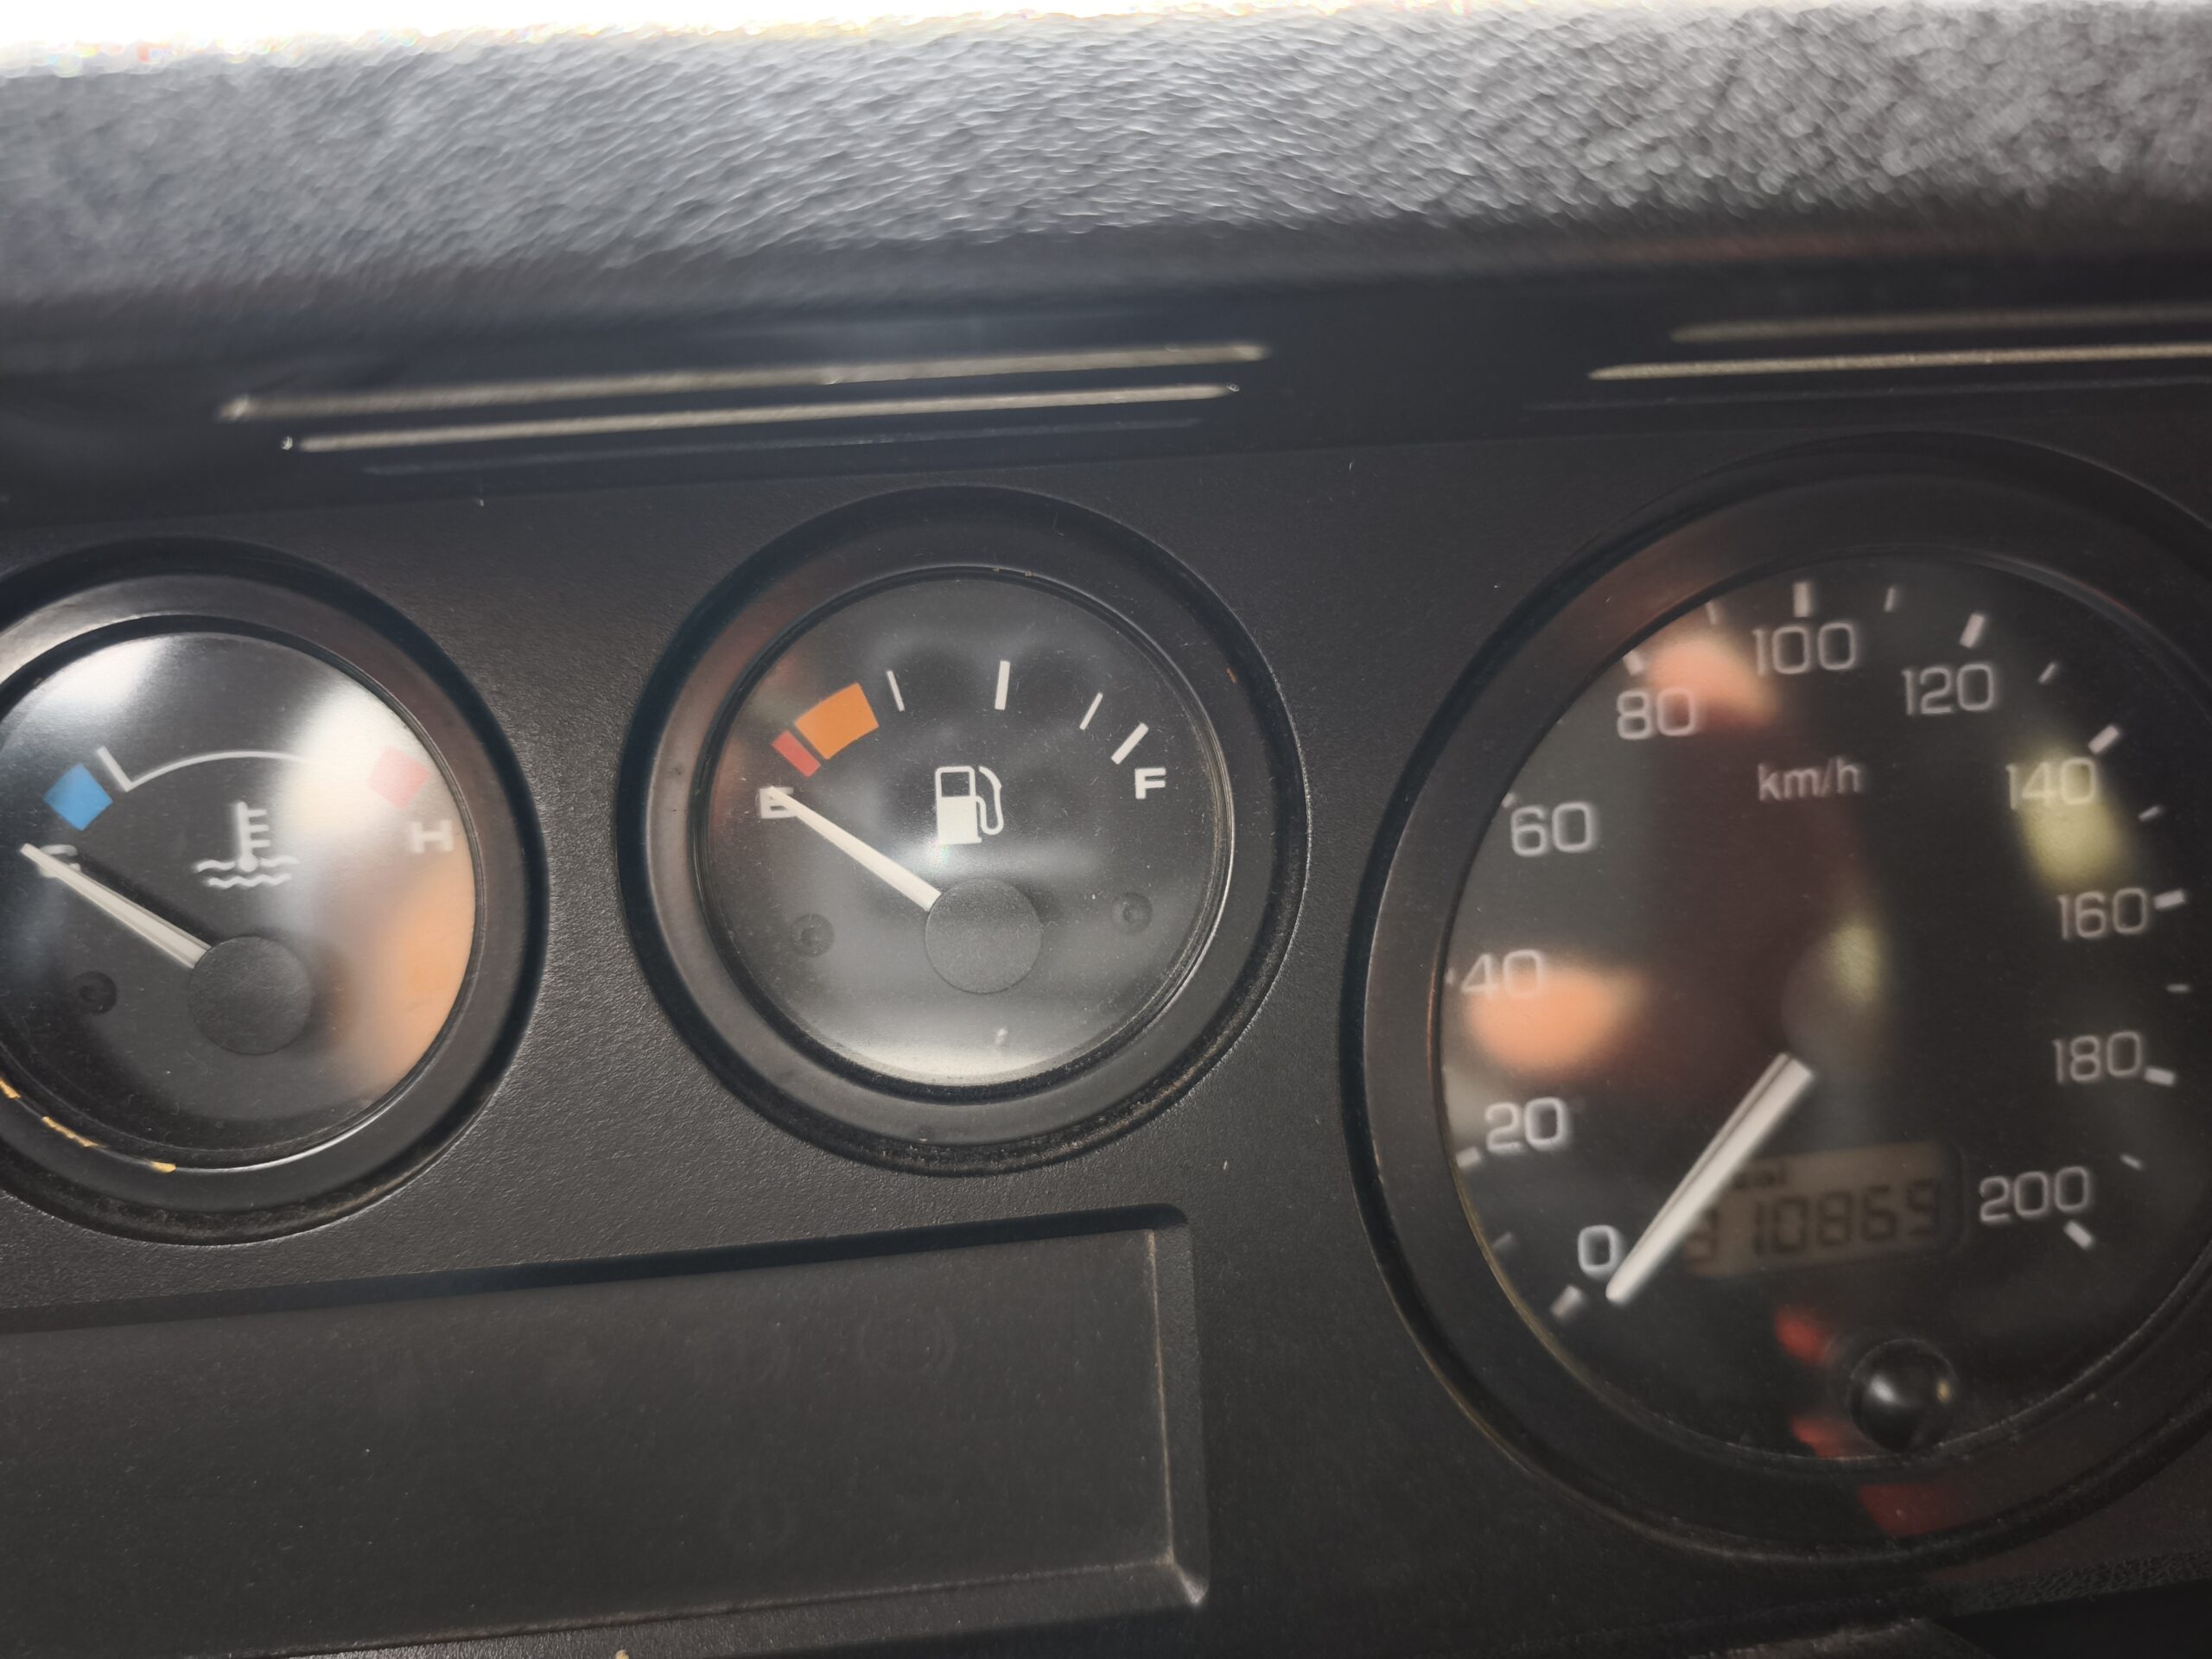
There are road trips where the tension doesn’t come from the landscape — it comes from the fuel gauge. That was us for quite a while: our fuel gauge was dead. We simply drove by kilometres — a rough idea of consumption in our heads, a 75-litre tank, and some mental arithmetic to figure out how far we could go. Every tank of fuel was a small adventure. Eventually we got fed up, and the in-tank lift pump along with its sender unit had to come out.
Why the Two Are Connected on the TD5
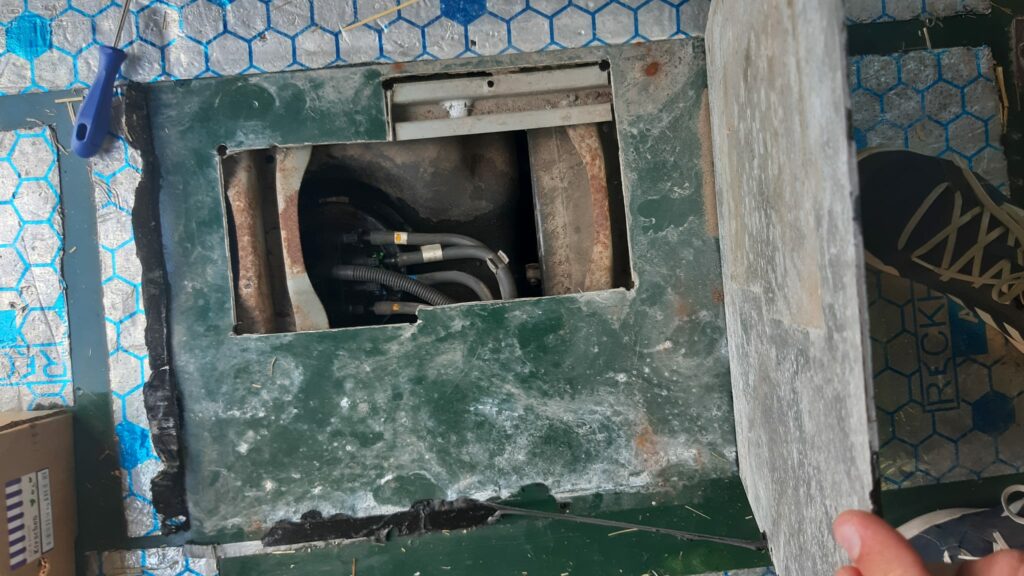
On the TD5, the lift pump sits inside the tank, and the fuel sender — the float that feeds the gauge — is part of the same unit. So if the gauge is playing up, you’re already exactly where the pump is anyway. Two birds, one stone. Unfortunately, the sender is not available to buy separately, which means you’re looking at an expensive new pump with the float already integrated.
The Big Advantage: The Access Hatch
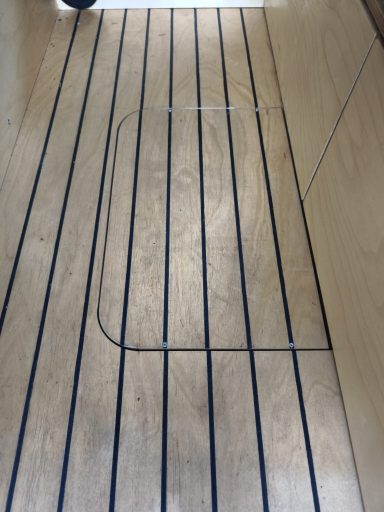
And here’s the detail that decides between half a day’s work and a full one: almost every Defender has a retrofitted access hole in the floor directly above the pump. This gives you access to the lines and the pump cover without having to drop the tank completely. In our case, the previous owner had already fitted this opening — as a removable cover in the wooden floor. Without a hole like this, the job becomes significantly more awkward, because then everything really does have to come down.
A second stroke of luck: our tank is made of plastic. A steel tank in that location, at that age, would almost certainly have rusted through by now.
The Process in Broad Steps
- Run the tank down or drain it — you don’t want 70 litres of diesel over yourself.
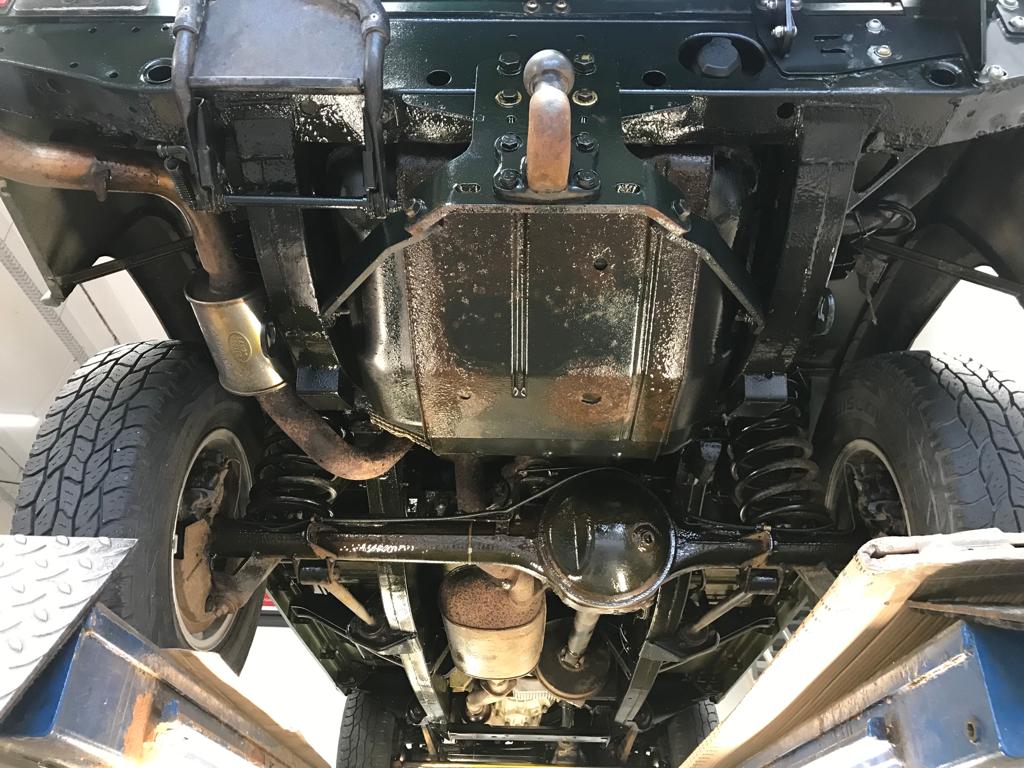
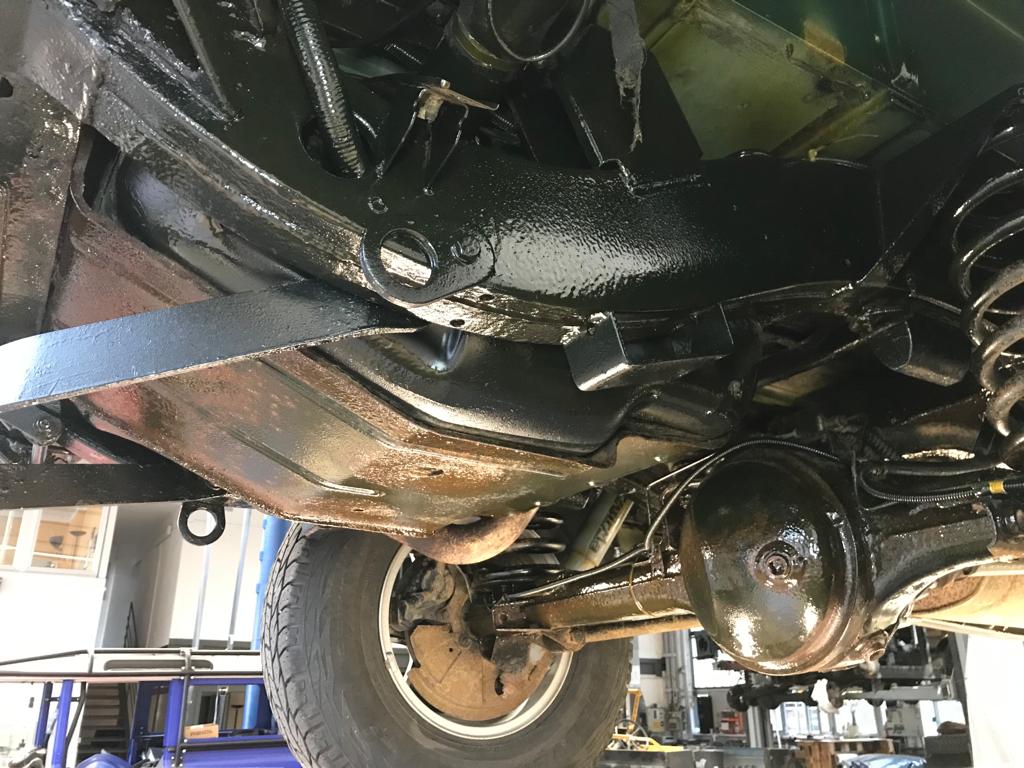
- Remove the protective plate under the tank. (This should be treated for rust before refitting.)
- Through the floor hatch, disconnect the lines and fittings (or cut them), and photograph the connectors before you do.
- Lower the tank and clean the inside — if it’s open anyway, it’s always worth doing.
- Replace the fuel filter while you’re at it.
- Old pump out, new pump in.
- Bend and adjust the float arm so the gauge reads correctly once everything is back together.
The detail steps — gaskets, assembly sequence, bleeding and priming — follow the standard procedure. While we were at it, we also replaced the seal at the filler neck and renewed the clamps connecting the filler neck to the feed hose going into the tank.
Safety
Diesel, tight spaces, and electrics near the tank — this calls for care. Make sure there’s good ventilation, no ignition sources nearby, collect and dispose of diesel properly, and don’t reconnect the electrical connections until everything is dry and sealed.
Conclusion
A job that sounds more involved than it actually is — once you have the floor hatch. And if you’ve run the tank down beforehand, the removal goes quickly too. Best of all: since then we’ve actually known how much fuel is in the tank — no more mental arithmetic and fingers crossed until the next petrol station.