
Water Supply in the Defender Camper: Installing a 64-Litre Tank, Pump & Shower Yourself
Why Have a Fixed Water System at All?
You can get surprisingly far with a jerrycan in the boot — at least until you’ve emptied half the car for the third time that day just to find your toothbrush. For travelling, we wanted the water fixed in the vehicle: within easy reach for cooking, washing hands, and a quick shower, without having to reorganise everything every time.
What came out of it is a deliberately simple system: a 64-litre tank low in the vehicle, a 12V pump, a sink with a pull-out spray head — and with one move it doubles as an outdoor shower. The whole thing is designed purely as a grey water system; drinking water runs separately (more on that below).
In this post I’ll walk you through the setup, the parts, and above all the spots where things got tricky.
The Starting Point: Where Does the Tank Go?
The location was the most important decision for us — and it’s easy to explain:
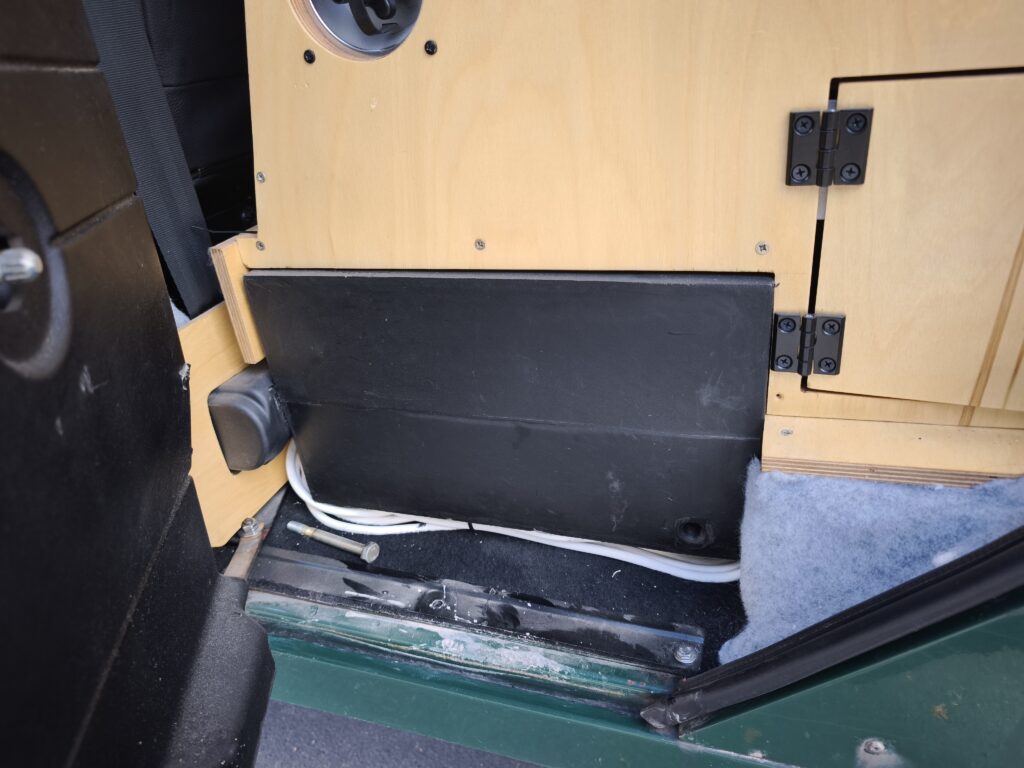
- Low centre of gravity. The tank sits in the recess in the footwell in front of the passenger seat — as low down as the vehicle allows. 64 litres is also 64 kilograms — you want that weight down low, not up at head height.
- Central in the vehicle. Stored in the middle rather than on an outer edge, the weight stays closer to the vehicle’s centre and has minimal effect on balance off-road.
- Easy to access. You can reach the tank without any trouble from the side — which keeps filling, checking, and cleaning straightforward.
- It simply fits. The plastic tank sits almost as if made to measure in the recess in front of the seats, leaving less wasted space and less bracket-building.
Parts Overview
- Plastic water tank, 64 l, in the passenger footwell
- Water pump, 12V, 19 l/min, 1.1 bar
- Water hose from tank to sink
- Sink (stainless steel), bonded and screwed to the wood with Sikaflex
- Spray head with standard push-fit quick-connect hose fittings
- Inspection opening in one of the compartments for checking water level
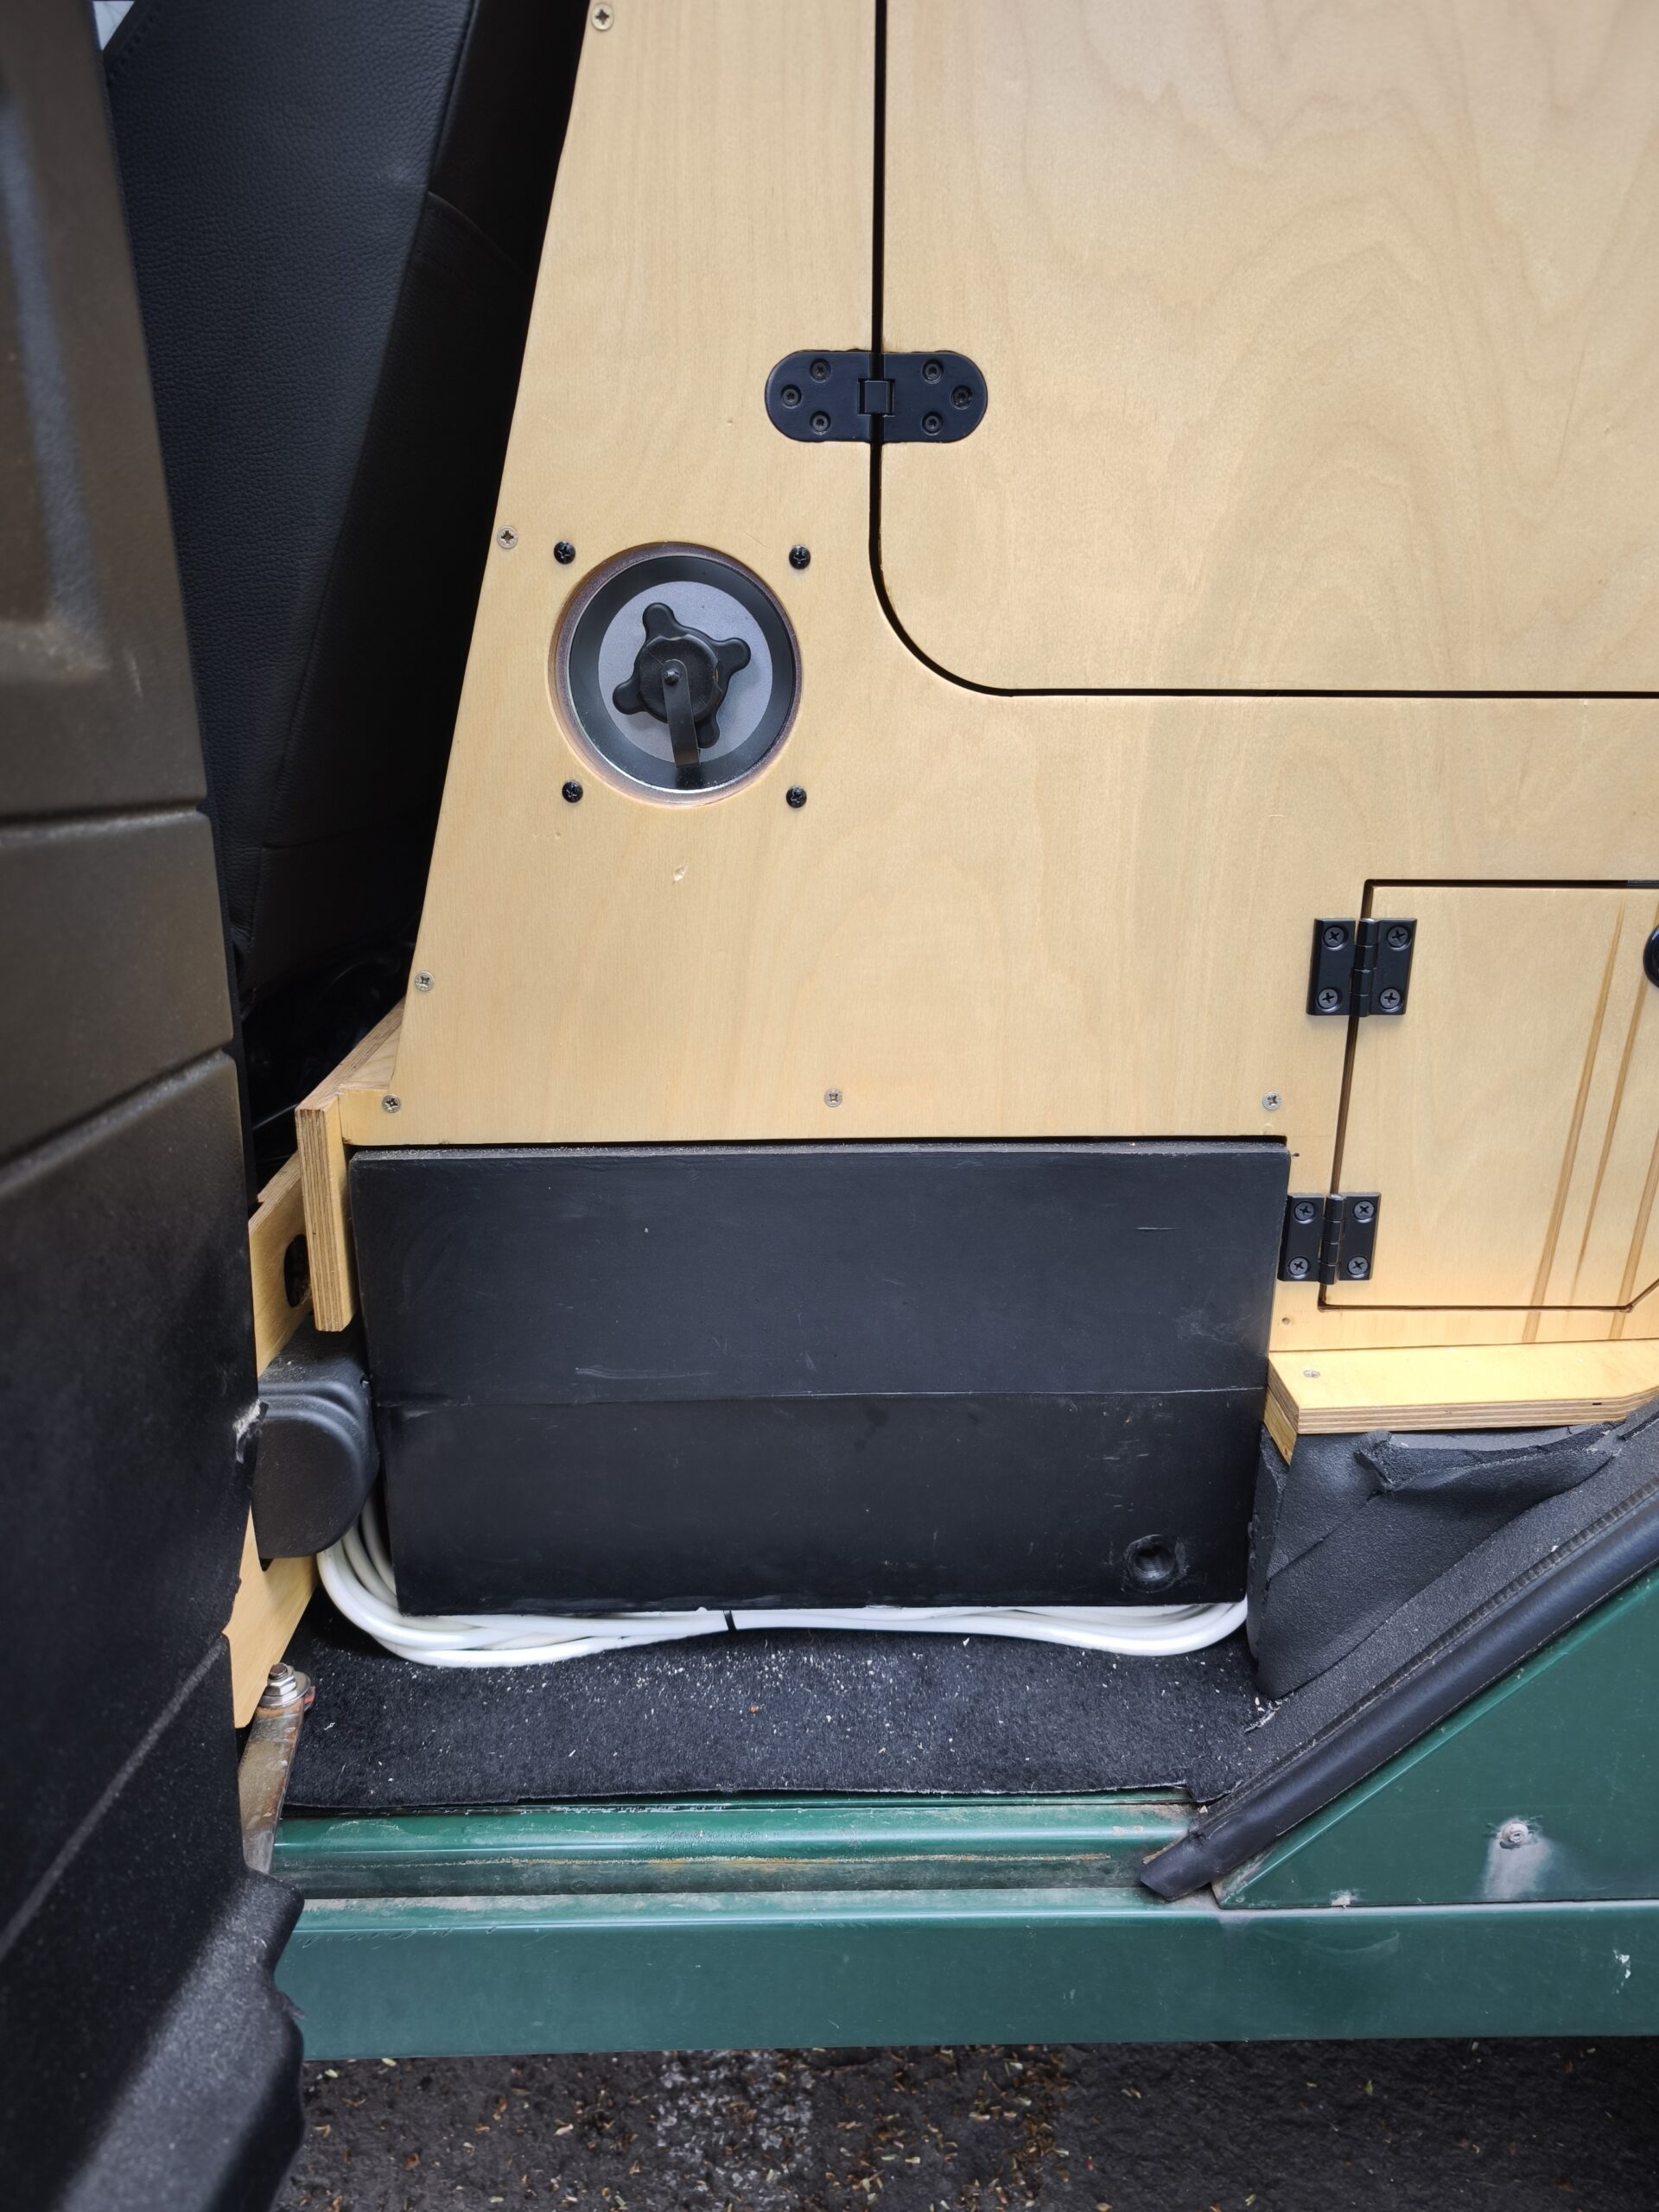
- Filler neck with push-fit connection at the side door behind the driver’s seat
Note: The pump at 19 l/min and 1.1 bar delivers solid pressure at the spray head — more than generous for the sink, and just right for the shower.
Step 1: Position the Tank and Route the Hose
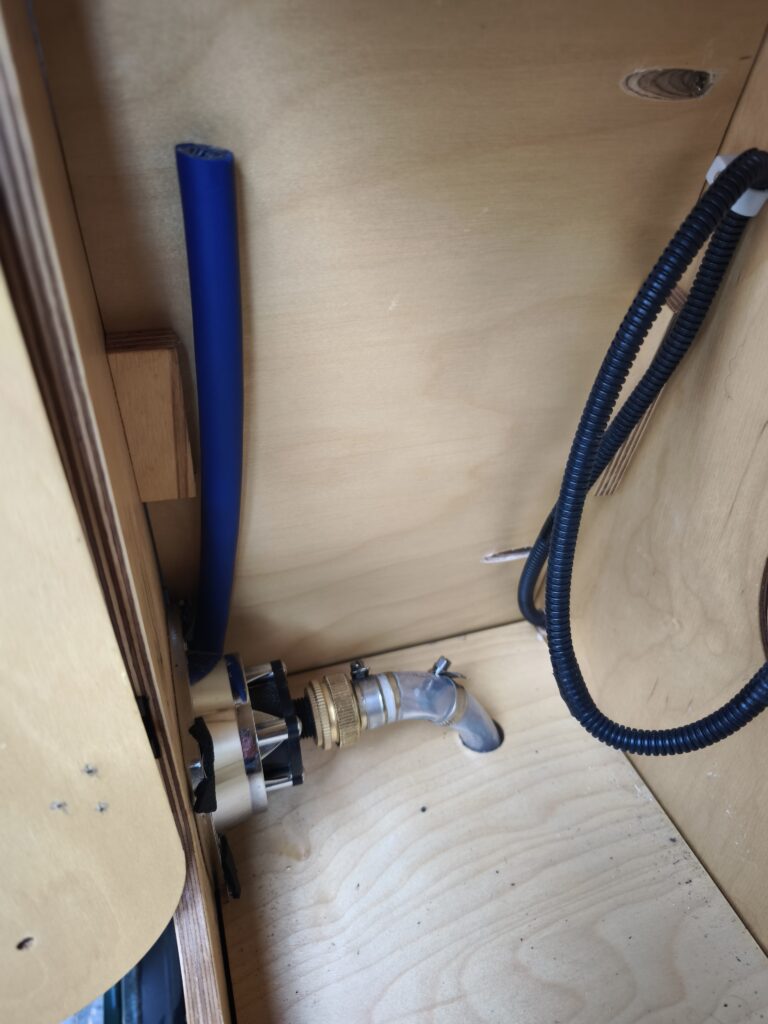
First the tank goes into the footwell recess, then the pump draws the water via hose to the sink. When routing, make sure the hose has no kinks, and that the pump is properly bled after the first fill — otherwise it’ll just pull air.
Step 2: Fitting the Sink
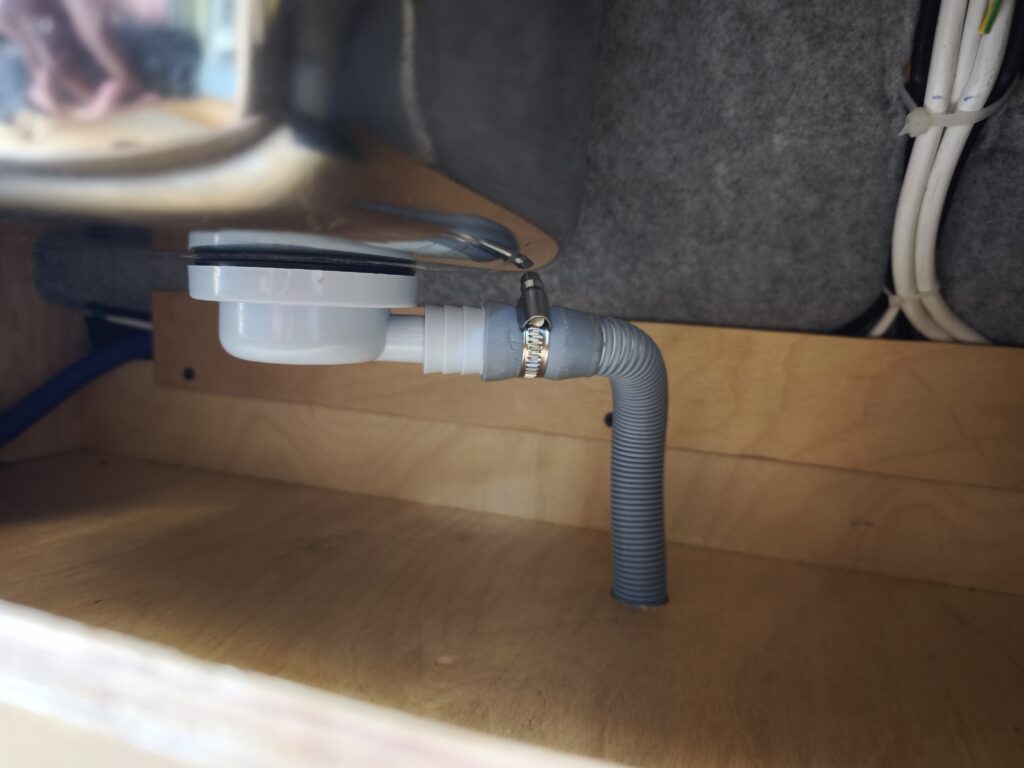
The sink sits on the wooden panel and is fixed with Sikaflex plus screws. That combination is deliberate: the screws hold mechanically, while the Sikaflex seals the edge so that spray water can’t get under the sink and into the wood. That’s exactly where moisture damage creeps into a wooden substructure over time. The sink also sits below the surface of the wood, so we can put a lid on top to create a continuous worktop.
Step 3: The Hole for the Spray Head — The Trickiest Part
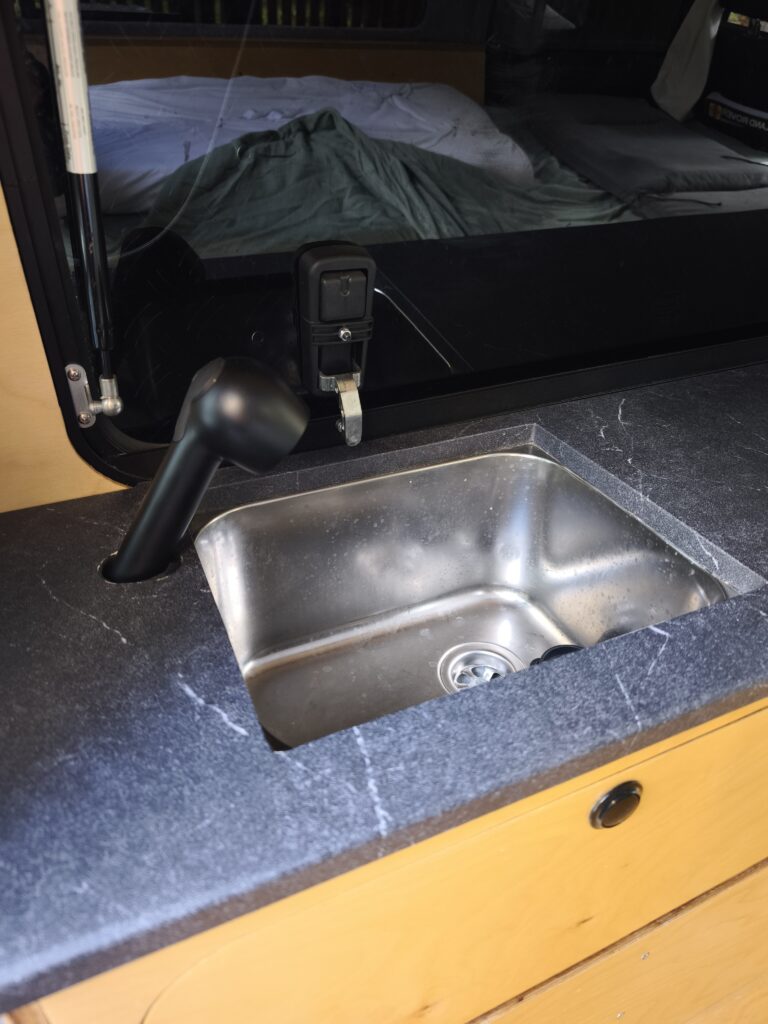
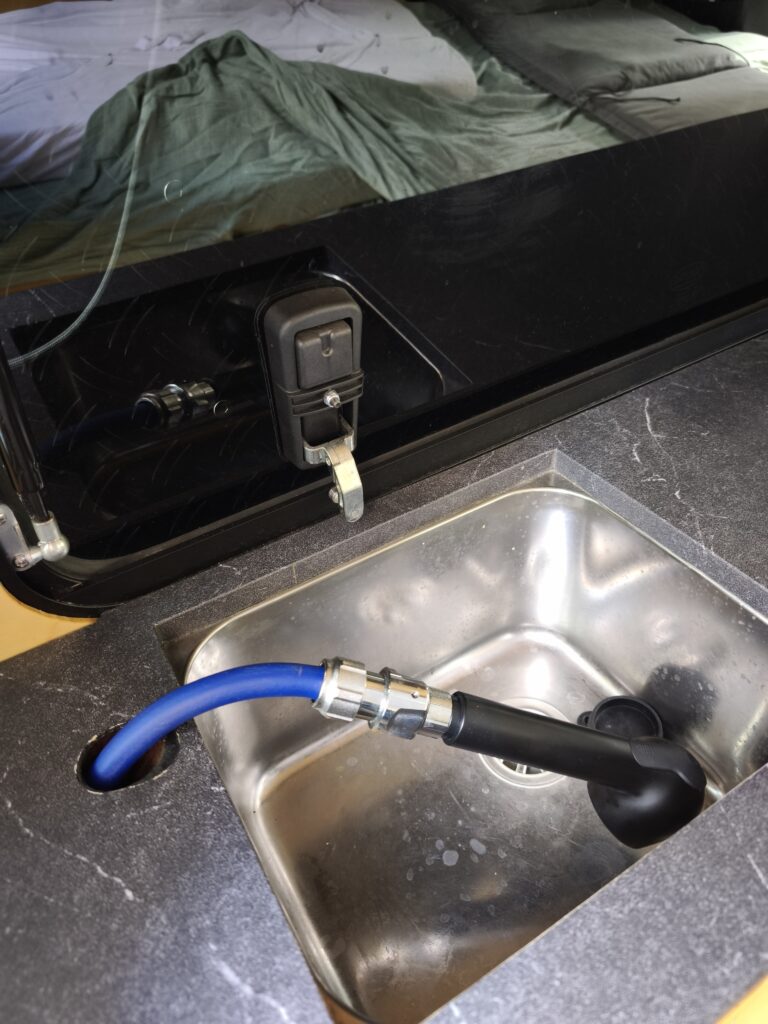
Honestly, this was the hardest part of the whole build. The spray head needs to sit at a 55° angle so you can grip and pull it out cleanly. I drilled this angled hole using Forstner bits — but a clean, accurate cut at 55° is significantly more demanding than it sounds, because the bit wants to wander as soon as you start. What helped: go in slowly, establish a shallow guide first, and then work your way gradually to the angle. If you have the chance, practise on a offcut first — it’ll save you the same frustration I had.
Step 4: The Spray Head Holder — Several Attempts
The holder for the spray head also needed multiple revisions. The crux of it: it has to hold the head securely, but still release easily enough to pull out one-handed. The usable range between “falls out on its own” and “takes two hands to get loose” is narrower than you’d think. Plan from the start to build two or three versions.
Step 5: Inspection Opening for Maintenance
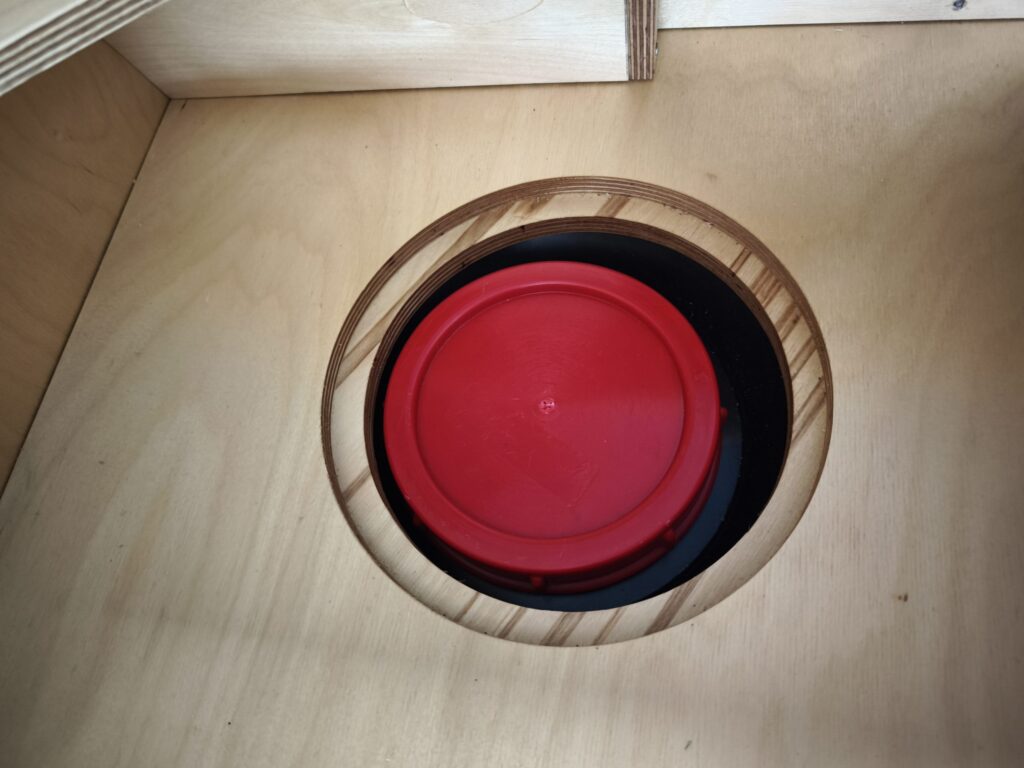
One of the compartments has an inspection opening. Through it I can see the water level in the tank and reach inside to disinfect it — without having to remove the tank. It’s a small extra step during the build, but a big convenience in daily use. We’ve also had several situations where, with no other filling option available, we poured water straight from a jerrycan through the inspection opening from various sources along the way.
From Sink to Outdoor Shower
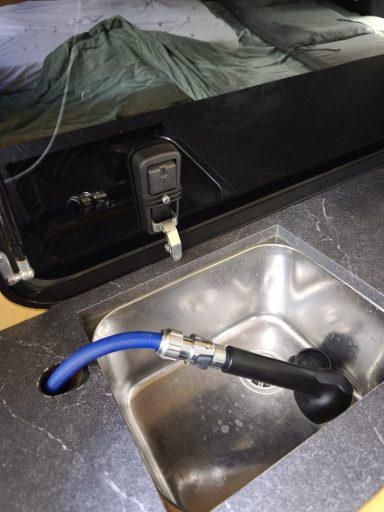
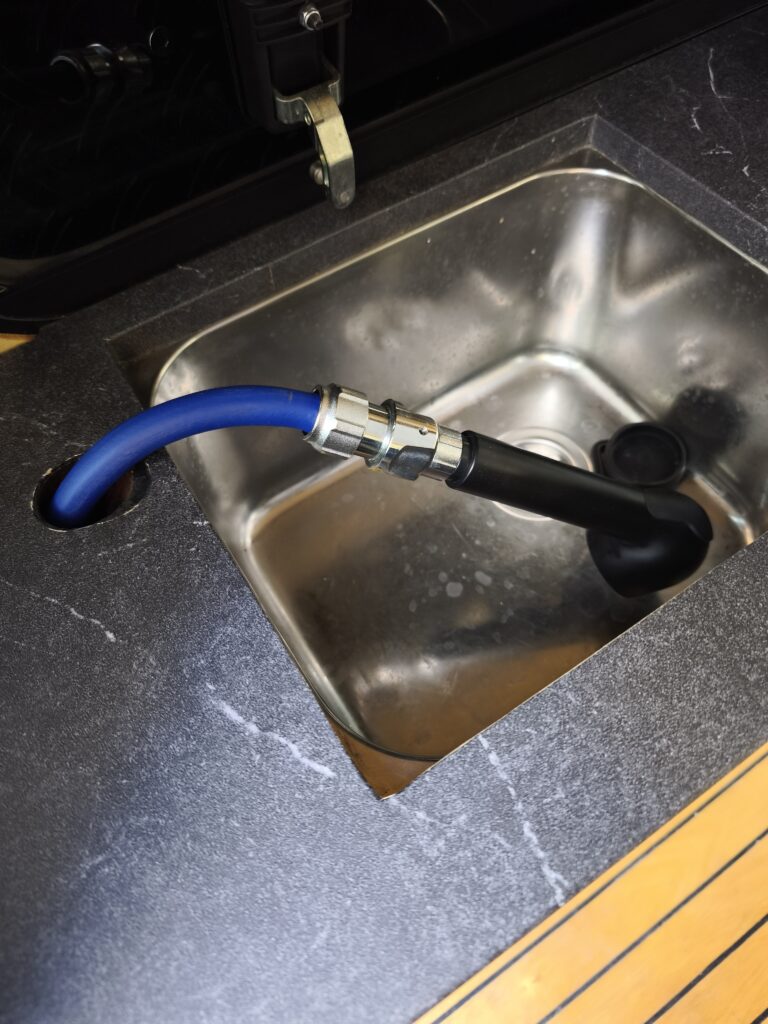
The real trick is in the quick-connect fitting on the spray head. Because they’re standard push-fit couplings, I can disconnect the spray head from its short hose and connect an extension hose of about 1.5 metres.
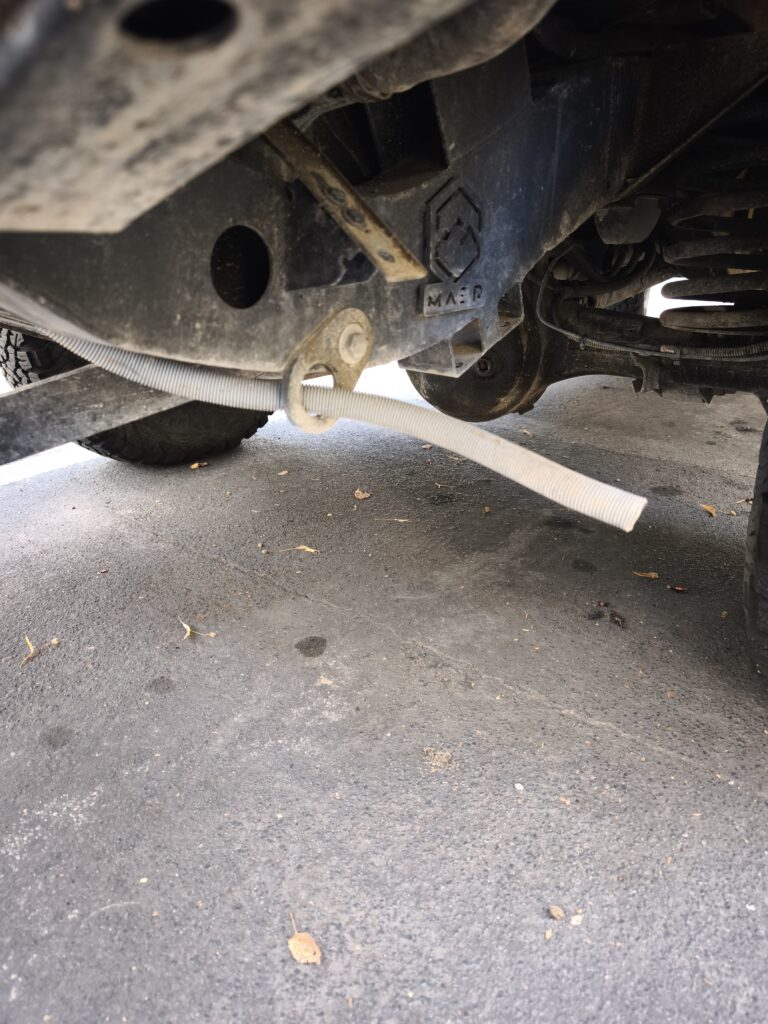
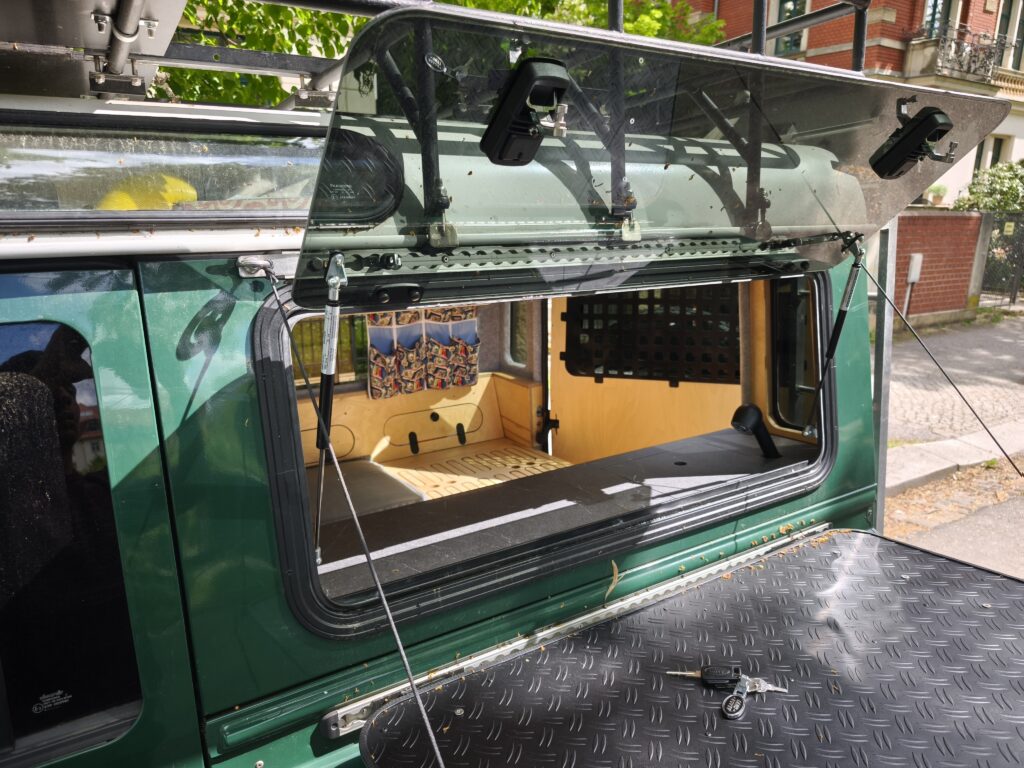
I feed this extension through our hinged window to the outside and hang the shower head on the roof rack out there. That way you shower standing beside the vehicle, the water drains outside, and the interior stays dry. For a quick shower it works perfectly — travel luxury with what you’ve got on board, not a spa, but exactly what you need on the road.
Drinking Water Runs Separately
Important for anyone building this themselves: the 64-litre tank is grey water only — washing up, hand washing, and showering. Drinking water is kept deliberately separate in its own jerrycan mounted on the side wall of the vehicle. That keeps clean drinking water clean, and it means I can fill and clean the grey water system without having to worry about drinking water hygiene at all.
Filling and Cleaning
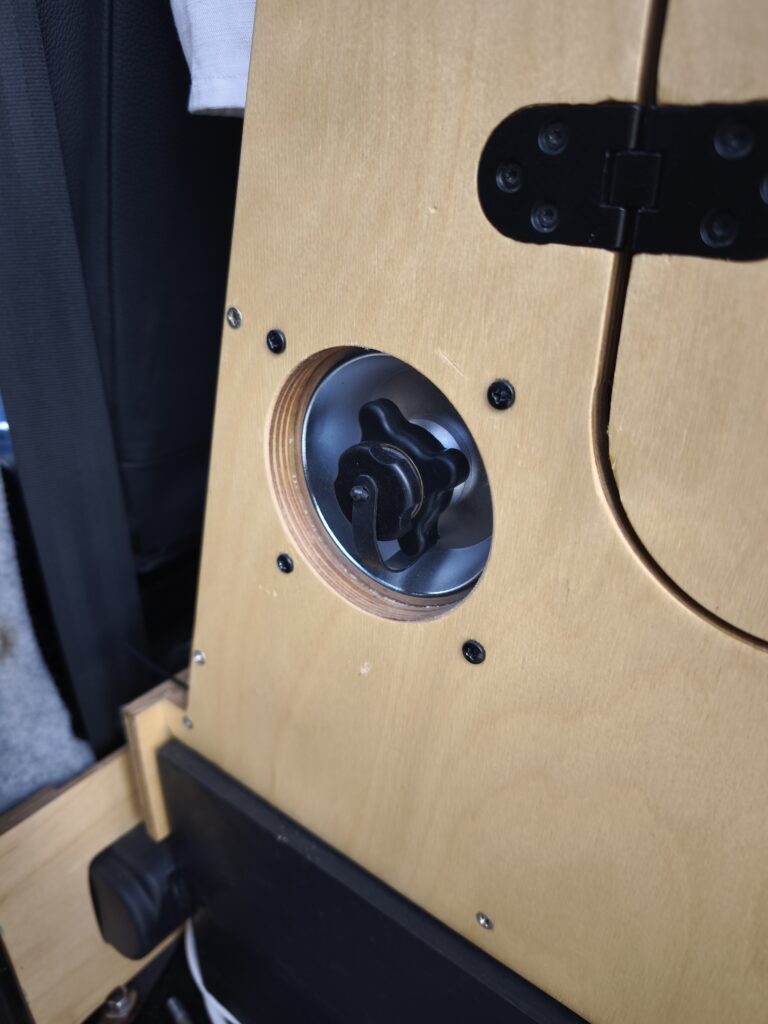
- Filling: via a filler neck with push-fit connection at the side door behind the driver — no opening hatches, no lifting a jerrycan above your head.
- Cleaning/disinfecting: via the inspection opening. Especially with grey water that sits for a while, this needs to go on the regular schedule so nothing has a chance to take hold.
Conclusion: What I’d Do the Same — and What I’d Do Differently
The low, central tank position was absolutely the right call: the centre of gravity stays low, and everything is easy to get to in daily use. The separation of grey and drinking water is also something I’d do exactly the same way every time.
The two parts that cost me rework time were the purely practical ones: the angled 55° hole and the spray head holder. If you’re building this, consciously budget time and a couple of test runs on scrap wood for both of those — it’ll save you the frustration I went through.
How have you solved water in your camper? Fixed tank or jerrycan, separate drinking water or everything from one source? Feel free to leave a comment.
Further reading: how the interior stays dry and warm in the first place — Insulating with Armaflex and Installing a Diesel Heater in an Off-Roader. The matching substructure is covered in the DIY Camper Storage Table post.
Next post in the build series: Power in the Camper — second battery, solar, and B2B charger. Because a 12V pump is only as good as the battery behind it.