Replacing the Defender Rear Crossmember: From MOT Failure to New Metalwork
Some jobs you choose yourself — others the MOT inspector chooses for you. Our rear crossmember fell firmly into the second category: “flagged, serious” was essentially what the report said. And when an inspector is that direct about a structural component, there’s no debate — the crossmember has to come out.
Why the Rear Crossmember Is a Recurring Problem on Defenders
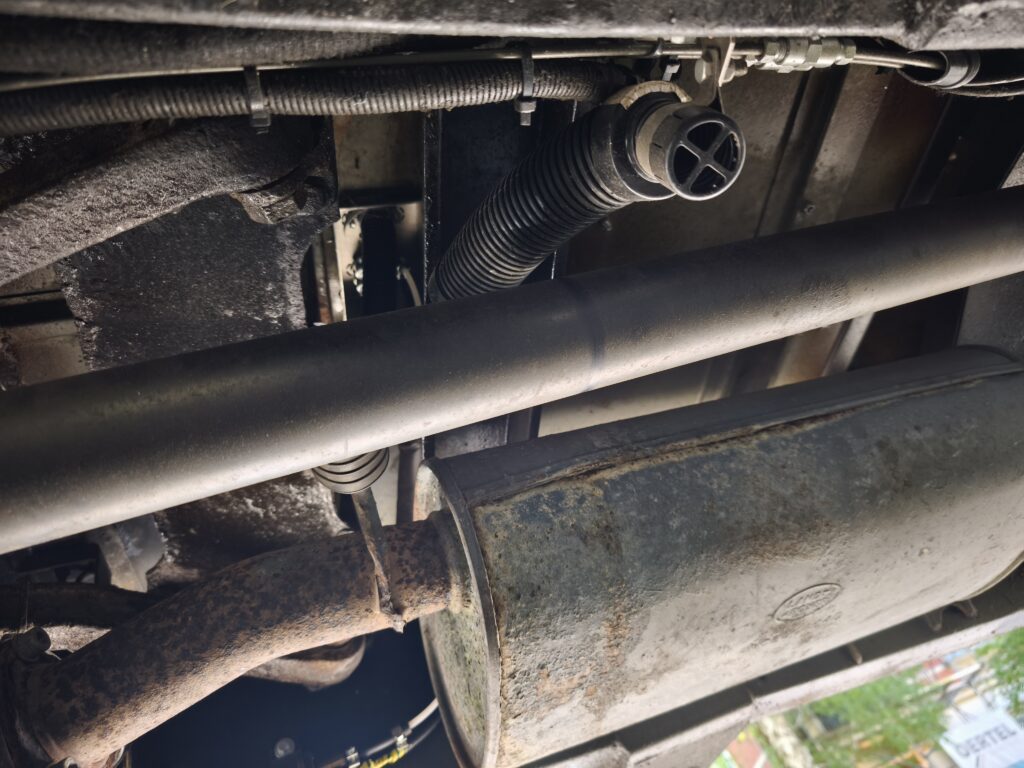
The rear crossmember sits right at the back of the chassis, takes the spray, dirt, and salt thrown up by the rear wheels, and is hollow on the inside. Perfect conditions for rust that starts from within and stays invisible from the outside for a long time. On many Defenders, this particular part is eventually done for — often just when the rest of the vehicle is still in genuinely good shape.
Starting Point and Replacement Part
On Eddie, the crossmember had rusted through completely — well beyond the point where a small repair patch made sense. We replaced the entire rear crossmember. The replacement was a galvanised crossmember from Poland — these zinc-coated aftermarket parts are reasonably priced and come with significantly better corrosion protection straight out of the box compared to the original bare steel part.
The Job in Broad Outline
The honest bit upfront: the actual swap isn’t the hard part — everything around it is. To get to the crossmember, quite a lot has to come off first (depending on the spec: bumper, tow bar, trim panels, wiring, and sometimes things in the rear area). Allow plenty of time for this, take photos as you dismantle, and label connectors and bolts as you go.
Then the old crossmember is cut out, the new one aligned, and welded in. The alignment is where it gets critical: the crossmember ties everything together at the rear, and it has to be true and square. Better to measure and tack three times before running the final bead.
After welding, we primed and painted the crossmember black, then sealed the cavity — precisely because we know that’s exactly where the next round of rust would come from. Galvanised plus cavity wax is the difference between “lasts a few years” and “lasts properly.”
Safety and MOT — Be Honest With Yourself
The rear crossmember is a structural, safety-relevant component, and the trigger for this job was an MOT failure. If you’re welding this yourself, the weld has to be right — and the repair needs to be presented for re-inspection and sign-off afterwards. If you’re not confident with the welding, have this part done by someone who is. This is not a place for “should be fine.”
Conclusion
A big, dirty job with a lot of dismantling — but one that’s worth it. A galvanised, properly sealed crossmember ends up better than the original ever was, and the MOT failure is history.