
Building a Rear Door Panel from Scratch: From Strip-Out to a Speaker Highlight
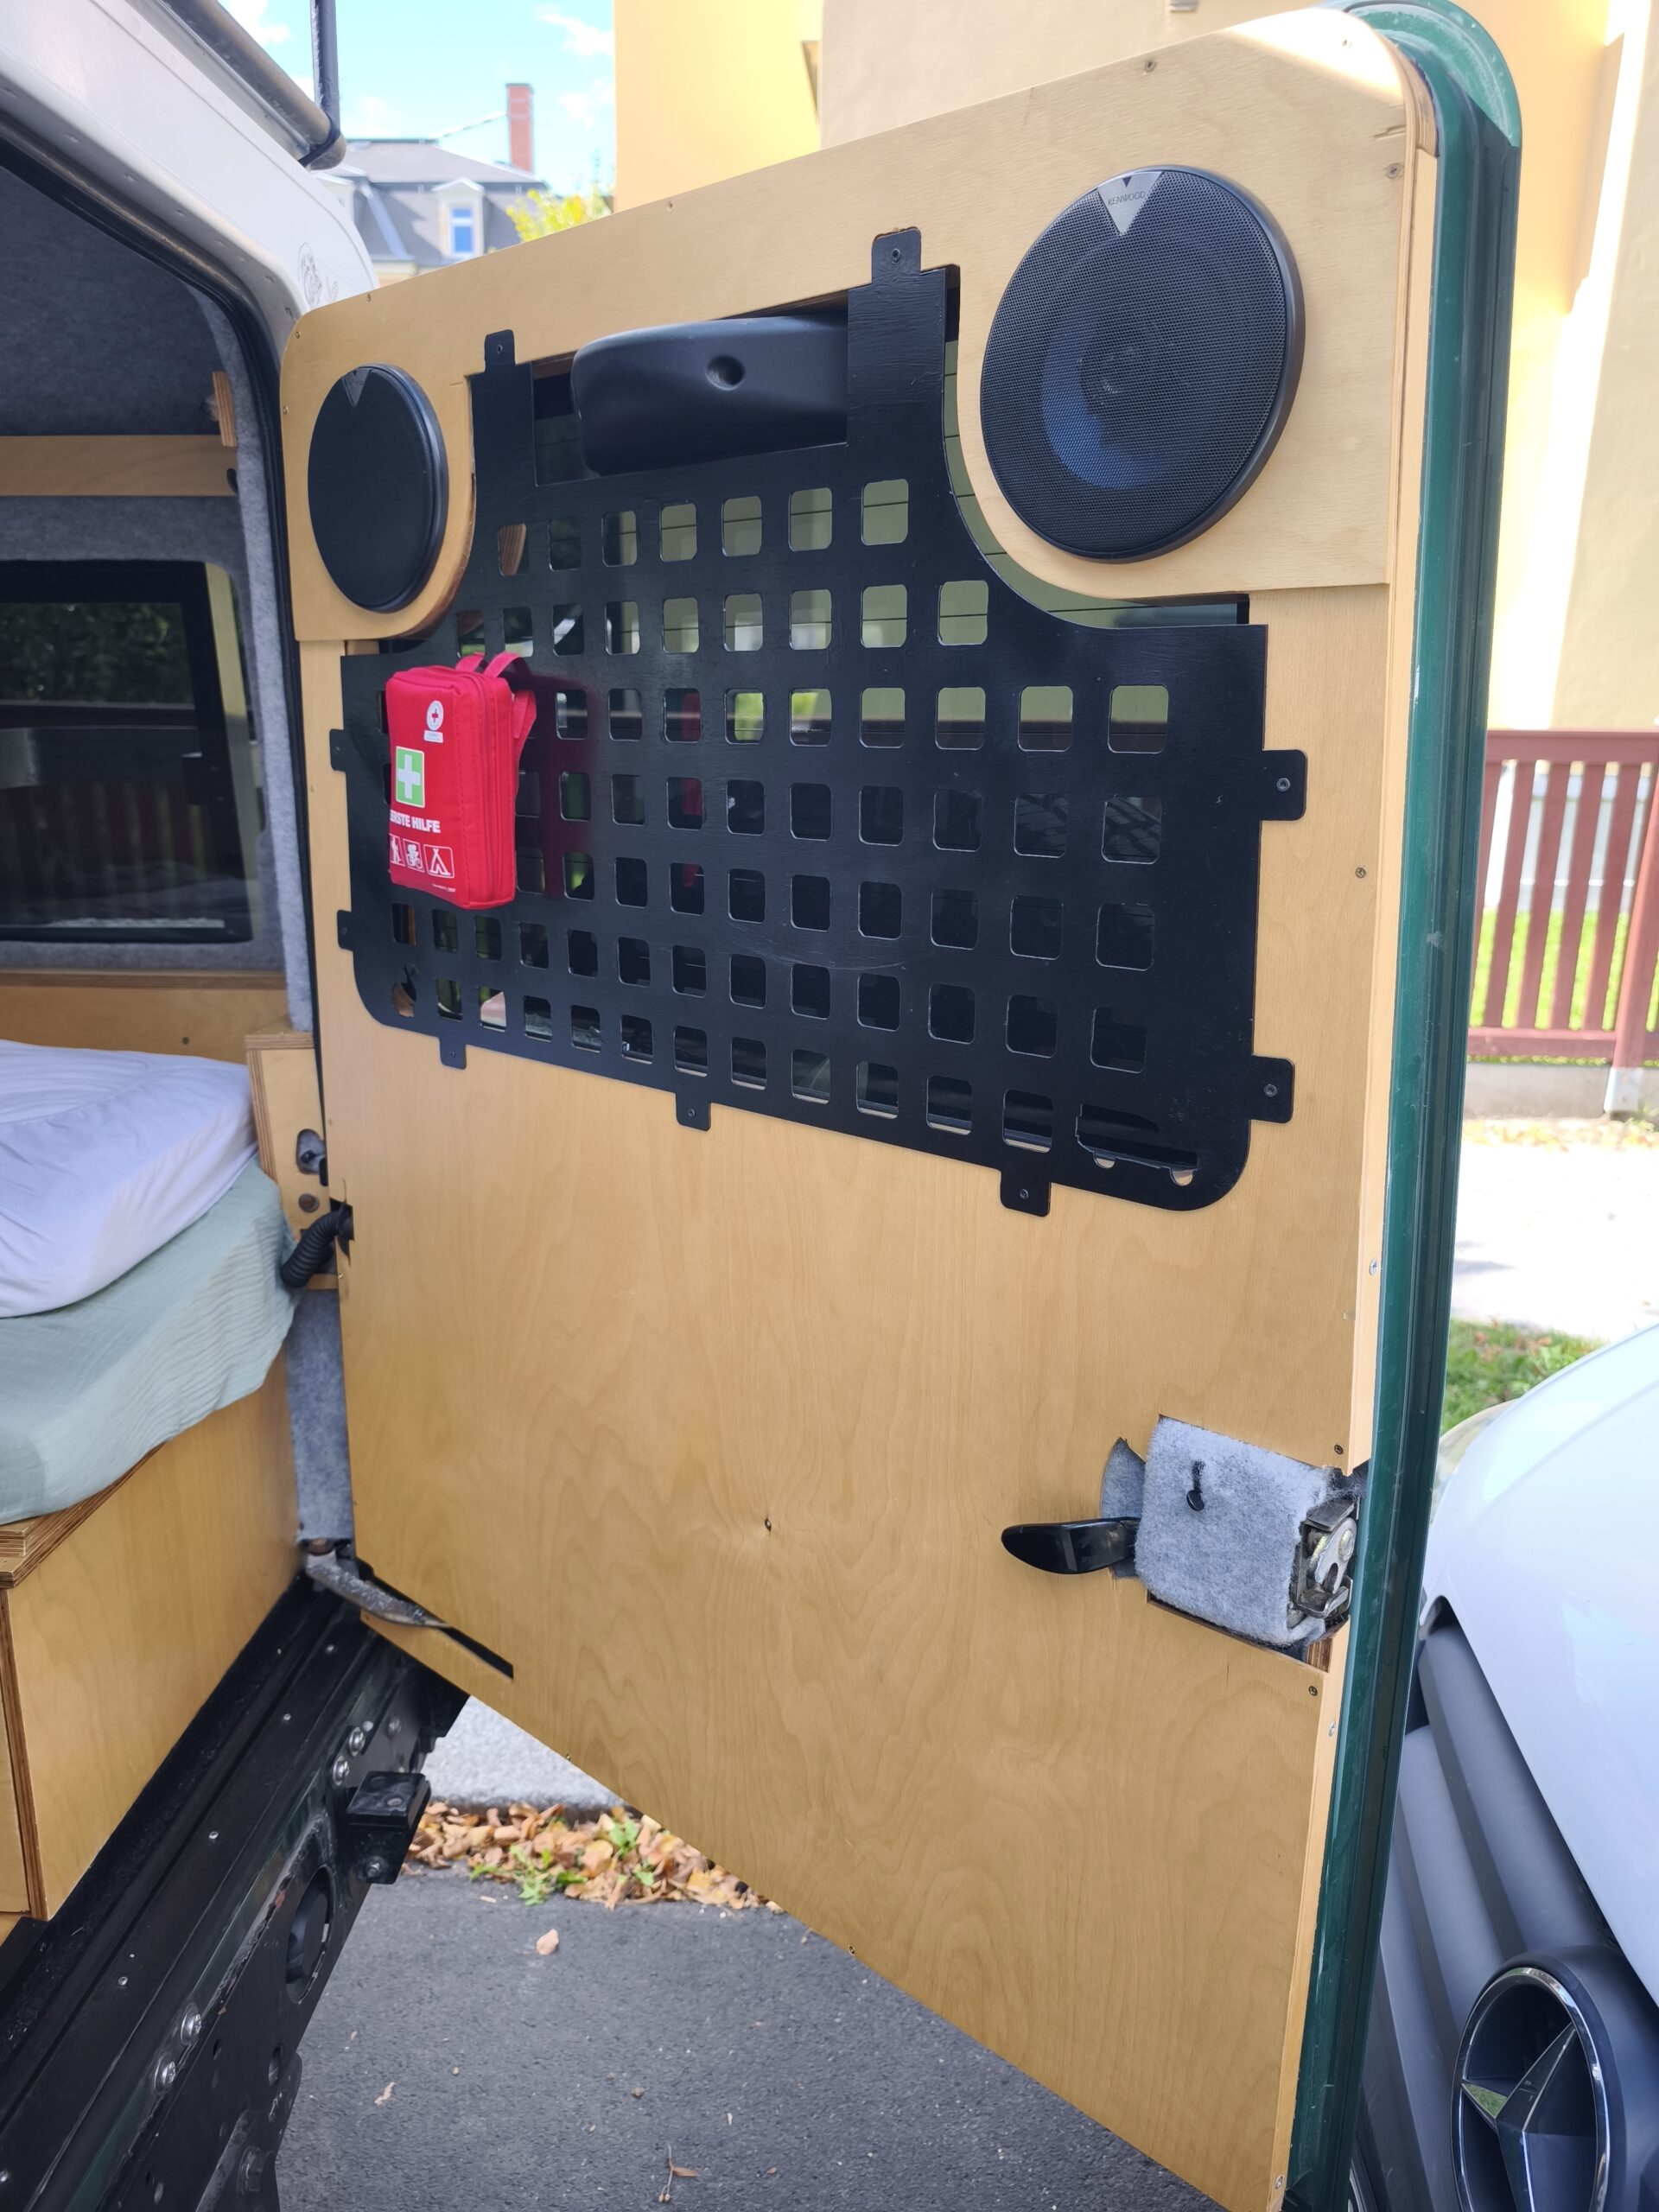
The original Defender rear door panel is exactly what you don’t want in a travel vehicle: thick, bulky, and uncomfortable. It eats up space, looks like a work van, and does nothing for acoustics or insulation. It was clear to us early on that it had to go — and since you’re building a replacement from scratch anyway, we thought big: the rear door shouldn’t just be neatly panelled, it should become the little showpiece of the back end. Honestly, the real motivation was pretty simple: we wanted to be the coolest people on the campsite with a proper set of speakers.
What We Turned the Rear Door Into
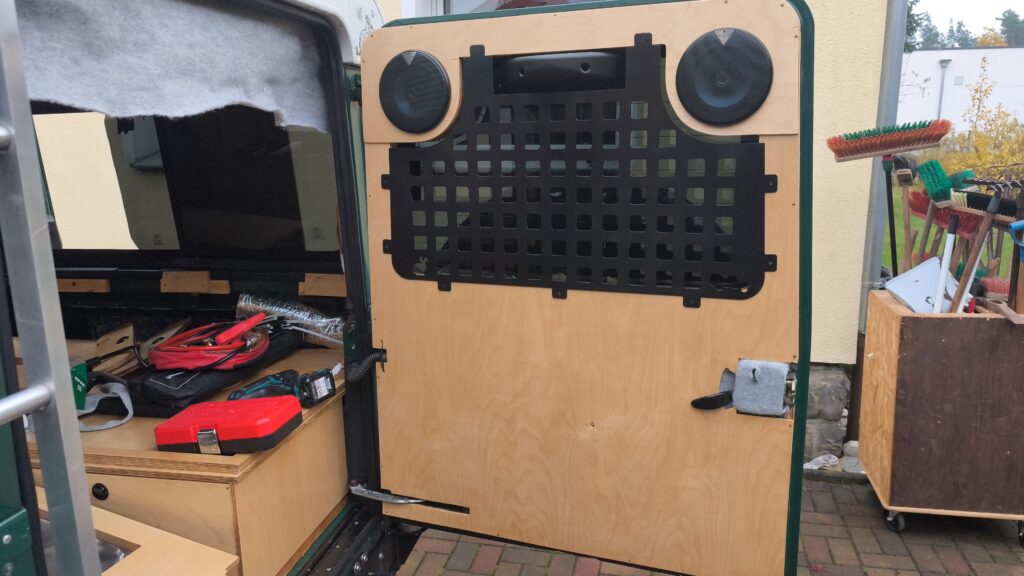
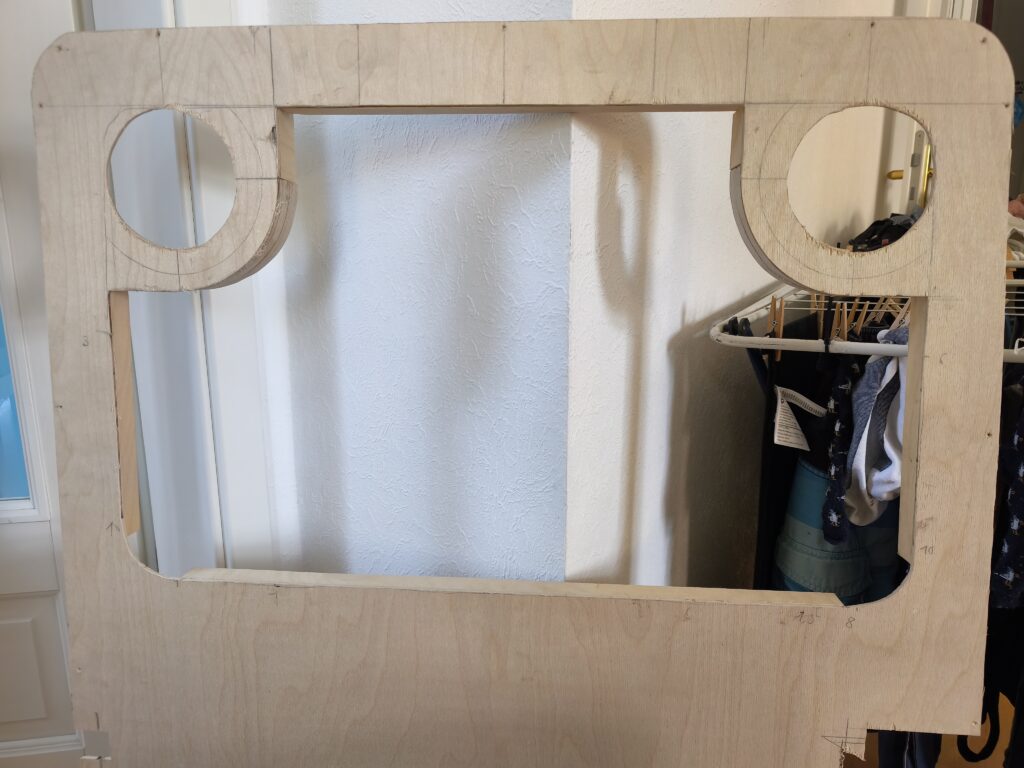
The new panel is made from 12 mm plywood — the same material we use throughout the entire build, light and solid at the same time. But the panel is just the carrier. Three things make the door special:
First, speakers are integrated — the reason the project grew into something this involved in the first place. Second, we insulated the door against heat loss, because the large sheet-metal surface of the rear door is a serious cold bridge in winter. And third — the piece we’re most proud of — a custom-designed rear grille: designed in CAD, water-jet cut, and decorated with two motifs we had laser-engraved — a Defender and rabbits. You won’t find a detail like that off the shelf anywhere.
From Cardboard to Water-Jet: How the Shapes Were Made
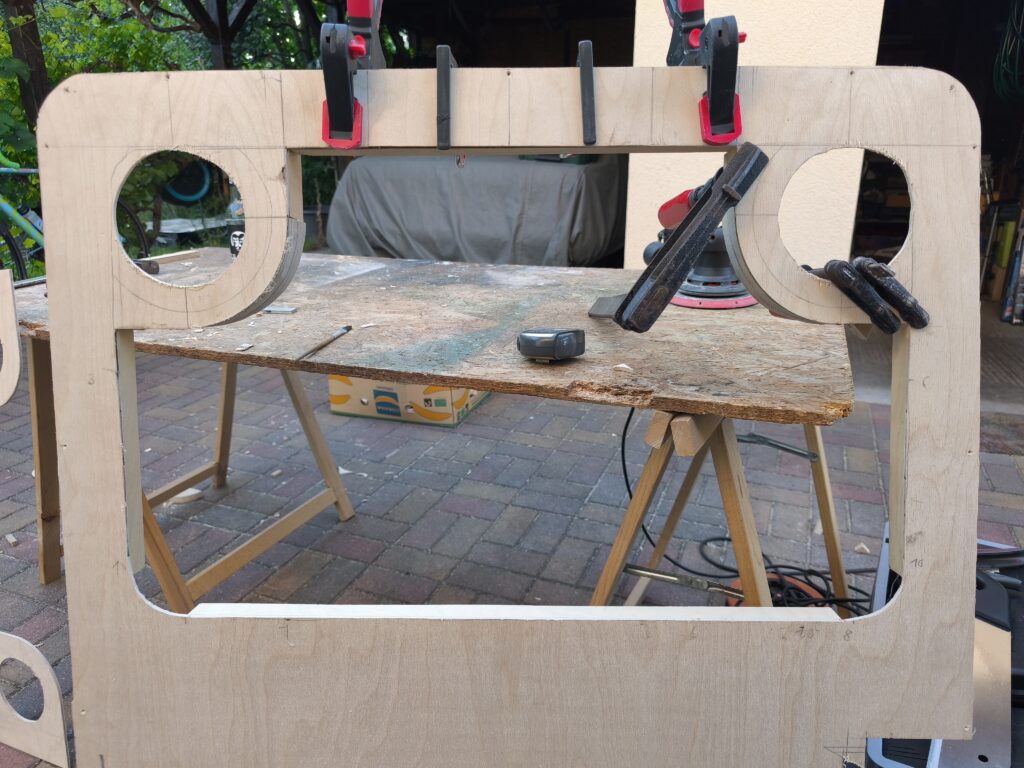
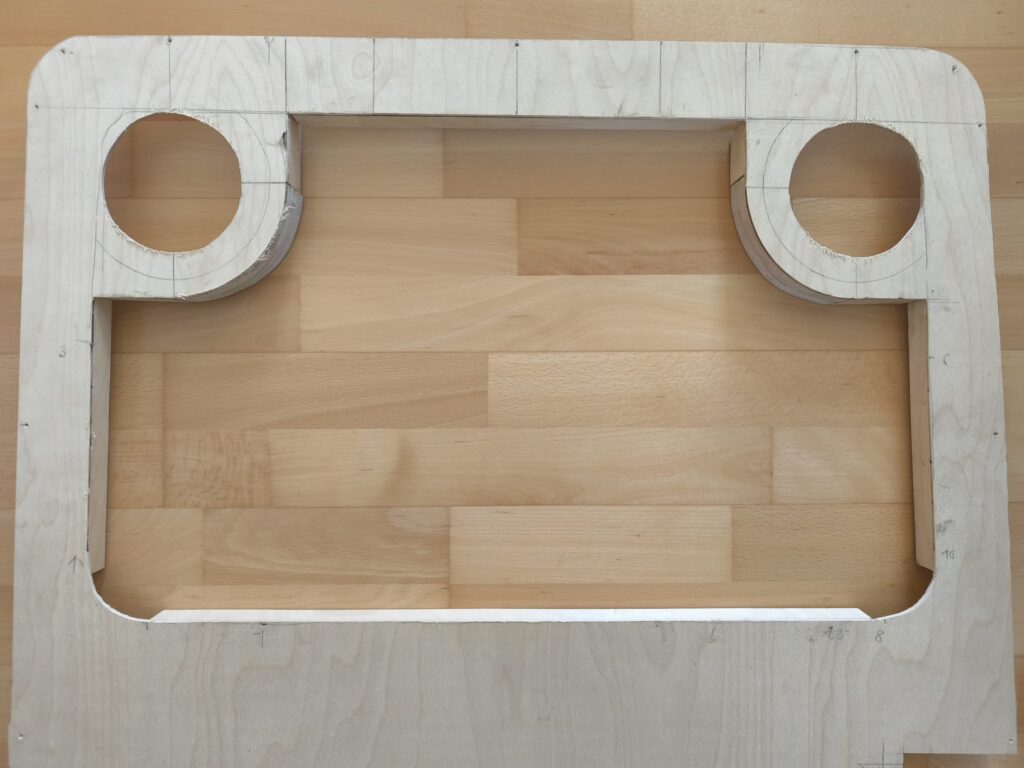
For the basic shape of the panel, we used the classic method of a cardboard template: hold cardboard against the door, mark it up, adjust it until the outline with all its cutouts sits right, then transfer it to the plywood. It takes a few rounds, but saves expensive material.
For the rear grille, we took the digital route. We determined the dimensions and basic geometry using a program that derives real-world measurements from a photo, and from that we constructed the finished grille in CAD. That file went straight to the water-jet cutter. If you come from mechanical engineering, this is where you naturally play to your strengths — but the principle of “measure and design cleanly first, then cut” works for any custom-built part.
Fixing
The panel is attached using rivet nuts. Where possible, we used existing holes in the door, and where nothing suitable was there, we drilled our own. Rivet nuts are ideal here because you get a solid thread in the thin door sheet metal, and the panel can be screwed on cleanly and removed again if needed.
Pitfalls You Should Plan For
A few things we learned the hard way:
The Defender’s rear door hinges don’t last forever. Every additional kilogram on the door works against them. Keep the panel as light as possible — that’s also why 12 mm is exactly right here and not 18 mm.
The windscreen wiper had to come off to be able to work cleanly — factor in the removal and refitting. And we were absolutely determined to keep the original brake light in the rear window — it’s not just practical, it’s also a legal requirement. Details like that belong in the design from the start, not as an afterthought.
Conclusion
What was once a clunky plastic panel has become a real centrepiece: lighter, warmer, with sound and a rear grille that exists nowhere else in the world. And yes — on the campsite, the odd head does turn.