
Defender Insulation with Armaflex: A Step-by-Step Guide for the Camper Build

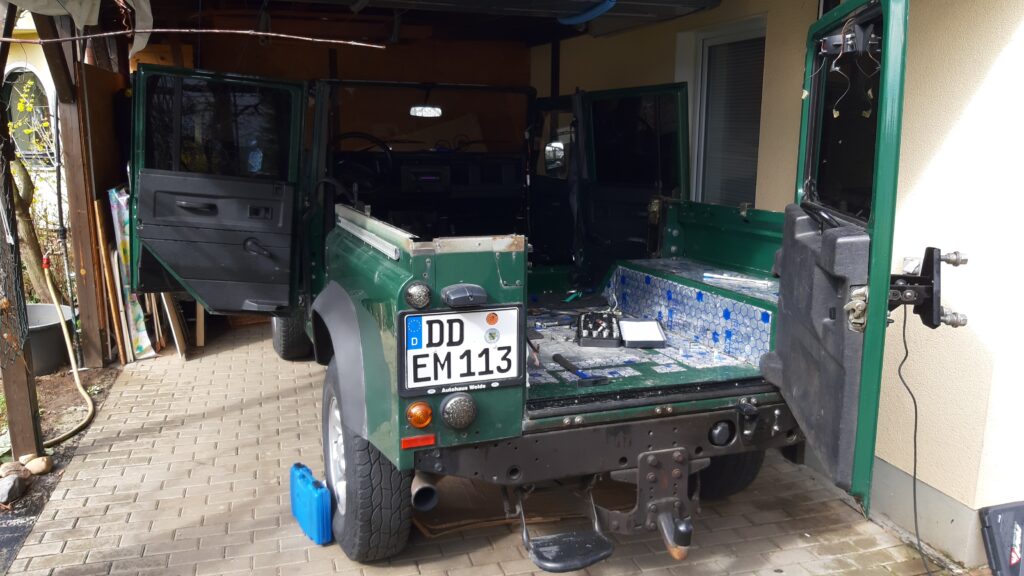
There’s a turning point in every Defender build where you stop feeling like you’re tearing something apart and start feeling like you’re actually building something. For us, that moment was insulation. The stripped shell was clean, the metalwork was done, the bare aluminium and steel panels were staring back at us — and finally, it was time to make this truck feel like somewhere you’d actually want to spend the night.
Insulation in a Defender is one of those steps that’s easy to rush, easy to underdo, and impossible to go back and fix once the interior is built. Get it right, and you’ll wake up warm on a cold mountain morning with no condensation running down the walls. Get it wrong, and you’ll be ripping out a finished interior six months down the line to deal with damp and mould. We went with 19mm Armaflex — a closed-cell foam insulation that works well in a vehicle environment — and in this post we’ll walk you through exactly how we applied it, what to watch out for.
Why Insulation Is the Most Underrated Step in Any Defender Build
Most people think insulation is just about warmth. And yes — in a metal box on wheels, warmth matters a lot. But the bigger enemy in a vehicle build is condensation. When warm, humid air meets a cold metal panel, moisture forms. In a sealed living space, that moisture has nowhere to go. Over time it leads to mould, rust from the inside out, and a camper that smells like a wet dog on a good day.
Closed-cell foam insulation like Armaflex solves both problems at once: it insulates against temperature loss and acts as a vapour barrier, preventing the warm interior air from ever reaching the cold metal. That’s why we chose 19mm as our thickness — it offers a meaningful thermal resistance without eating too much of the already limited interior space.
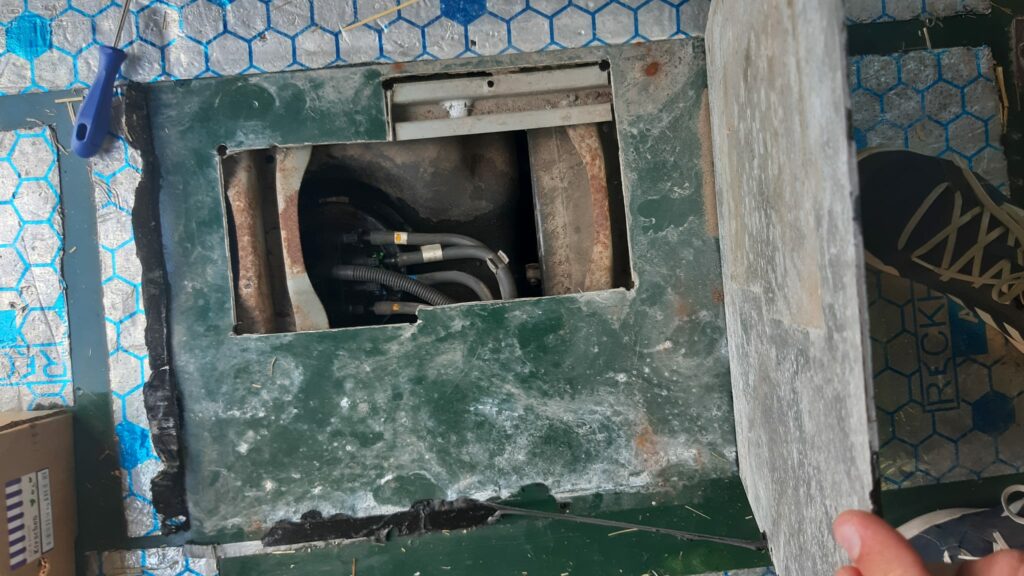
This is also the moment to think carefully about where a parking heater will go. Cutting through insulation after the fact is manageable. Cutting through a finished interior is not. So before you stick the first piece of Armaflex down, have your heater placement planned.
What You Need: Materials and Tools for Defender Insulation with Armaflex
Before you begin, get everything together. Stopping halfway through to source more materials is annoying — and with contact adhesive open in an enclosed space, you want to work efficiently.
Materials:
- Self-adhesive 19mm Armaflex (closed-cell foam insulation rolls or sheets)
- Sharp knife or scalpel with fresh blades
- Long metal ruler or straight edge
- Permanent marker for marking out
- Nitrile gloves (the adhesive is aggressive on skin)
- Acetone or brake cleaner for metal prep
- Clean rags
- Self-adhesive 3mm Armaflex for awkward gaps and overlaps
- Cable ties and P-clips if running any wiring before insulating
Optional but useful:
- Roller or J-roller for pressing adhesive bonds flat
Step 1: Prepare the Metal Surface
This step gets skipped more often than any other, and it’s the reason insulation falls off six months later.
Every panel that will receive Armaflex needs to be clean, dry, and free of rust, oil, and grease. Wipe everything down with acetone or a quality brake cleaner. Pay particular attention to the floor — oil finds its way into every corner of a working Defender — and to the roof, where condensation from earlier in the build may have left moisture behind.
Any surface rust should have been dealt with in the prep phase (see our [strip-down and rust removal post]). If you find small areas of rust appearing at this stage, treat them with a rust converter, let it cure completely, and apply a coat of primer before insulating over them. Insulating over active rust is a mistake that will haunt you.
Let everything dry fully. Armaflex adhesive needs a dry, solid surface to bond to.
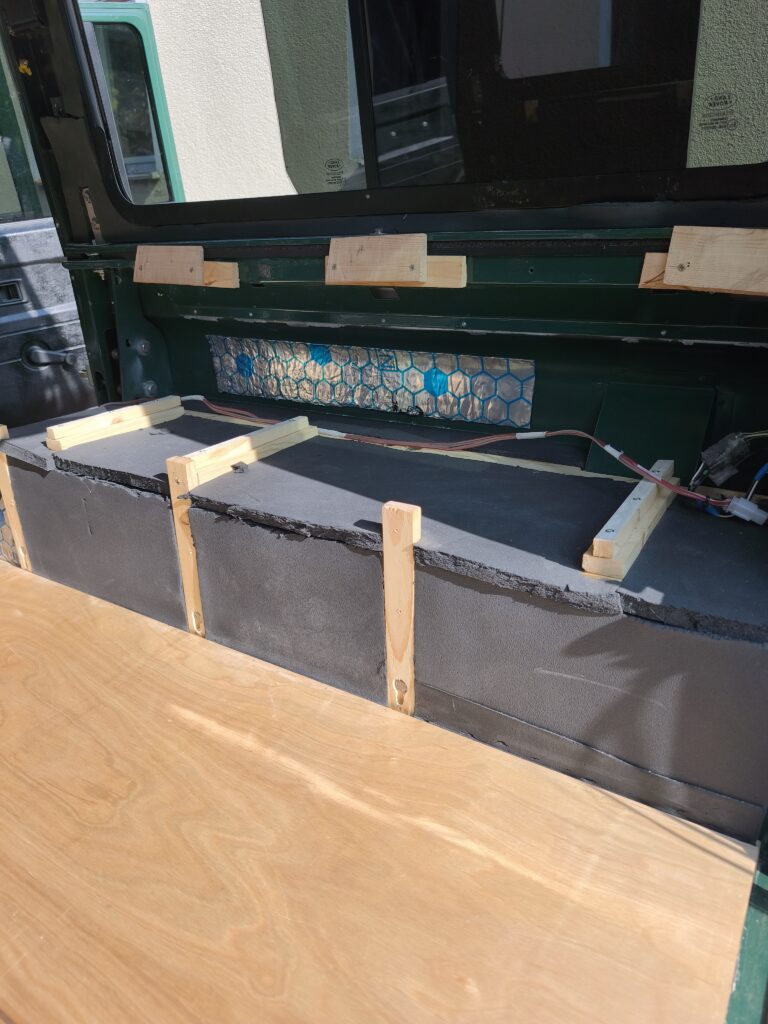
Step 2: Insulating the Floor
The floor is the logical place to start — it’s large, mostly flat, and gives you immediate confidence once it’s done.
Cut your 19mm Armaflex panels to fit each floor section. The Defender floor is not perfectly flat, so dry-fit each piece before applying any adhesive. Mark around the edges with a permanent marker directly on the metal, so you know exactly where each panel will land.
Apply Armaflex contact adhesive to both surfaces — the metal and the back of the foam — and allow both coats to become touch-dry before pressing them together. Contact adhesive works on contact: once the two surfaces meet, the bond is immediate. You don’t get a second chance to reposition.
Press the panels down firmly from one edge to avoid trapping air bubbles underneath. A roller or the flat of your hand works well for this. Around the seat rail bolt holes and drain plugs, cut carefully and leave the openings accessible — you’ll thank yourself later.
Don’t skip the floor pan ribs. The corrugated sections of the Defender floor create channels where moisture can sit. Fill these ribs with strips of Armaflex, pressed firmly into each channel, before laying your full floor panels over the top. This creates a flat, gap-free base and removes every moisture trap from the equation.
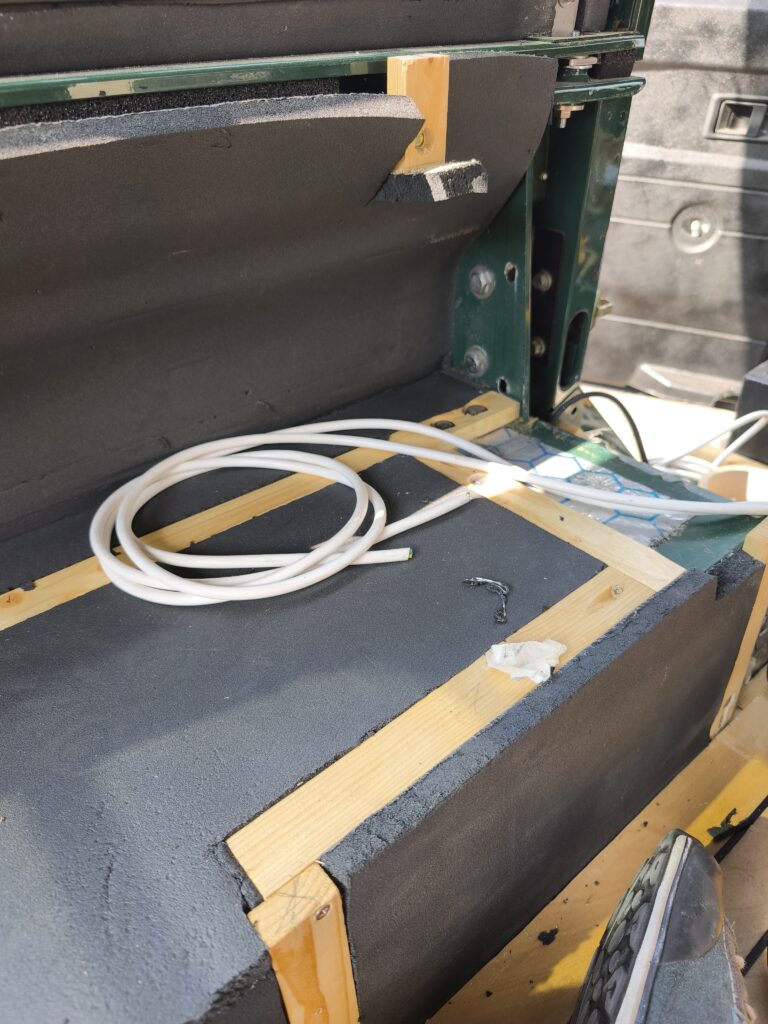
Step 3: Insulating the Walls and Wheel Arches
The walls are where the work gets more interesting — and more time-consuming.
The Defender’s inner walls are largely flat aluminium panels, which is easier to work with than some vehicles. The challenge is the wheel arches, which are compound curves that Armaflex’s flat sheets don’t naturally want to follow.
For the flat wall sections, work panel by panel, templating each piece from cardboard first if the shapes are complex. Armaflex cuts very cleanly with a sharp blade — don’t try to saw through it, one clean draw-cut is what you want. Fit from the bottom up, overlapping seams slightly and pressing them flat with a roller.
For the wheel arches, use a heat gun to gently warm the Armaflex before pressing it into the curve. The foam becomes more pliable with heat and will conform to the shape without creasing. Work in smaller sections here — trying to wrap a large single piece around a wheel arch rarely ends well. Multiple smaller pieces, with the seams pressed and sealed, give a better result.
Seal all seams between panels with the self-adhesive 6mm Armaflex tape. Every gap is a potential cold bridge and a potential condensation point. If it’s a gap you can see, it needs to be sealed.
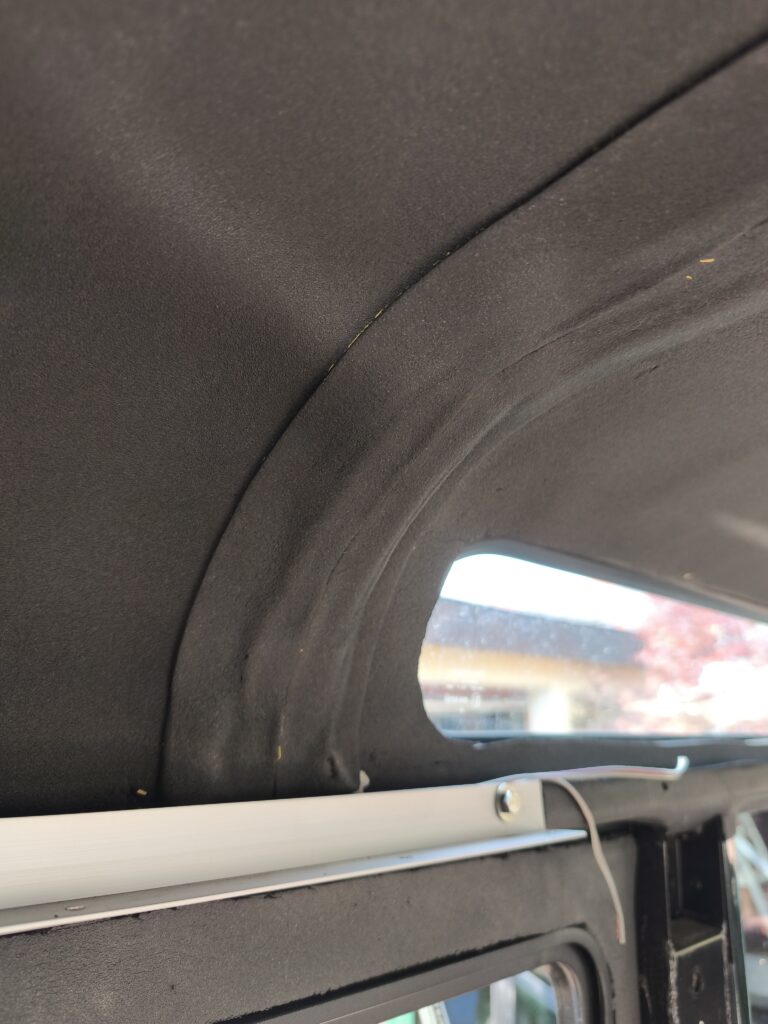
Step 4: Insulating the Roof
The roof requires patience more than skill. You’ll be working overhead, against gravity, and the adhesive needs time to become touch-dry before you press the foam up.
Apply adhesive to both surfaces as usual and allow it to become properly touch-dry — slightly longer than you’d wait for the floor, because gravity is not helping you here. Have a helper hold the panel in position before you commit it, or work in smaller sections that are easier to handle alone.
Pay close attention to the roof ribs and any areas where the metal is ribbed or stepped. As with the floor channels, fill these ribs and steps so the finished surface is flush. Air gaps between the insulation and the metal are cold bridges — eliminate them.
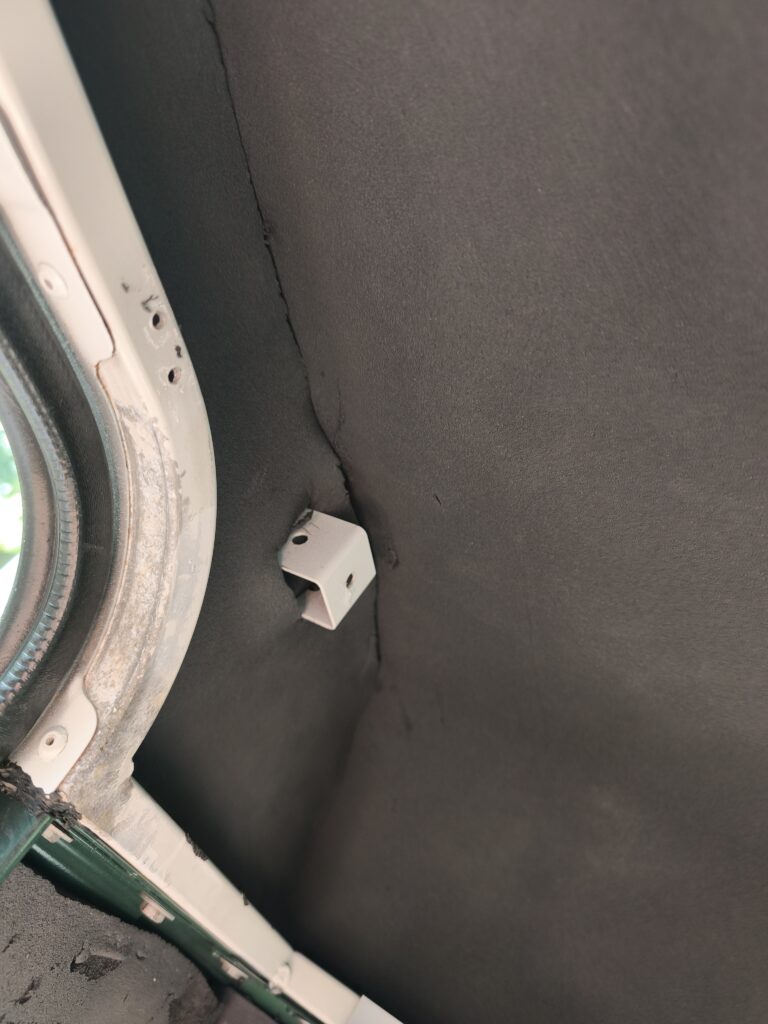
Working Around Roof Bars and Lights
If your Defender has internal roof bars or factory lighting, plan your insulation around them before cutting. Mark the bolt locations on the Armaflex, cut clean holes, and make sure the foam sits flat around each mounting point. Where lighting is installed, leave a small gap or use thinner 6mm Armaflex so that heat from the fixtures doesn’t build up. Closed-cell foam doesn’t burn easily, but it’s not a heat shield either — keep reasonable clearance from any light source that generates significant heat.
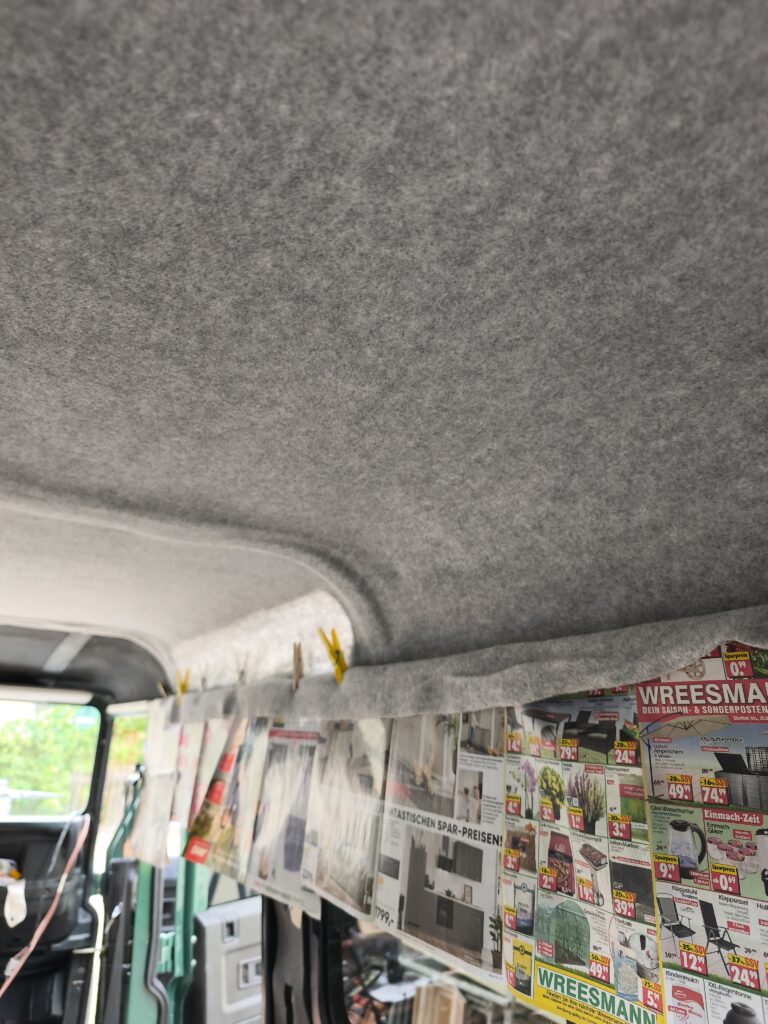
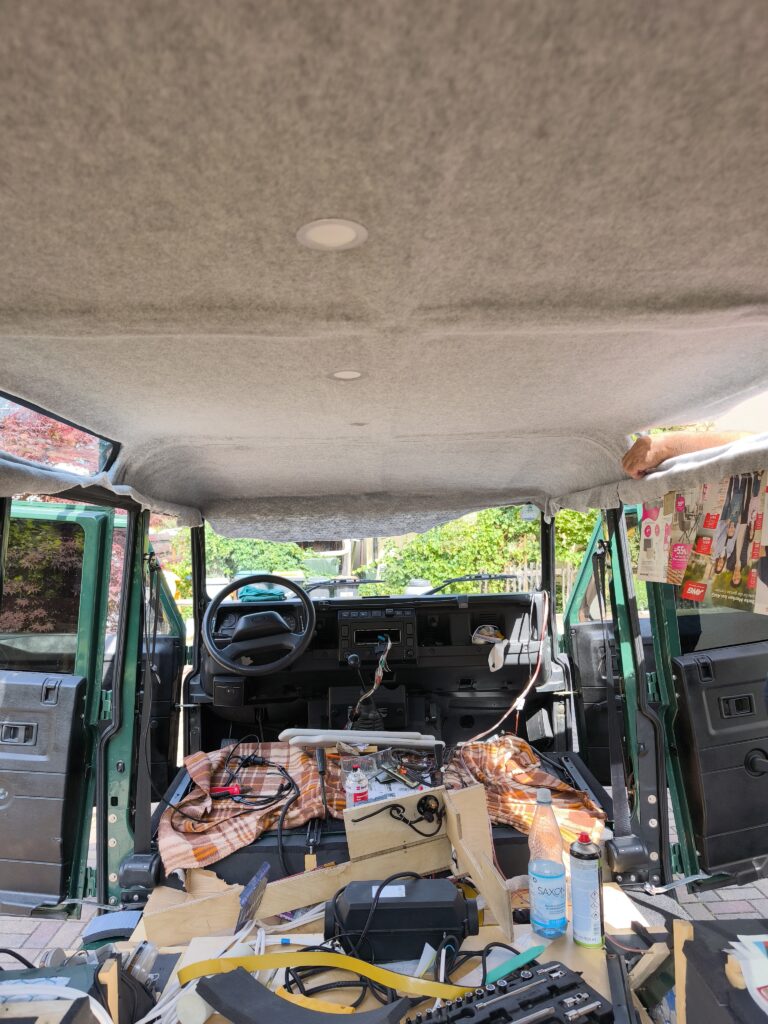
Step 5: Lining the Headliner with Felt
Once the Armaflex is in and the roof insulation is done, the headliner is next. This is the step that transforms the interior from “building site” to something that actually looks intentional — and in a Defender, where the bare metal roof is about as inviting as a garden shed, that transformation is significant.
The material of choice for most self-build Defender interiors is automotive headliner felt: a needle-punched, non-woven fabric that’s durable, easy to work with, absorbs sound, and looks clean without being showy. It covers the Armaflex, hides cable runs, and gives the interior a finished, cohesive feel that no amount of paint or primer can replicate.
Choosing the Right Felt for a Vehicle Interior
Not all felt is equal. For a vehicle that will see temperature extremes, moisture, and the occasional muddy gear being thrown inside, you want an automotive-grade headliner felt — typically 4–6mm thick, with a backing that resists moisture wicking. Thin craft felt or cheap fabric rolls will sag, discolour, and fall apart within a season. Spend a little more on the right material and you won’t be redoing this work in two years.
Colour-wise: dark grey or charcoal is the practical choice for a camper. It hides dust, doesn’t show every fingerprint, and works with almost any interior finish. Black is an option if the interior will be dark regardless — but in a Defender, which doesn’t exactly flood itself with natural light, going full black overhead can feel oppressive.
Cutting and Fitting the Felt Panels
The key to a clean headliner is templating. Don’t try to cut felt directly to size and hope for the best — cardboard templates take fifteen minutes per panel and save a lot of expensive material.
Work in sections: rear roof panel, middle section, and the area above the bulkhead are natural break points on a 110. Cut each panel slightly oversized, dry-fit it, trim back carefully, then apply. The edges will be hidden by trim strips or roof bar covers, so a perfect cut right to the edge is less critical than a clean overall fit with no wrinkles or bubbles.
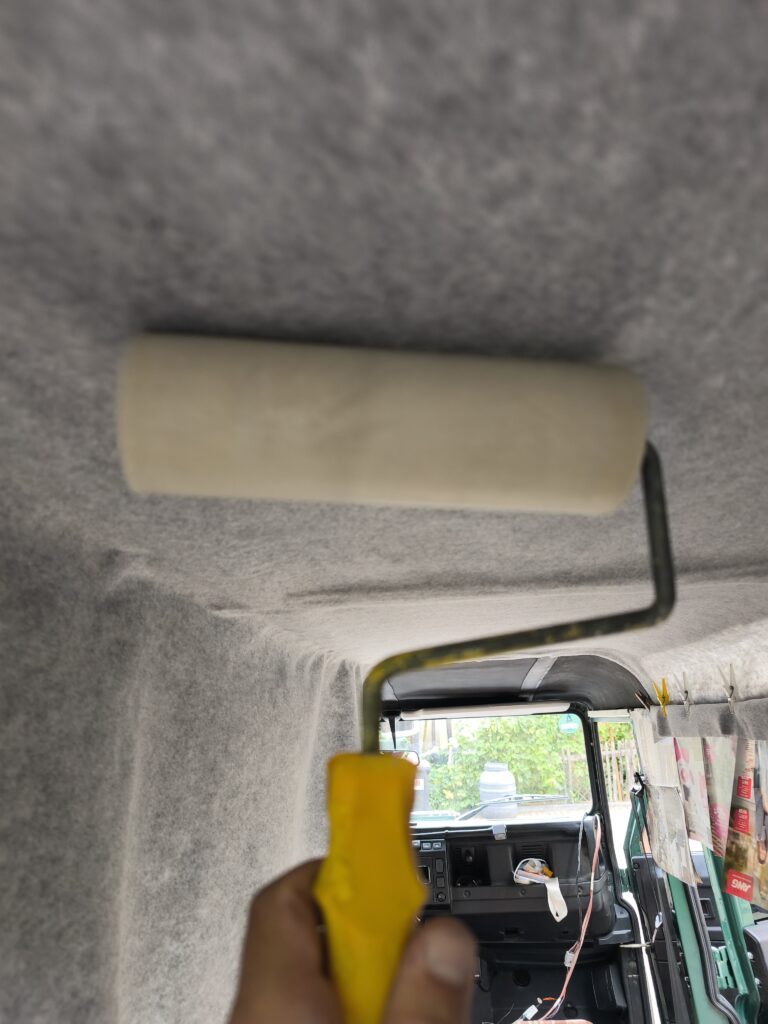
For adhesion, a spray contact adhesive is the right tool here — it covers large areas quickly and evenly, bonds well to both the Armaflex and the felt backing, and gives you a few seconds of repositionability before the bond sets. Apply to both surfaces, allow to become touch-dry, and lay the felt from the centre outward, smoothing firmly with your hand as you go. Work out any bubbles toward the edges — once the adhesive is fully set, a bubble in the middle of a roof panel is there to stay.
Keep a roller or firm cloth handy to press the felt into any ribs or edges in the Armaflex surface beneath. A clean bond means no hidden air pockets that could sag or loosen over time.

Step 6: Finishing the Headliner – Edges, Seams, and Tricky Areas
The difference between a headliner that looks professional and one that looks like a school project is almost entirely in how the edges and transitions are handled. The main panels are the straightforward part. The detail work is where it counts.
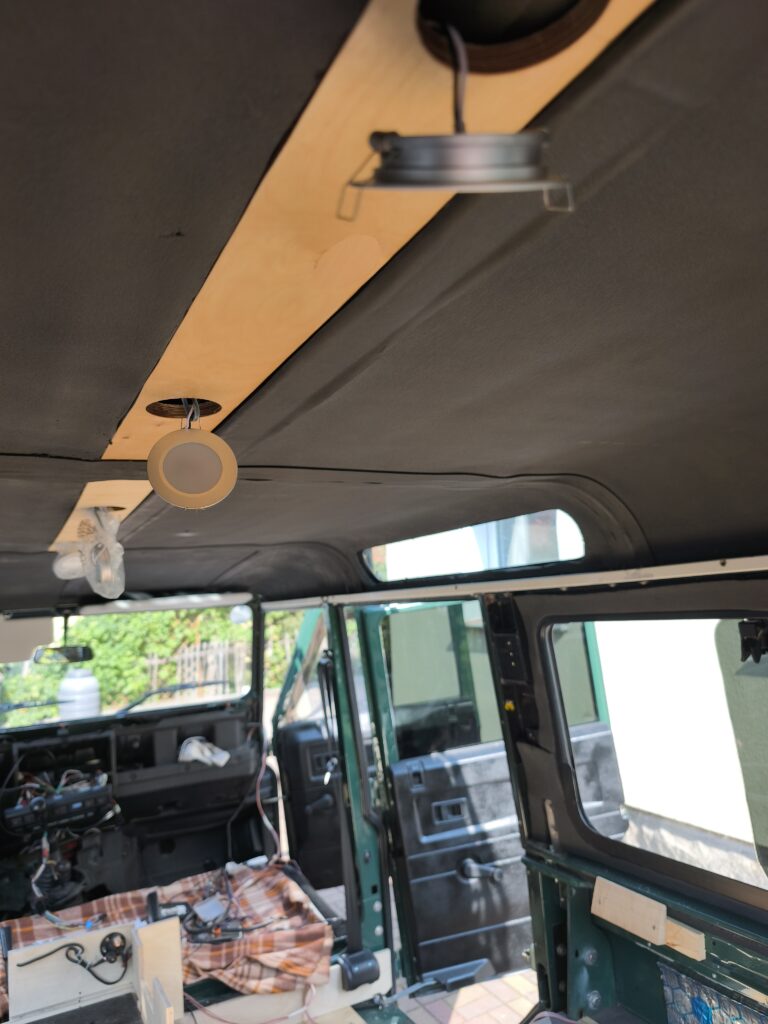
Around Roof Bars, Lights, and Vents
Any fitting that passes through the roof — internal lighting, roof bar mounts, ventilation points — needs to be dealt with carefully. Cut the felt to fit snugly around each fitting, not just to the nearest centimetre. A ragged hole around a roof light fitting is visible every time you look up.
For push-fit or surface-mounted fittings, cut the hole slightly undersized, then ease the felt over the fitting. The slight tension holds the edge clean. For bolt-through mounts, cut a star pattern, fold the tabs back, and secure them with a small amount of contact adhesive against the back of the fitting’s flange — hidden and clean.
Where internal LED strips or spot lights are planned, route the cables before the felt goes on. Trying to push wiring under a bonded headliner is frustrating at best and damaging to the felt at worst. Mark the planned cable run with chalk on the Armaflex, lay the cable, clip or tape it flat, then apply the felt over the top.
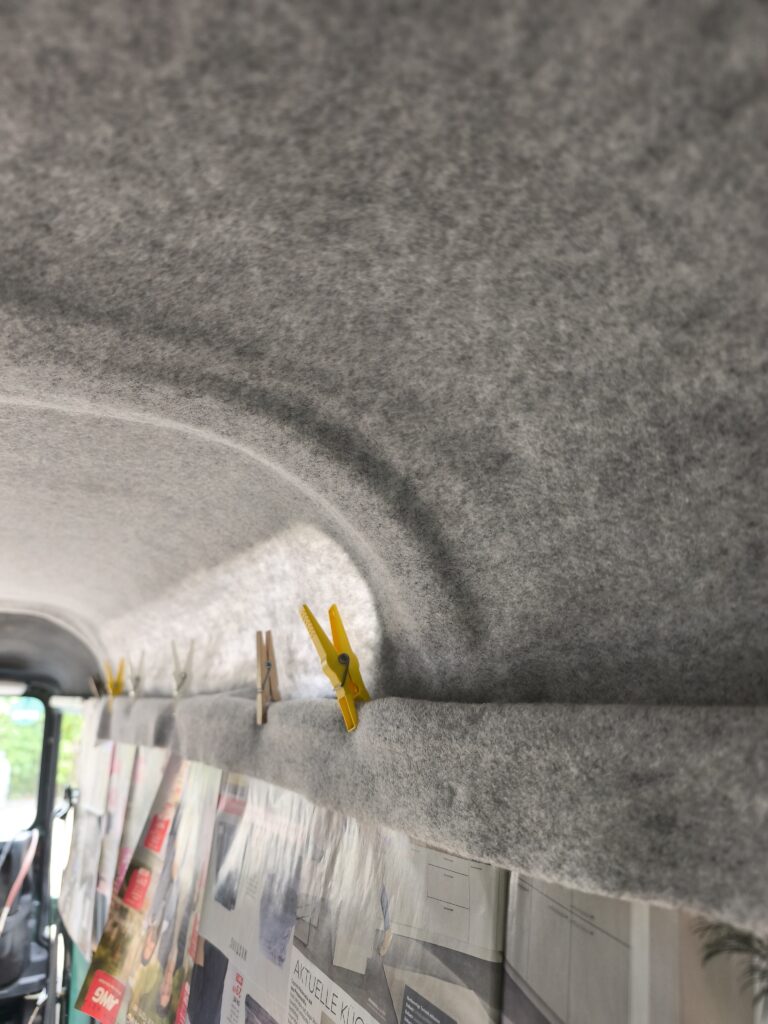
The Rear and Side Transitions
Where the headliner meets the side walls, the transition needs to be deliberate. In most Defender builds the upper wall panels — whether Armaflex left exposed, painted plywood, or also felt-lined — meet the headliner along a horizontal line roughly at window height. This join either gets hidden behind a trim strip (the neatest solution), or the felt is folded and glued around the edge.
If you’re using a trim strip — a wooden batten, an aluminium extrusion, or a purpose-made plastic trim — fit it after the headliner is in place and use it to clamp and conceal the felt edge. No adhesive required for the edge itself; the trim holds everything clean.
At the rear of the vehicle, where the headliner meets the tailgate opening, fold the felt tightly around the last few millimetres of Armaflex and glue it to the back face. The tailgate seal and any rubber trim will cover this area, but a clean fold holds better and looks better than a cut edge left loose.
Take your time on the transitions. A well-fitted headliner with clean edges is one of those details that makes visitors to the build say “did you have that professionally done?” — and it costs nothing except patience.

Common Mistakes to Avoid
A few things we either did wrong ourselves or have seen done wrong on other builds:
Skipping the surface prep. Clean metal, properly degreased, is not optional. It’s the entire reason the insulation stays in place for the life of the vehicle rather than peeling off in sections within a year.
Leaving gaps and calling them “small enough.” Cold bridges are cumulative. A dozen “small enough” gaps add up to a cold, damp interior. Seal everything.
Using the wrong adhesive. Armaflex has its own dedicated contact adhesive. Using a generic alternative risks poor adhesion, especially in areas exposed to temperature extremes and vibration. Use the right product.
Not templating complex shapes before cutting. Armaflex is not the cheapest material. Cutting a panel wrong is expensive and frustrating. A cardboard template costs nothing and saves material.
Rushing the adhesive dry time. Contact adhesive that isn’t touch-dry before you press the surfaces together creates a weak bond. The few extra minutes of waiting time are always worth it.
Forgetting to account for the heater penetrations. Discovering that your planned heater outlet runs directly through a floor rib or body mount after the interior is half built is not a good afternoon.
The Result: What Good Insulation Actually Feels Like
When we finished the insulation layer and stepped back to look at it, the Defender looked almost unrecognisable from the stripped shell we’d started with. Every surface covered, every seam sealed, the whole interior in the muted grey-black of the Armaflex. It looked — and more importantly, felt — completely different.
The difference becomes real the first cold night you spend in the vehicle. We were parked at around 1,400 metres in late autumn, temperatures outside dropping below zero. With the parking heater running at low power, the interior held temperature easily, no condensation on the walls, no cold radiating through the floor. That’s what a properly insulated Defender feels like.
It’s not glamorous work. It’s cutting and pressing and waiting for adhesive to dry, working in awkward positions over the wheel arches and up against the roof. But it’s foundational — everything that gets built on top of it, every panel, every piece of furniture, every night you sleep warm and dry — rests on getting this right.
Do it properly the first time. You won’t regret it.
Next up: [Electrical planning and the 12V system layout] — because knowing where your power comes from matters just as much as staying warm.