
How to Install a Parking Heater in Your 4x4 or Overlander

There’s a particular kind of misery that comes with waking up at 5 AM in a frozen vehicle somewhere in the mountains. You’re bundled in every layer you own, your breath fogs up the windows before you’ve even opened your eyes, and the idea of starting the engine just to warm up for twenty minutes feels both wasteful and deeply unsatisfying. We’ve been there. More times than we’d care to admit.
A parking heater installation in your 4×4 solves this problem cleanly and permanently. It runs on diesel, draws fuel directly from your vehicle’s tank, and heats your cab — or your entire living space if you’ve built out the back — without running the engine at all. Once it’s in, you’ll wonder how you ever travelled without it.
This guide walks you through the full installation process. We’ll cover everything from finding the right mounting spot to the satisfying moment of the first test run. Whether you’re building out a camper or just want to stay warm on early morning hunts, this is the upgrade that earns its place every single time.
What You’ll Need Before You Start
Tools:
- Angle grinder or metal file
- Crimping tool and wire stripper
- Zip ties and self-amalgamating tape
- Heat-resistant sealant
Materials (typically included in the heater kit):
- Heater unit
- Controller / thermostat
- Fuel pump and fuel line
- T-piece fuel tap (or inline pickup tube)
- Combustion air intake pipe
- Exhaust pipe with silencer
- Warm air ducting and outlet vents
- Wiring harness
- Mounting hardware and grommets
Step 1: Choose the Right Location
This is the decision that defines everything else. The heater unit needs to sit somewhere it can access fuel, expel combustion exhaust safely outside the vehicle, draw in fresh combustion air, and push warm air into the space you want to heat.
Common positions are under a seat (front or rear), on a floor crossmember, or mounted on an exterior under-tray below the chassis. Under-seat is popular because it keeps the unit inside the vehicle and makes fuel and air routing straightforward. A chassis-mounted setup keeps the interior cleaner but requires more weatherproofing. The waterproofing need additional covers for the heater and going deeper through deeper water is not something you should do that often.
For the Defender there are two good locations. First is directly under the Cubby-Box. You can buy an additional tray which fits under the Cubby Box. We didn’t want to go that way because of additional costs.
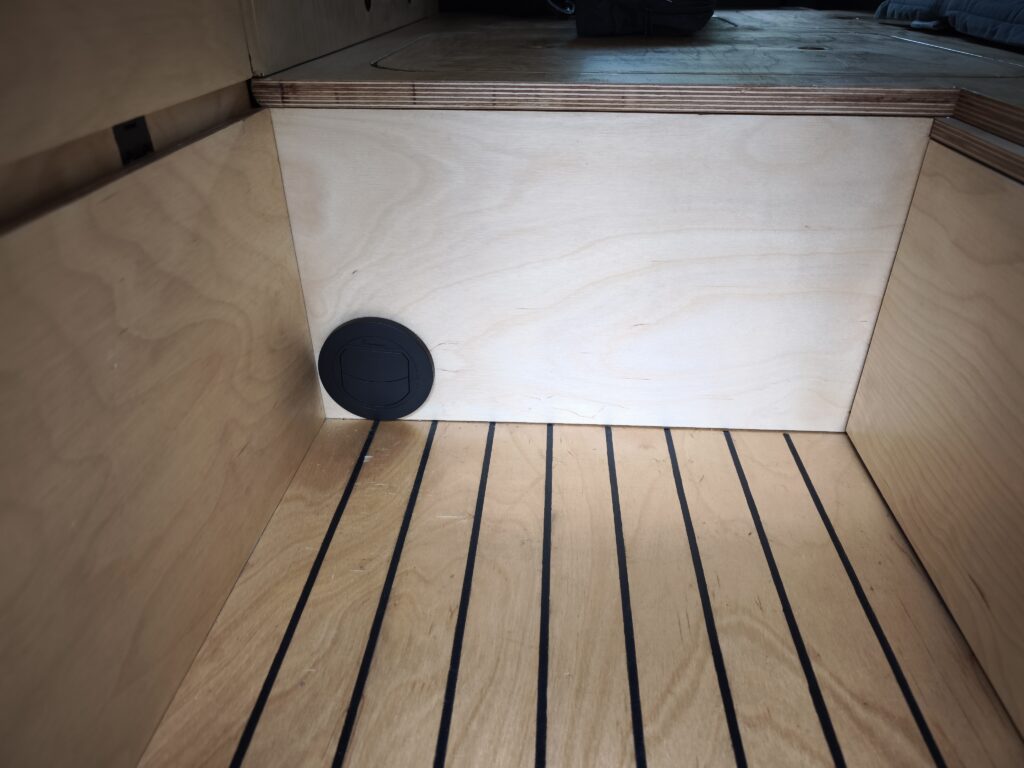
The second good location is directly in the middle of the car. There is a small gap where the original seats were once screwed to. The heater mounting fits perfectly in there and the gap makes a lot of room for good piping. The central spot reduces the amount of heater pipes to all sides of the car on top of that. It’s not so easy to acces from below, but the effort is worth it.
Whatever you choose: the exhaust outlet must point away from any area where fumes could re-enter the vehicle. Never route it towards wheel arches, low-pressure zones under the floor, or anywhere near the cab fresh-air intake.
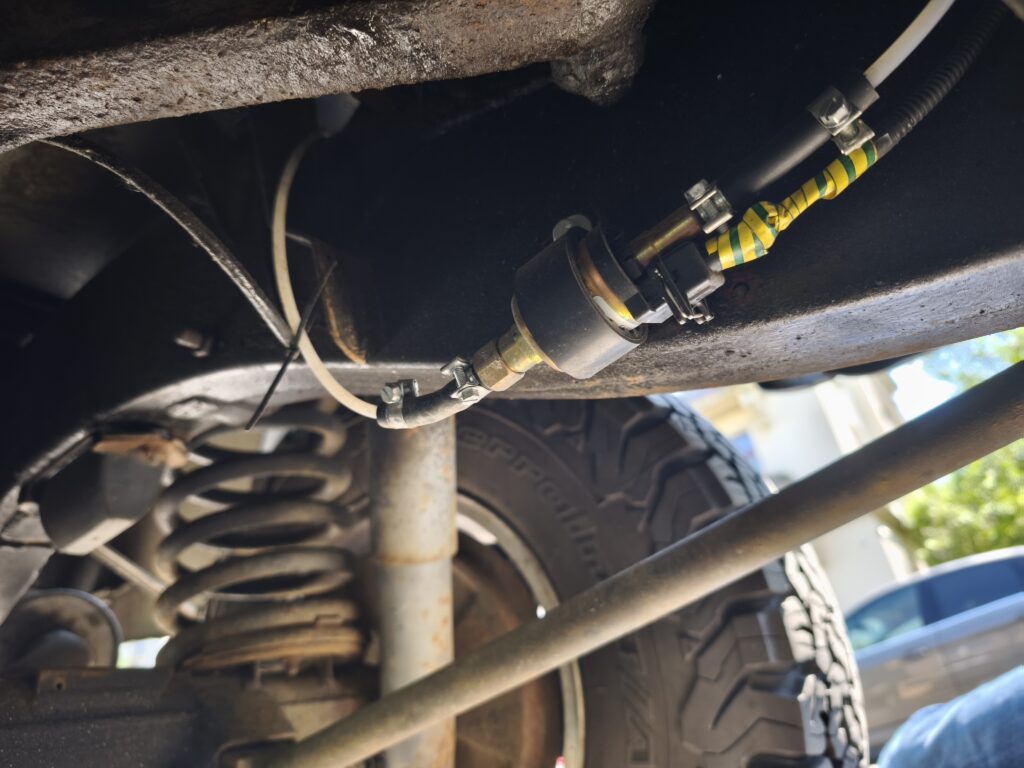
Step 2: Prepare the Fuel Supply
The heater runs on diesel, drawing fuel from your main tank via a small metering pump. You have two options: a T-piece tap installed in the fuel line, or a pickup tube threaded into the tank through the sender unit or a dedicated grommet.
The pickup tube method is generally cleaner and doesn’t touch the main fuel line. Drill a small hole into an accessible point on the tank (steel tanks) or use an existing sender port. The fuel pump itself mounts as close to the tank as possible — ideally within 500 mm — and gets fastened to the chassis with a rubber-damped bracket to reduce vibration noise.
Run the fuel line with gentle curves and no kinks. Where it passes through bodywork or over sharp edges, always use grommets and fuel-resistant conduit.
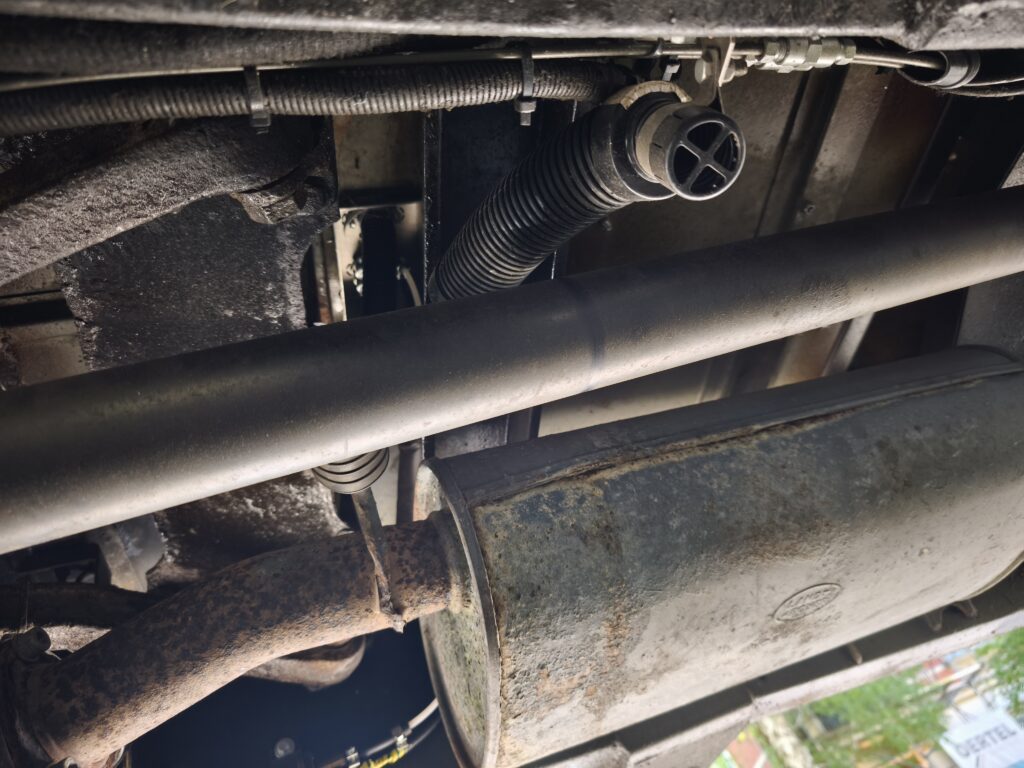
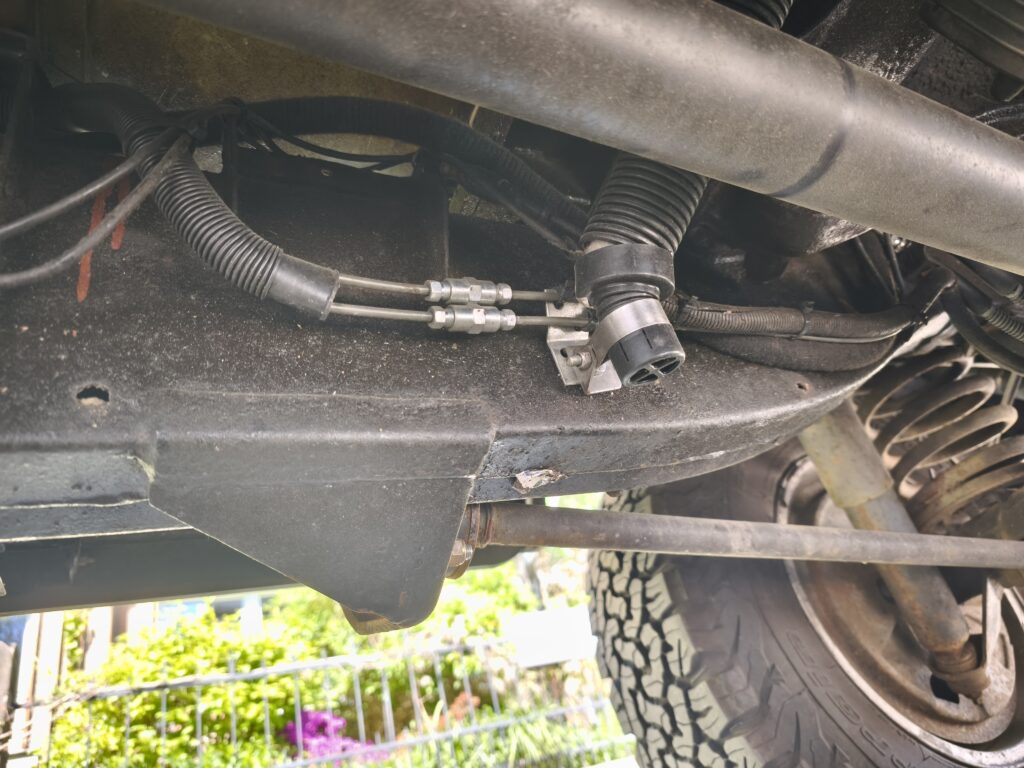
Step 3: Install the Combustion Air Intake and Exhaust
These two pipes are separate from the warm air ducting — they handle the combustion process inside the heater, not the output. The combustion air intake draws in fresh outside air. The exhaust expels burned gases outside.
Both need to exit the vehicle in a clean, protected location. Underneath the chassis is typical. Keep the exhaust pipe well clear of fuel lines, wiring, and anything plastic or rubber. Wrap any sections running close to other components with high-temp exhaust tape.
Use the silencer that comes with the kit — it makes a real difference to how the heater sounds at idle.
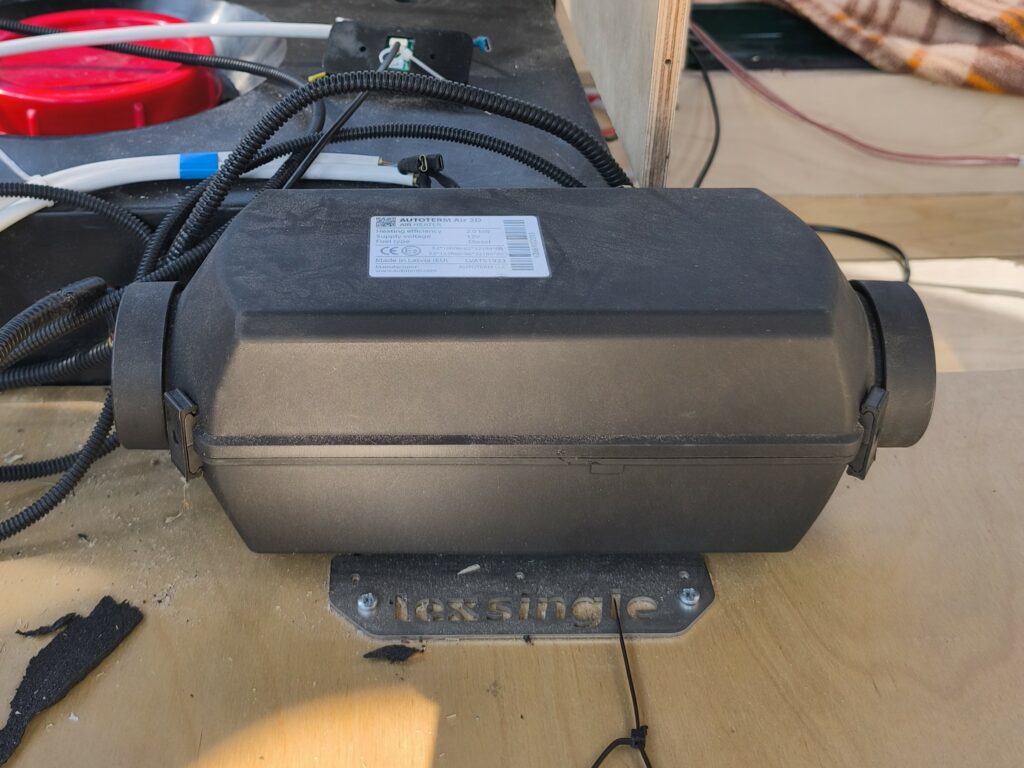
Step 4: Mount the Heater Unit
The heater connects to the vehicle’s 12V system via a relay — typically fused at 20–25A. Run a dedicated feed directly from the battery with an inline fuse as close to the battery as possible. Don’t tap into existing circuits.
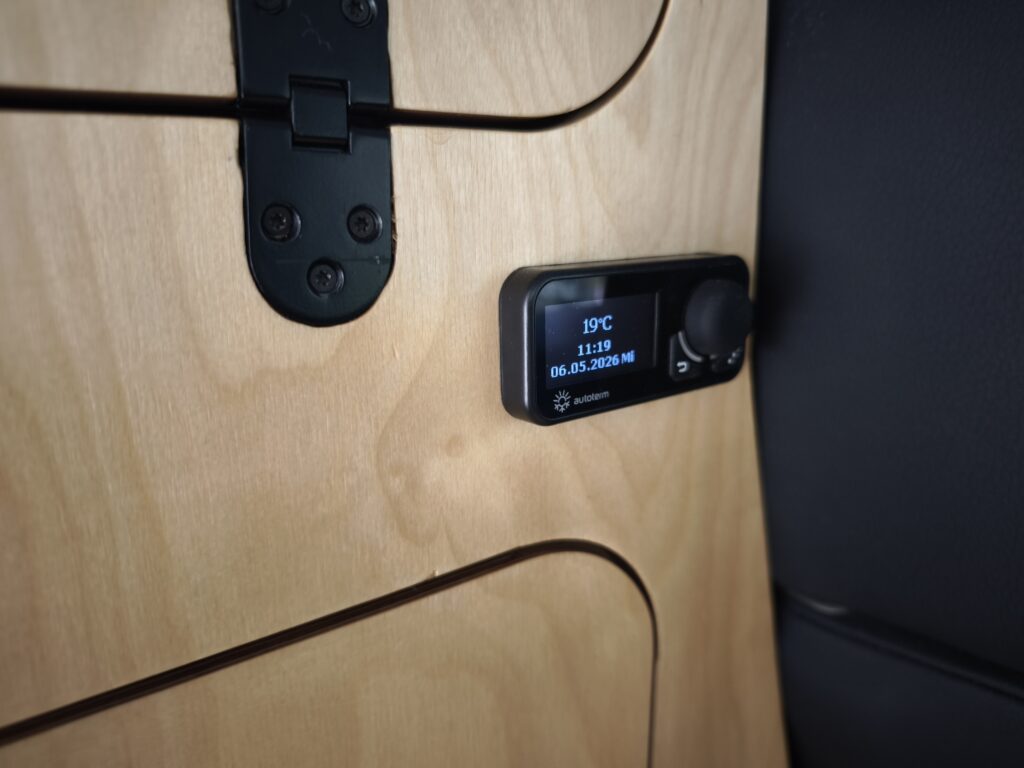
The controller (your thermostat) mounts wherever you’ll use it most — dashboard, side panel, or a custom bracket in the cab. The wiring harness that connects controller to unit is usually pre-made; just route it tidily and secure every 300 mm or so with zip ties.
Earth the unit directly to the chassis or battery negative. A poor earth is the number one cause of heater faults.
Step 5: Wire It Up
With fuel and exhaust routing planned, mount the unit itself. Use the supplied bracket and ensure it sits level or slightly angled toward the exhaust outlet — this helps condensate drain correctly.
Apply a bead of heat-resistant sealant around any penetrations in the floor or bodywork. Every hole is a potential rust point and a path for water ingress. Don’t rush this step.
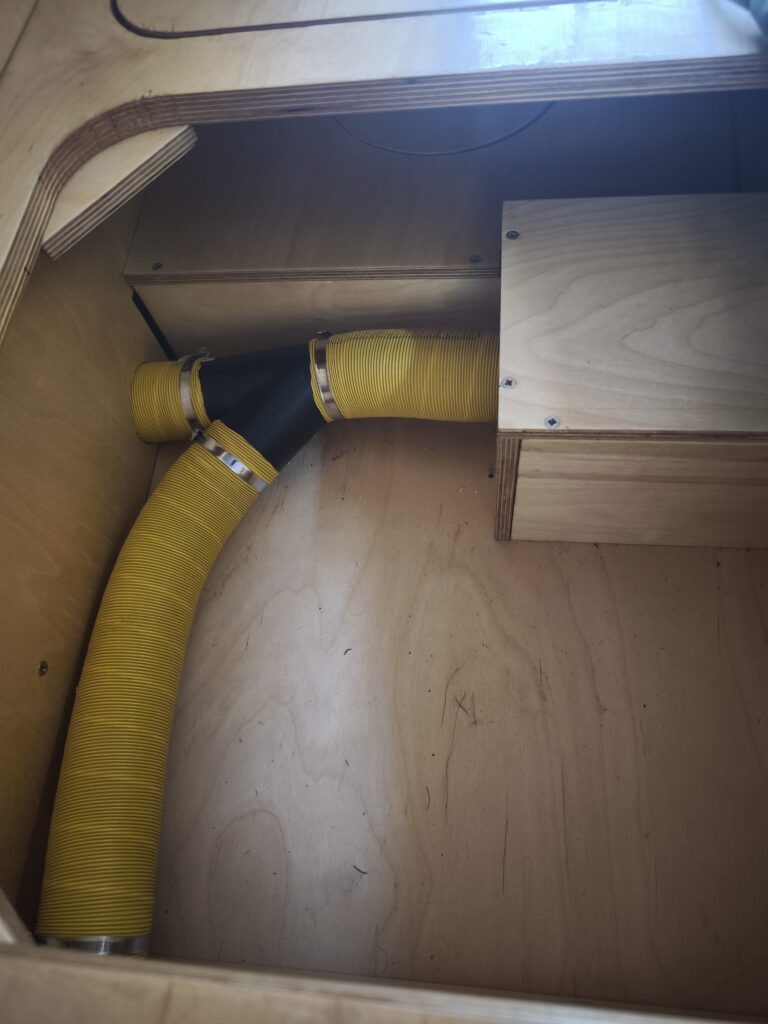
Step 6: Set Up the Warm Air Distribution
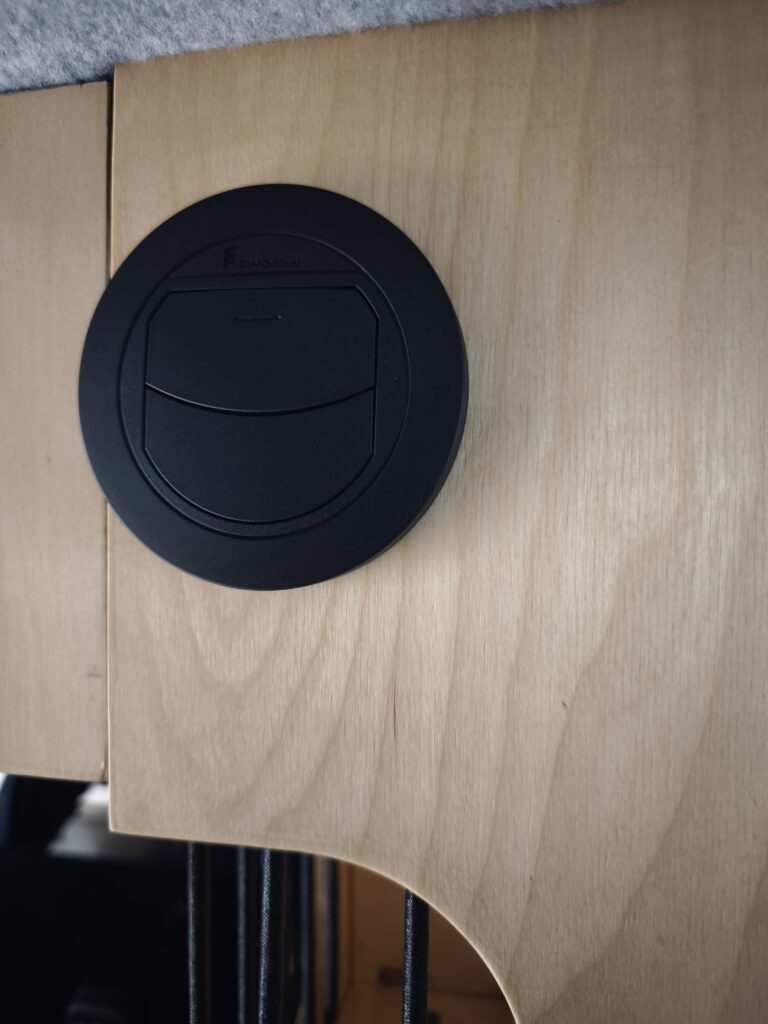
The heater blows warm air through a 60 mm or 75 mm duct. Where this goes is up to you — into the cab through a floor outlet, into a van living space via multiple vents, or a simple single outlet if you’re just heating a small area.
Insulate any ducting that runs through cold unheated spaces. If you’re splitting the output with a Y-piece to feed multiple vents, keep duct runs short and even to maintain airflow balance.
Step 7: First Start and Testing
Before the first run, double-check everything: all connections tight, fuel line secure, exhaust routed safely, wiring loomed and earthed.
The very first start often takes longer than normal — the fuel pump needs to prime and fill the line. Some units will attempt to start, fail, and try again automatically. This is normal. Don’t panic.
Once it fires, let it run through a full heat-up cycle. Check for fuel leaks at every fitting. Put your hand near the exhaust exit point outside — you should feel warm dry air with no visible smoke (a little at startup is fine, it should clear within a minute or two). Check the combustion air intake is drawing freely and isn’t restricted.
If everything checks out: well done. You’ve just upgraded your overlander in one of the most meaningful ways possible.
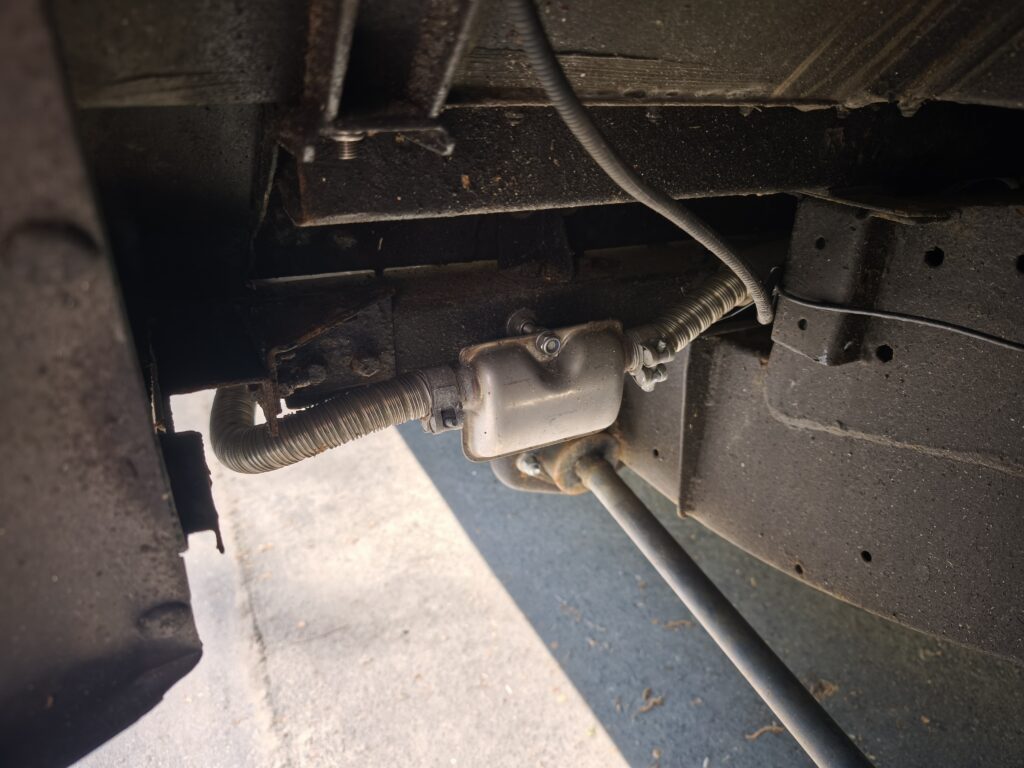
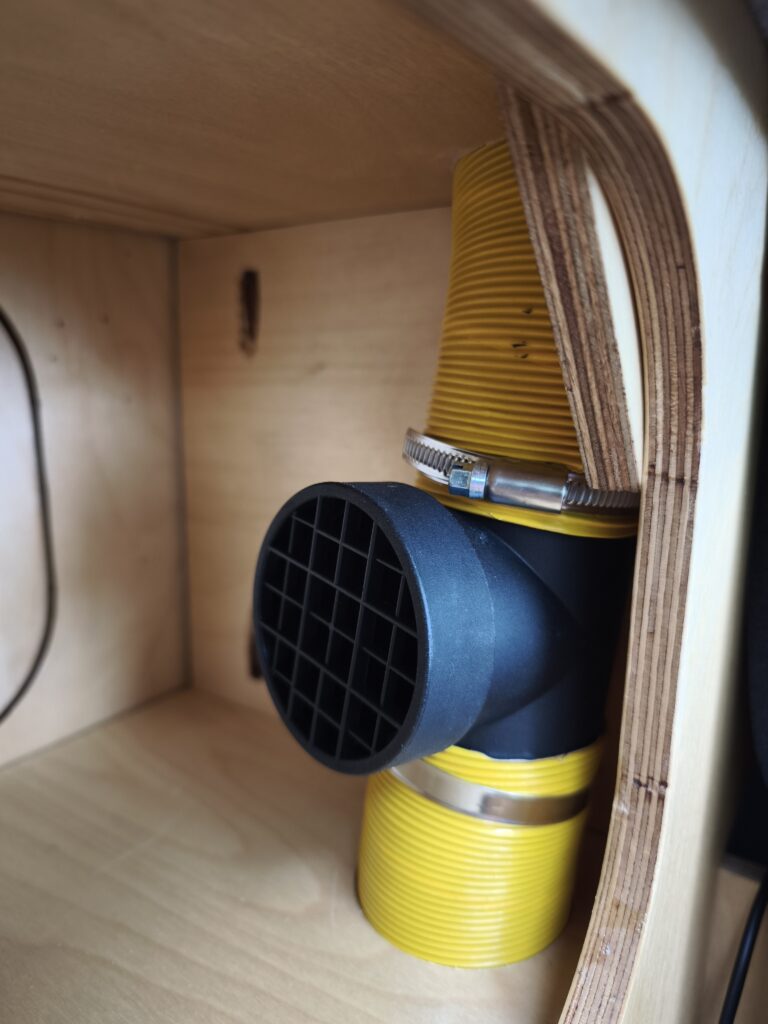
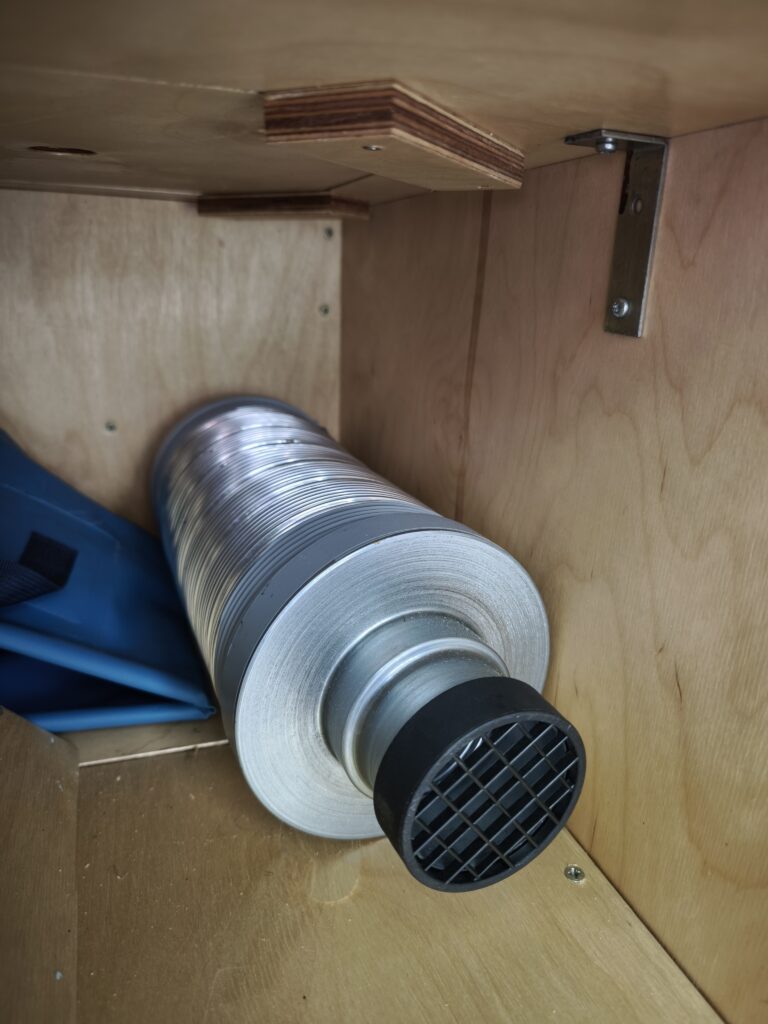
Step 8: Optional Silencer
The noise of the parking heather can be a bit unpleasant if you consider sleeping directly over it. To reduce noise we decided to install an additional silencer which reduces the intake noise a lot. Disadvantage is the amount of space it uses. Four our purpose we made the decision that this is a critical part for us. We need to sleep inside the car during winter months and therefore the heater needs to run all the time
Common Mistakes to Avoid
Routing exhaust near re-entry points. This is the safety-critical one. Carbon monoxide has no smell and no warning. Route the exhaust pointing downward and rearward, away from any opening.
Using undersized wiring. The heater draws significant current at startup. Use the recommended cable gauge — don’t substitute thinner wire because it’s what you have on the shelf.
Forgetting to prime the fuel pump. After installation, the fuel line is dry. The pump needs time to fill it. Running a few short start attempts before the unit fires successfully is normal.
Not sealing floor penetrations. Any hole in the floor is a future rust patch and a noise or water ingress point. Seal properly, every time.
Final Thoughts
A parking heater is one of those modifications that earns its keep not on one dramatic adventure, but across hundreds of quiet mornings — every time you wake up somewhere cold and the cab is already warm, every time you stop for the night in a place you’d otherwise have avoided. The installation takes a few hours. The payoff lasts the lifetime of the vehicle.
Take your time with the planning phase. Get the fuel routing and exhaust placement right from the start, and the rest follows naturally. And once it’s running — find yourself a cold hillside and enjoy it.
Have you installed a heater in your rig? Drop a comment below — we’d love to hear what setup you went with and where it’s taken you.