Land Rover Defender TD5 Strip-Down & Rust Removal: How to Prep an Old Defender for a Camper Conversion
There’s a moment when you look at an old Defender for the first time — not through the rose-tinted lens of adventure, not with that dreamy “this is going to be amazing” feeling — but with a torch under the sills, the smell of old oil in your nose, and the quiet, sobering realisation: this is going to take a while. Not the fun kind of while. The necessary kind.
Our TD5 had been working for the better part of two decades. It had seen dirt tracks, swallowed salty sea air, and collected more mud in the wheel arches than we’d ever care to count. That’s exactly what we love about these vehicles — but it’s also their biggest problem. Because everything the Defender gains in character, it tends to lose in sheet metal. Before we could even think about a single centimetre of interior build-out, we needed to get the foundation right.
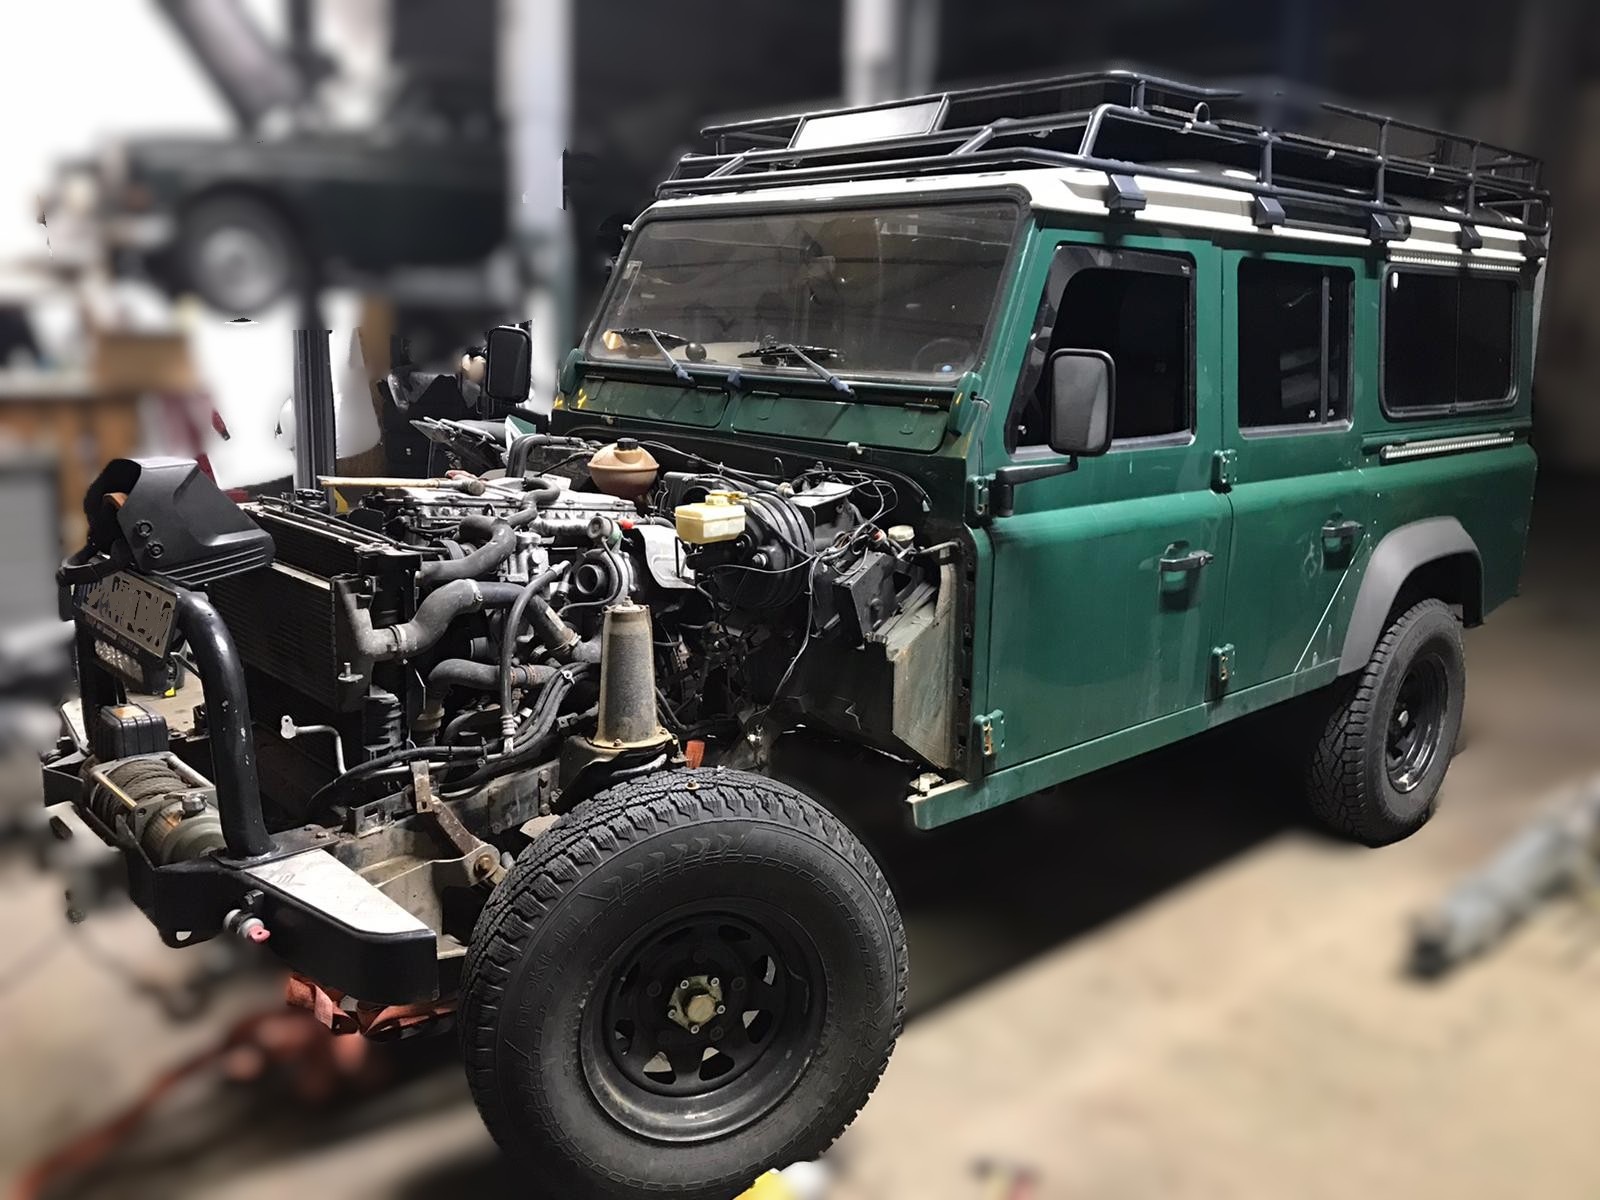
Step 1: Strip It Down to Nothing — The Full Defender TD5 Teardown
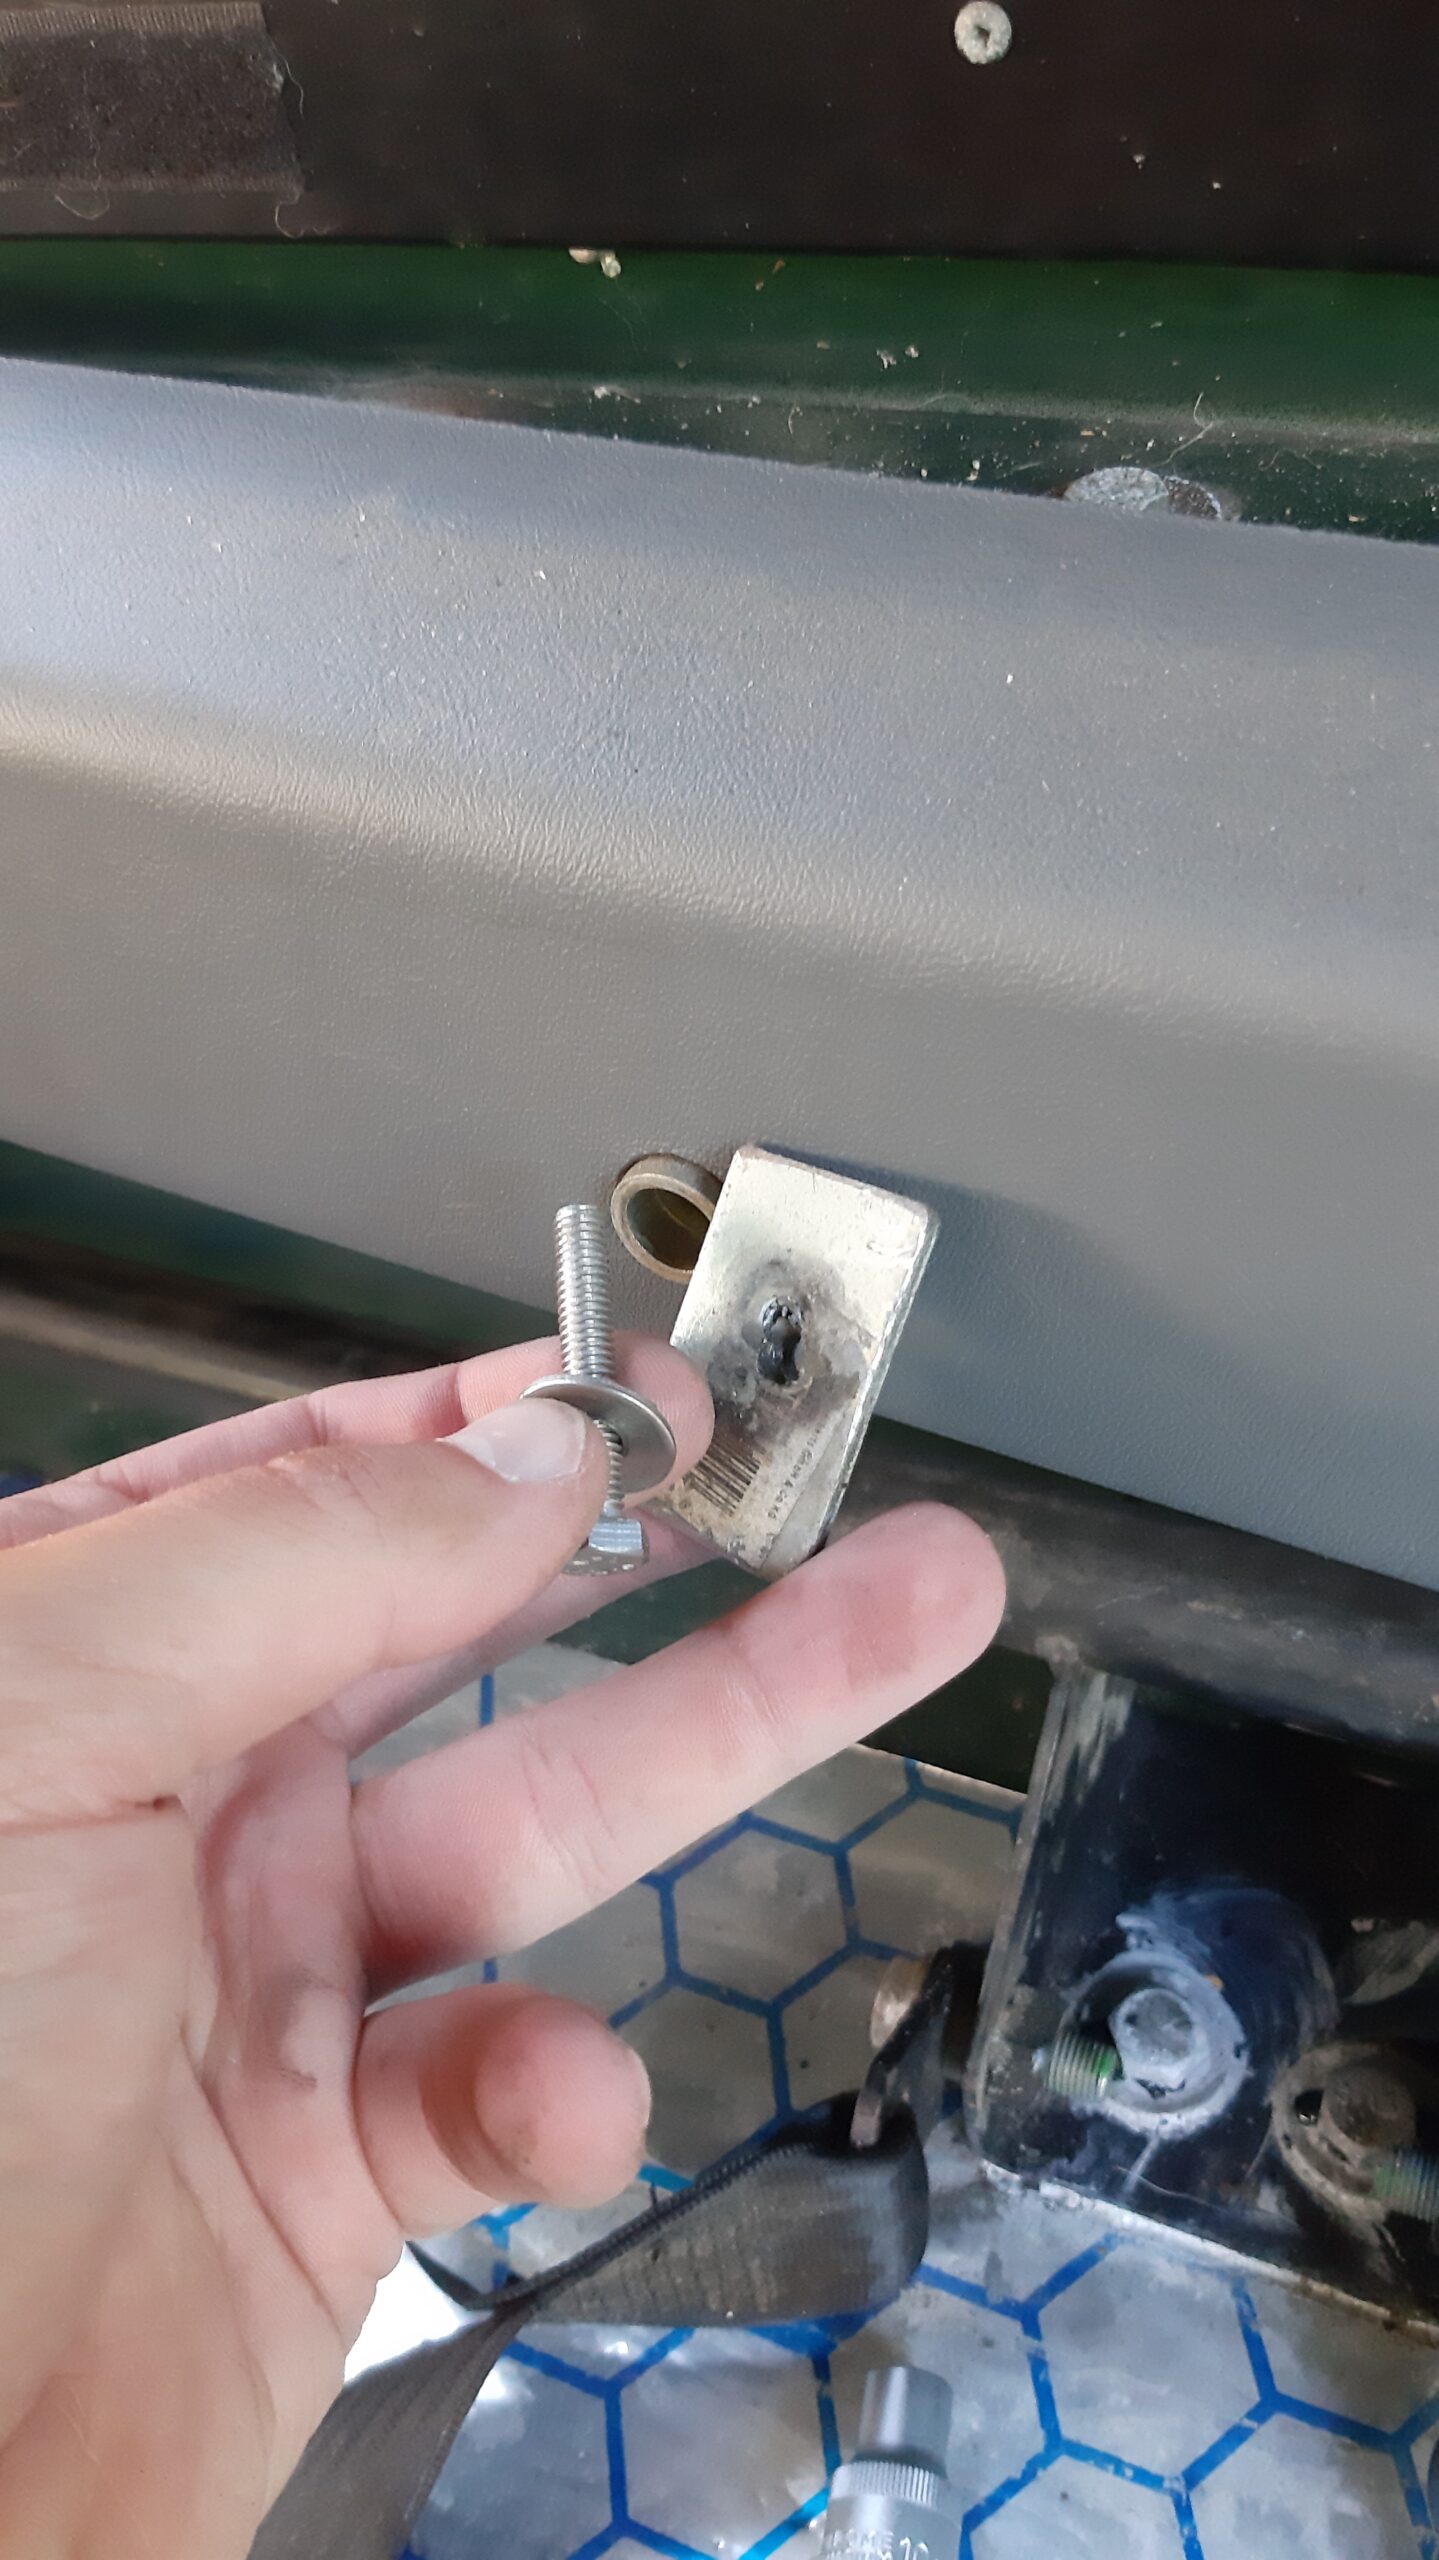
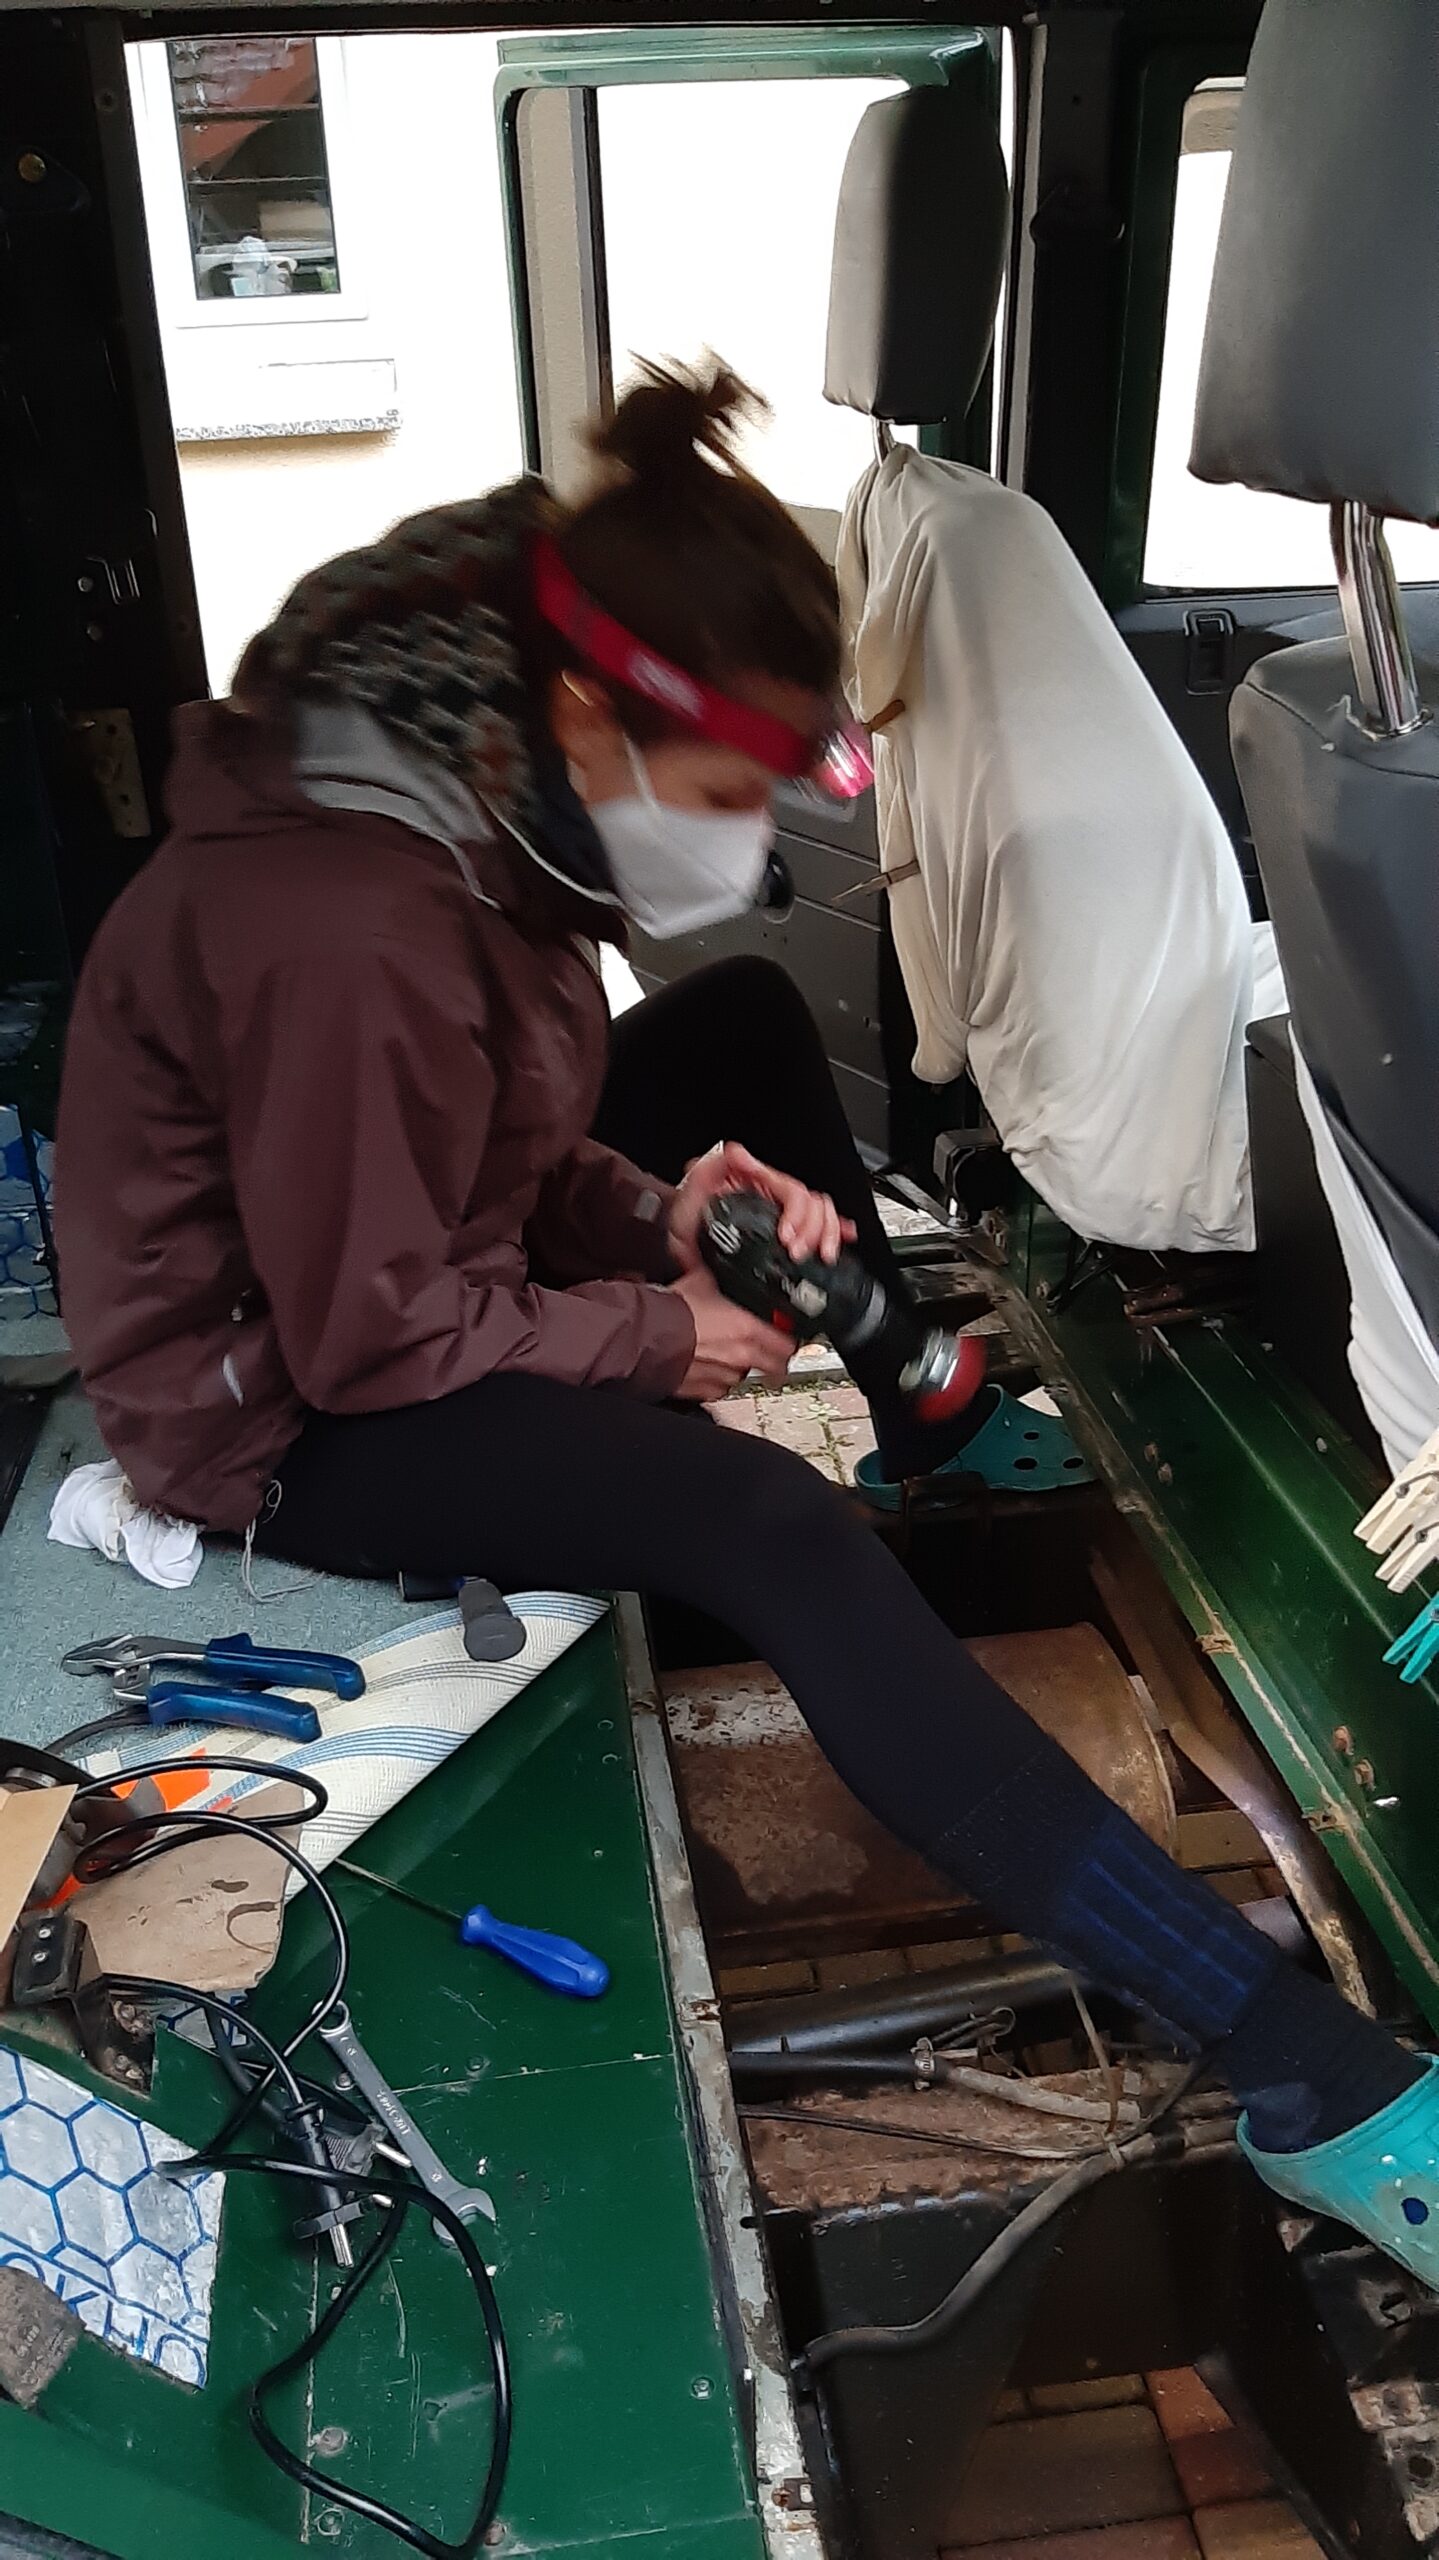
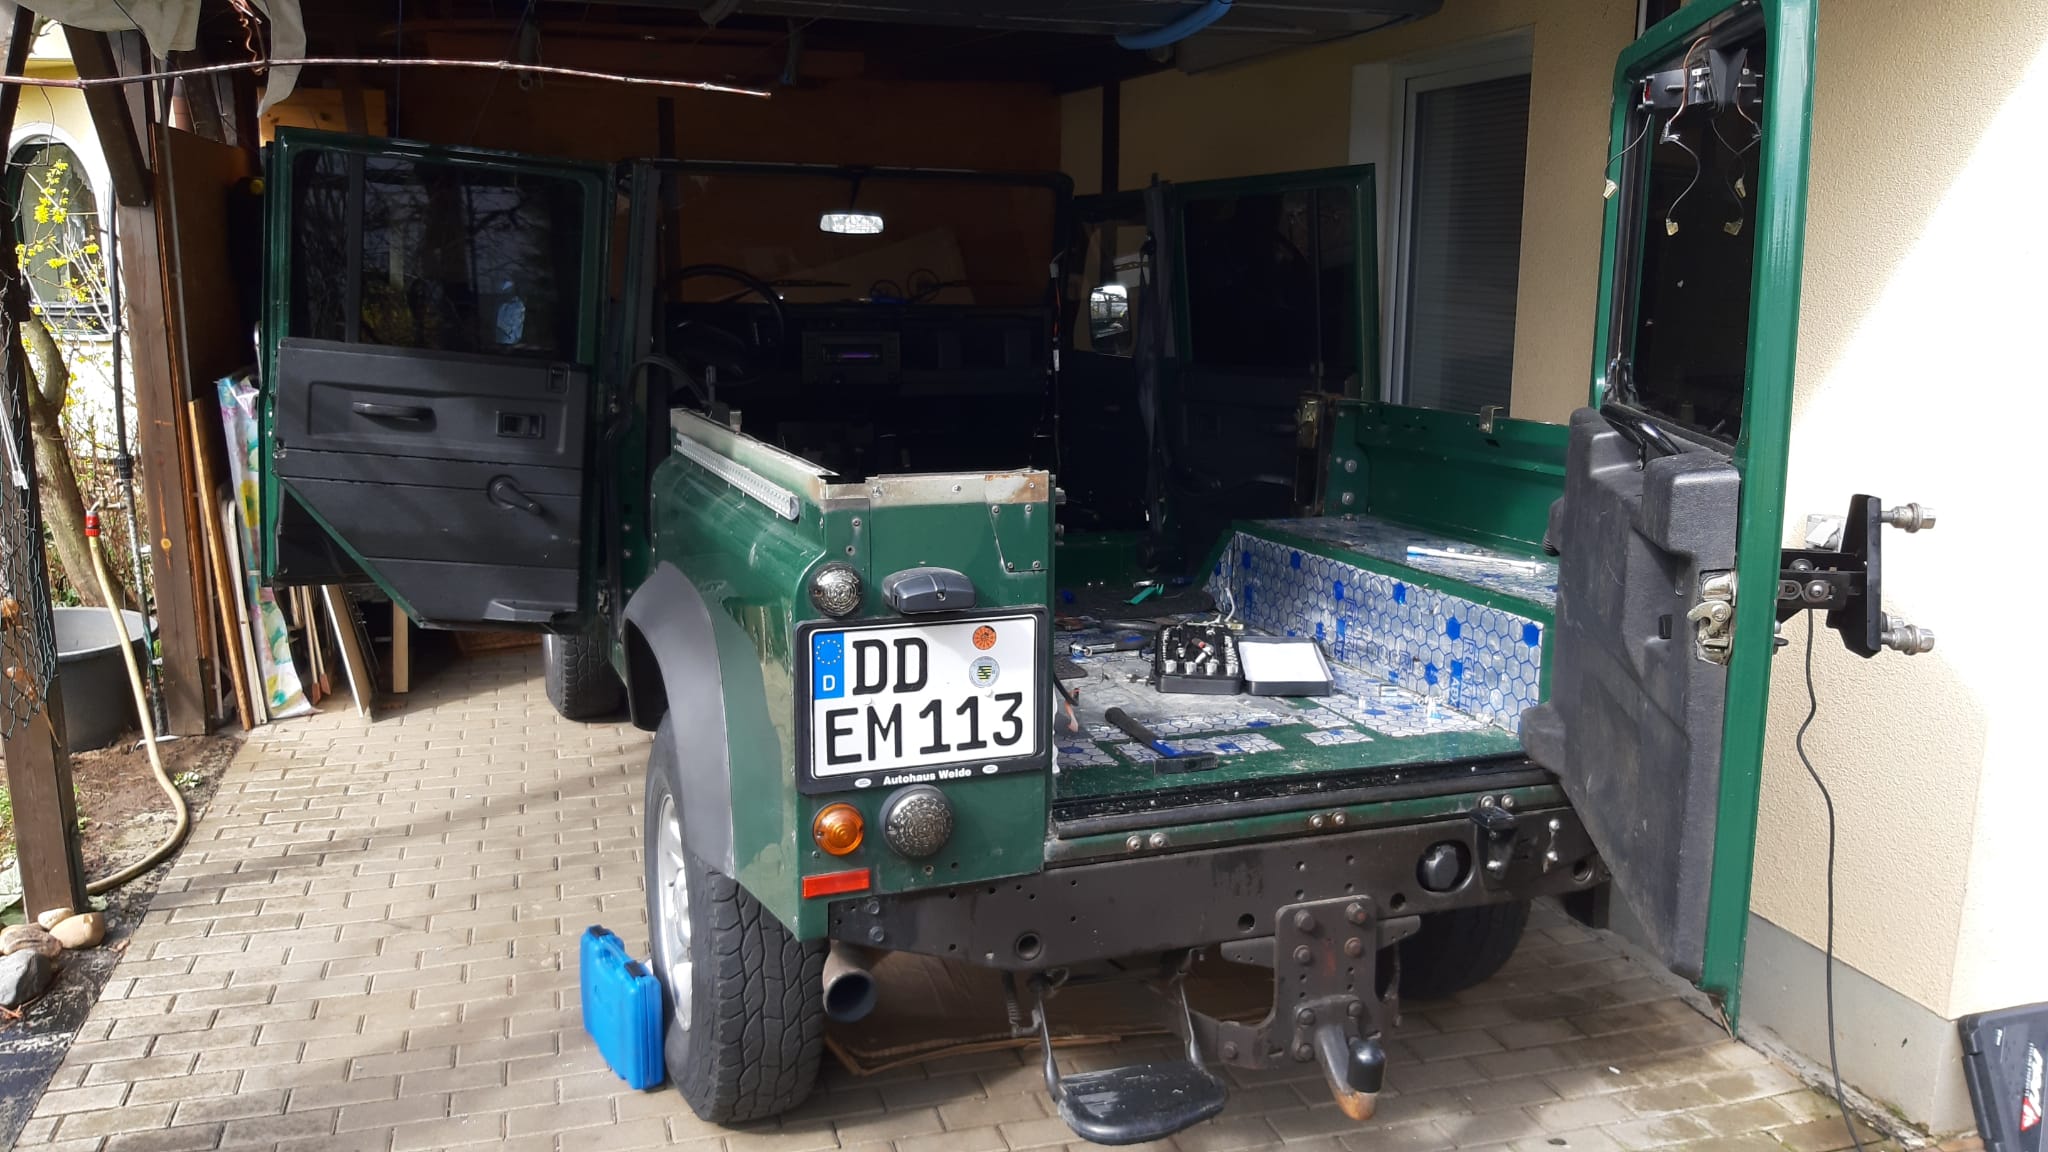
Before we could talk rust, weld seams, or cappings, we needed to gut the thing completely. On a TD5, that means: seats out, trim panels off, floor plates up, wiring looms untangled, and everything else that previous owners managed to stuff into every corner of this truck over the years.
What becomes obvious during a TD5 teardown is just how much hides behind the panels. Behind every plastic trim piece lurks a new surprise — sometimes an old crisp packet, sometimes a forgotten tool from a previous owner, and almost always: rust. Brown, flaky, stubborn rust.
Our advice: strip out absolutely everything that can come out. No half measures. Anything that stays in now becomes a problem halfway through the conversion build. And trust us — trying to work on a kitchen unit while half the interior trim is still in place is nobody’s idea of fun.
Key tips for the teardown:
- Label and sort every screw, nut, and clip (zip-lock bags with masking tape labels are your best friend)
- Photograph all electrical connections before you disconnect them
- Check floor plates and sills for rust-through the moment they come out
- Separate original factory components from whatever a previous owner added — it saves a lot of questions later
Step 2: The Truth About Rust on a Defender TD5
Let’s be honest here. If you buy an old Defender and claim it has “no rust,” you’re either lying to yourself — or the seller was very happy you didn’t look under the sills.
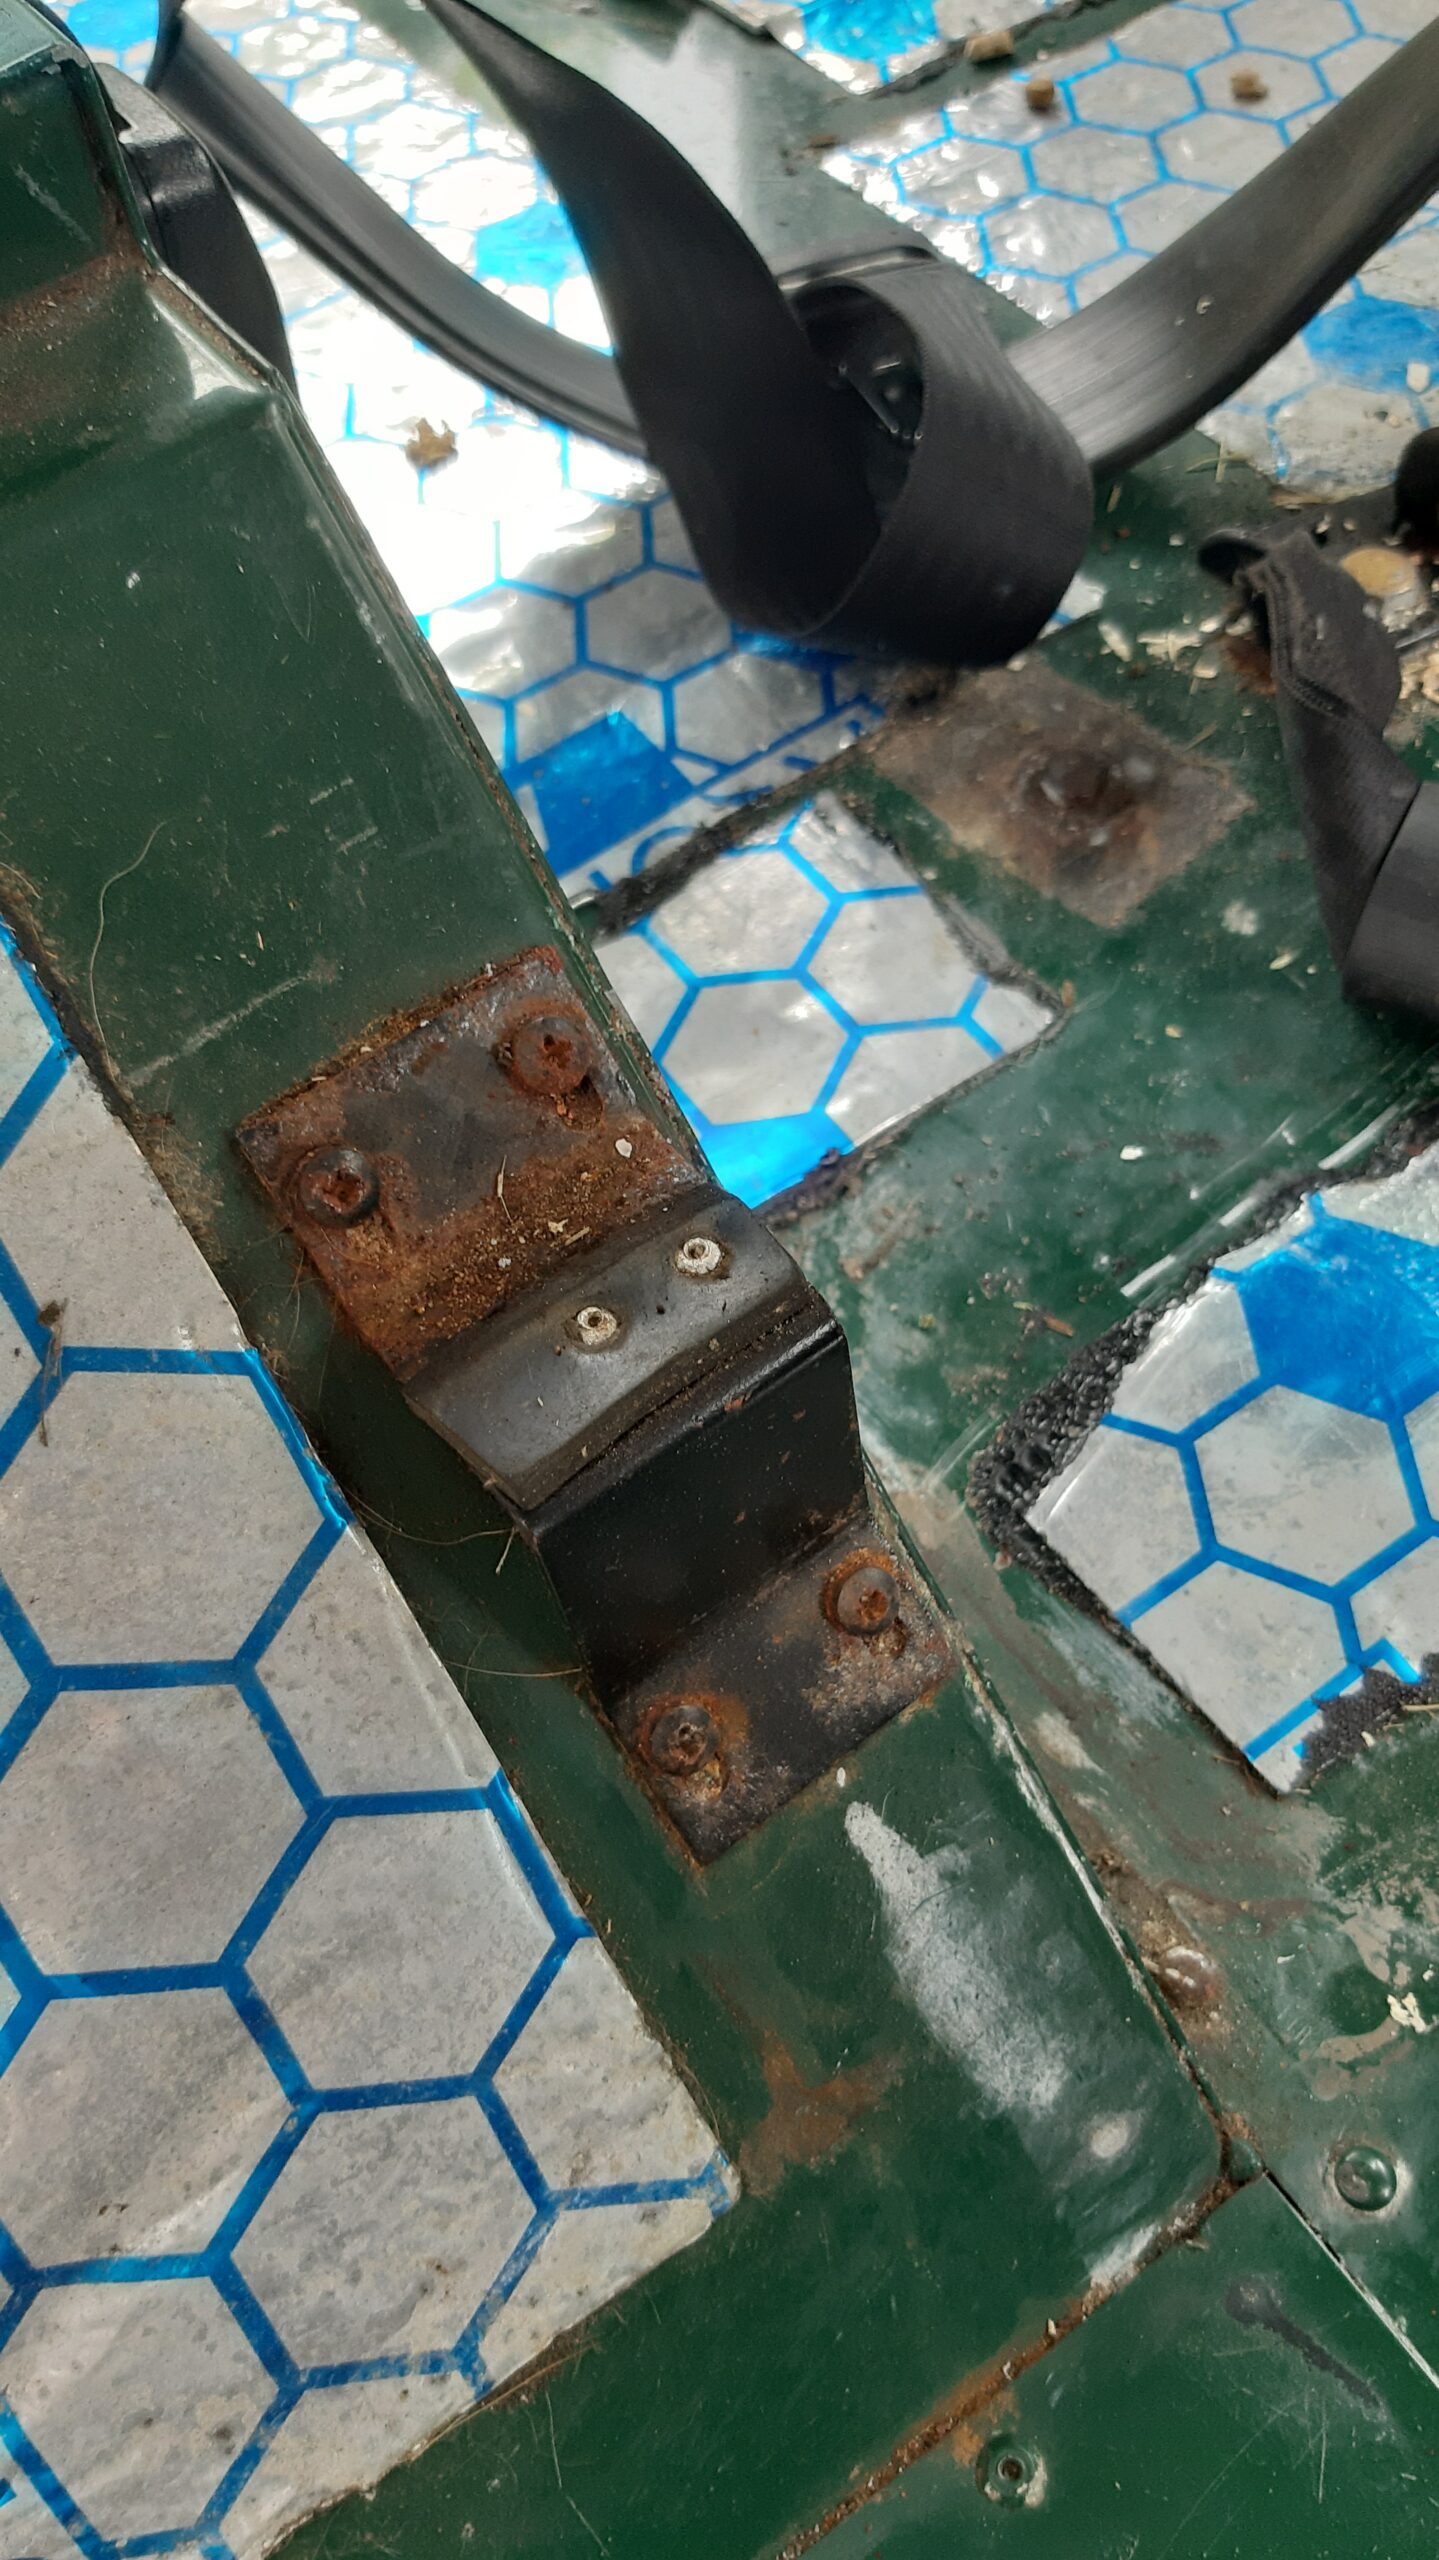
The TD5 has a set of classic rust spots that need to be addressed first: the sills and lower body panels, the area around the sill steps, the rain channels along the roof line, the join between the A-pillar and front wing, and the floor around the seat rails.
We made a deliberate decision not to paint over the rust, slap some filler on it, or hide it somehow. That approach might work — for a few years, until you’re right back to square one. Instead: grind it back, cut it out, and deal with it properly.
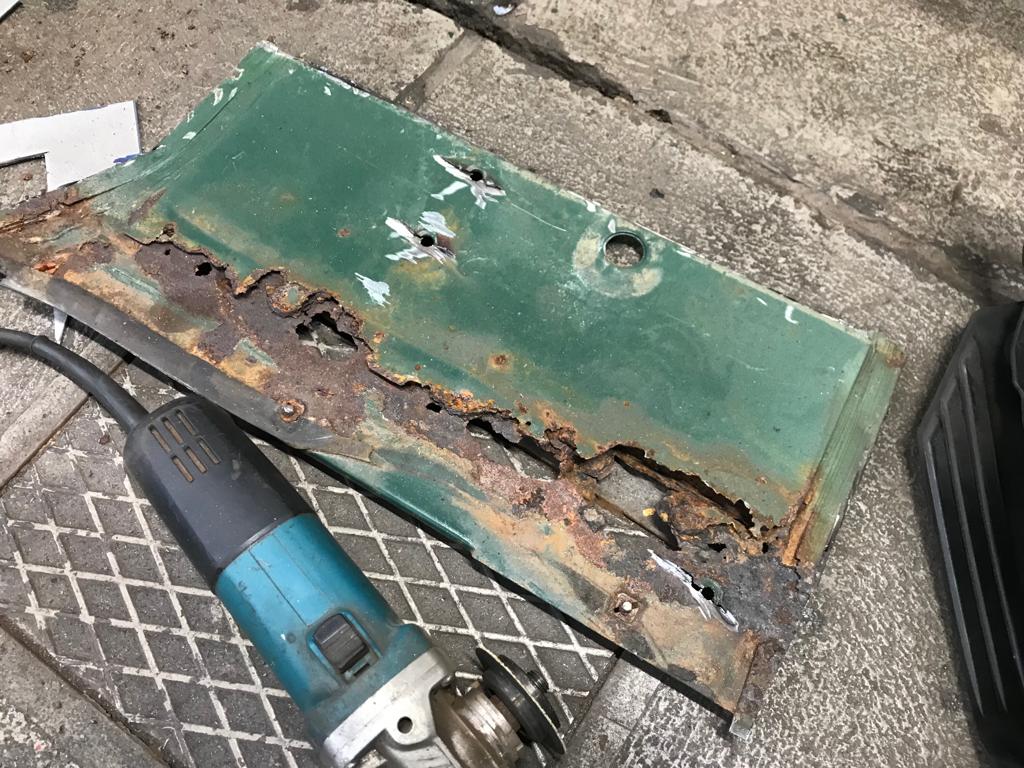
For surface rust, an angle grinder paired with a rust converter does a solid job. It’s not magic — but it transforms active rust into a stable layer that primer and paint can actually bond to. For deeper corrosion or pitting, there’s only one answer: cut the affected metal out, trim back to healthy material, and weld in new steel.
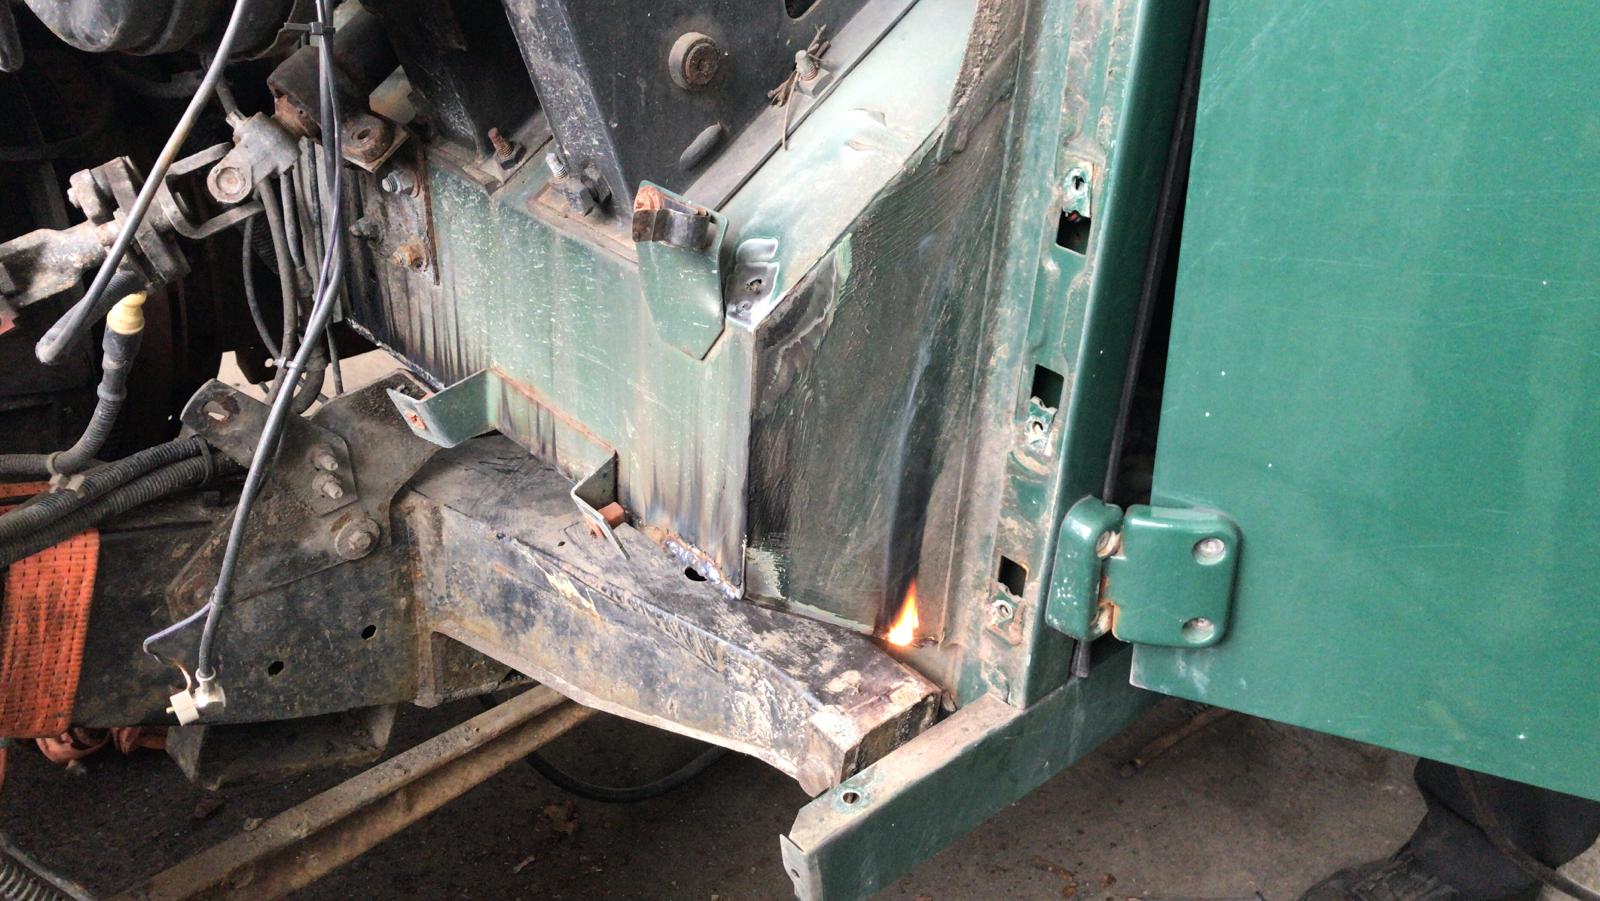
Step 3: Welding the Sill Steps — More Than Just Cosmetics
No part of restoring an old Defender is more revealing than the welding work. This is where you find out whether the vehicle is genuinely worth saving — and how carefully (or carelessly) previous owners worked.
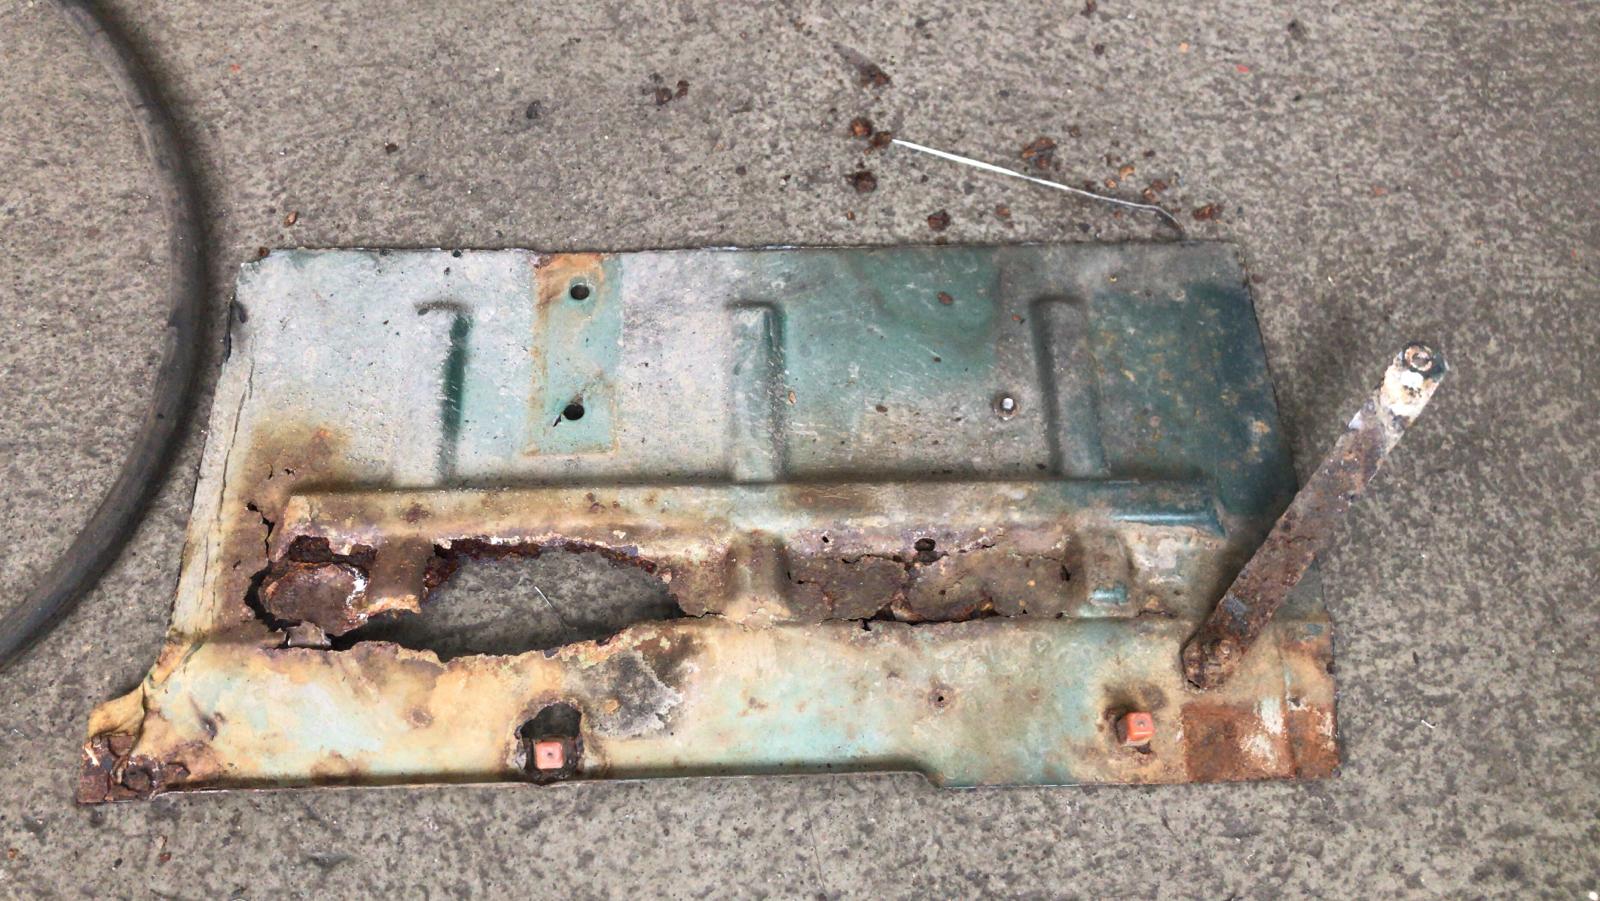
Defender TD5 Sill Steps: A Chronic Rust Problem
The sill steps on a Defender TD5 are chronically vulnerable to rust. They collect dirt, trap moisture, and because they’re directly exposed to road spray from below, surface rust quickly becomes full rust-through. What looks fine from the top can already have finger-sized holes from underneath.
When you remove the old sill steps, don’t be surprised to find that the structural area underneath is also affected. That’s the rule, not the exception.
Our process for welding the Defender sill steps:
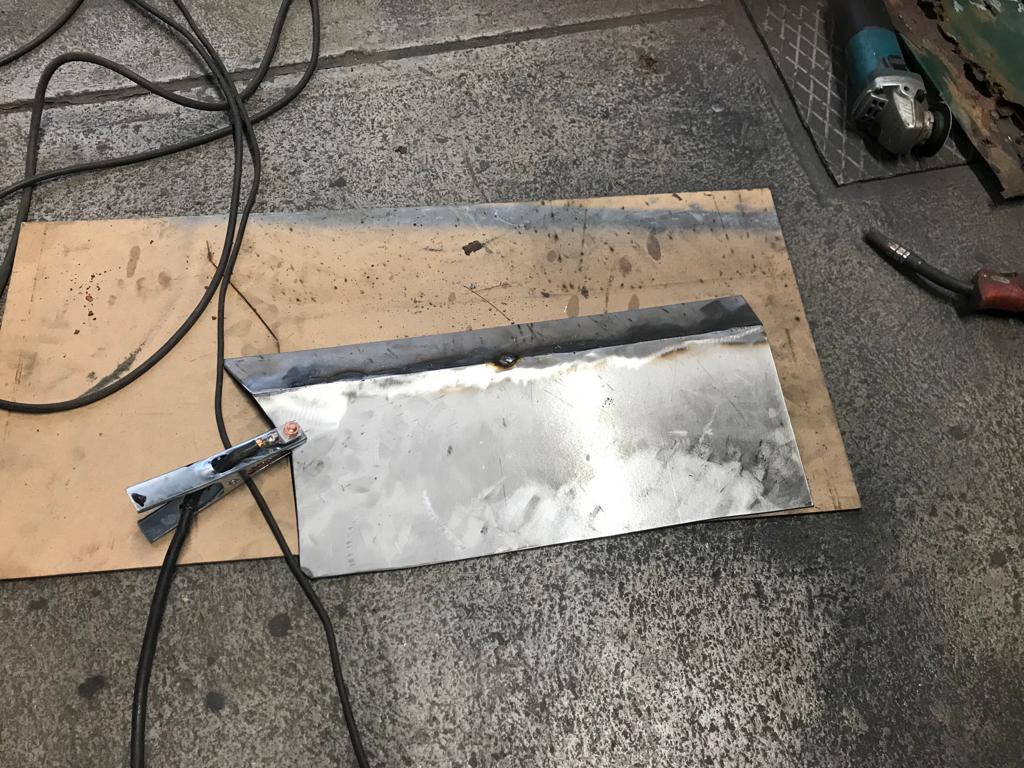
First, we removed the old sill steps completely — every screw, every rivet, and everything else holding them in place. That’s when the real extent of the damage became clear. Heavily rusted panels were cut out generously with an angle grinder, always cutting a few centimetres back into healthy, solid metal. The rule here: cut more rather than less. Welding onto rotten metal is wasted time and wasted wire.
New steel (1.5 mm cold-rolled sheet) was cut to size, fitted and tack-welded into place using a MIG welder. We weld in short runs — this prevents warping and gives the metal time to cool between passes. Rush this step, and you end up with wavy panels that can’t be straightened out cleanly.
After welding: grind the seams back, apply primer, and don’t skip the cavity wax. The area beneath the sill step is a moisture trap — without proper sealing, you’ll be back here in a few years doing this all over again.
Replacement sill steps are available as good-quality aftermarket parts. We went with steel rather than aluminium — because while aluminium doesn’t rust, it bends more easily and tends to look the part after a few off-road adventures.
Step 4: Replacing the Cappings — Underestimated Work, Big Impact
The cappings — the plastic trim strips running along the upper body sides of the Defender — are often brittle, faded, and cracked on a TD5 after 20+ years. Cosmetically they’re an eyesore, but functionally they’re also a problem: cracks in the cappings let water work its way in behind the body panels, ending up exactly where you don’t want it.
Replacing the cappings is not technically demanding, but it’s more time-consuming than most people expect. The old parts are often secured with screws that have been sitting in the elements for years and are firmly rusted in. Penetrating oil, patience, and a left-hand extractor bit are your tools of choice here.
When you pull the old cappings off, take the time to inspect the area underneath carefully. This is often where additional rust spots or water ingress points show up — issues you’d never have found otherwise.
New cappings are available in classic black or, increasingly, in a range of colours that can completely transform the look of a Defender. We stayed with black — timeless, understated, and it works with any paint scheme.
When fitting, we recommend applying a bead of body seam sealant to the mounting points before installation. It prevents water tracking down along the screws and gives the capping a bit more rigidity and a cleaner fit.
Step 5: Primer, Cavity Protection & Underbody Sealing
Once the metalwork is solid, comes the step that separates “lasts a few years” from “lasts forever”: proper corrosion protection.
Our order of operations: every bare or worked area gets a coat of zinc phosphate primer first — it reacts chemically with the steel and creates a genuinely durable base. On top of that, a 2K paint in a shade matched as closely as possible to the rest of the vehicle.
All cavities — sills, A-pillar, B-pillar, chassis rails — get a wax-based cavity protection treatment. It creeps into every corner, displaces any remaining moisture, and forms a flexible barrier against future corrosion. Not glamorous. But in five years, when others are back at the welder, we’ll be glad we did it.
Finally, the underbody gets a coat of stone chip protection, which also acts as a moisture barrier for the floor.
From Working Vehicle to Camper — The Bigger Picture
Anyone who has gone through this process understands why the preparation phase matters so much. Building a camper conversion on rusty, unstable metalwork is like building a house on sand — it might hold for a while, but not for the kind of distances we have in mind.
The strip-down and rust treatment form the foundation for everything that follows: the insulation, the interior build, the electrics, the sleeping and kitchen setup. Cut corners here and you pay for it twice down the road.
The TD5 is not a perfect vehicle. It’s opinionated, it demands attention, and it will always have something to say about a rough track. But when it’s built on a solid foundation — when the metalwork is sound and the base is right — it’s one of the most honest overland vehicles you can own. Not one that coddles you. But one that takes you places others turn around from.
And that’s exactly why the work is worth it.